How to Make a Crafting Room in Minecraft (An Easy Guide)
Disclosure: This page contains affiliate links and I may earn a commission if you click on them and make a purchase. This comes at no additional cost to you and allows me to continue to run this website. Lastly, please do not copy, modify, and/or redistribute my content and claim as your own. For info on photo/video sharing, see the terms and conditions page. Thanks for your support!
So, you've survived a few days, established your base, and gathered some materials, so what’s next? Well, that’s where a crafting room comes into the picture!
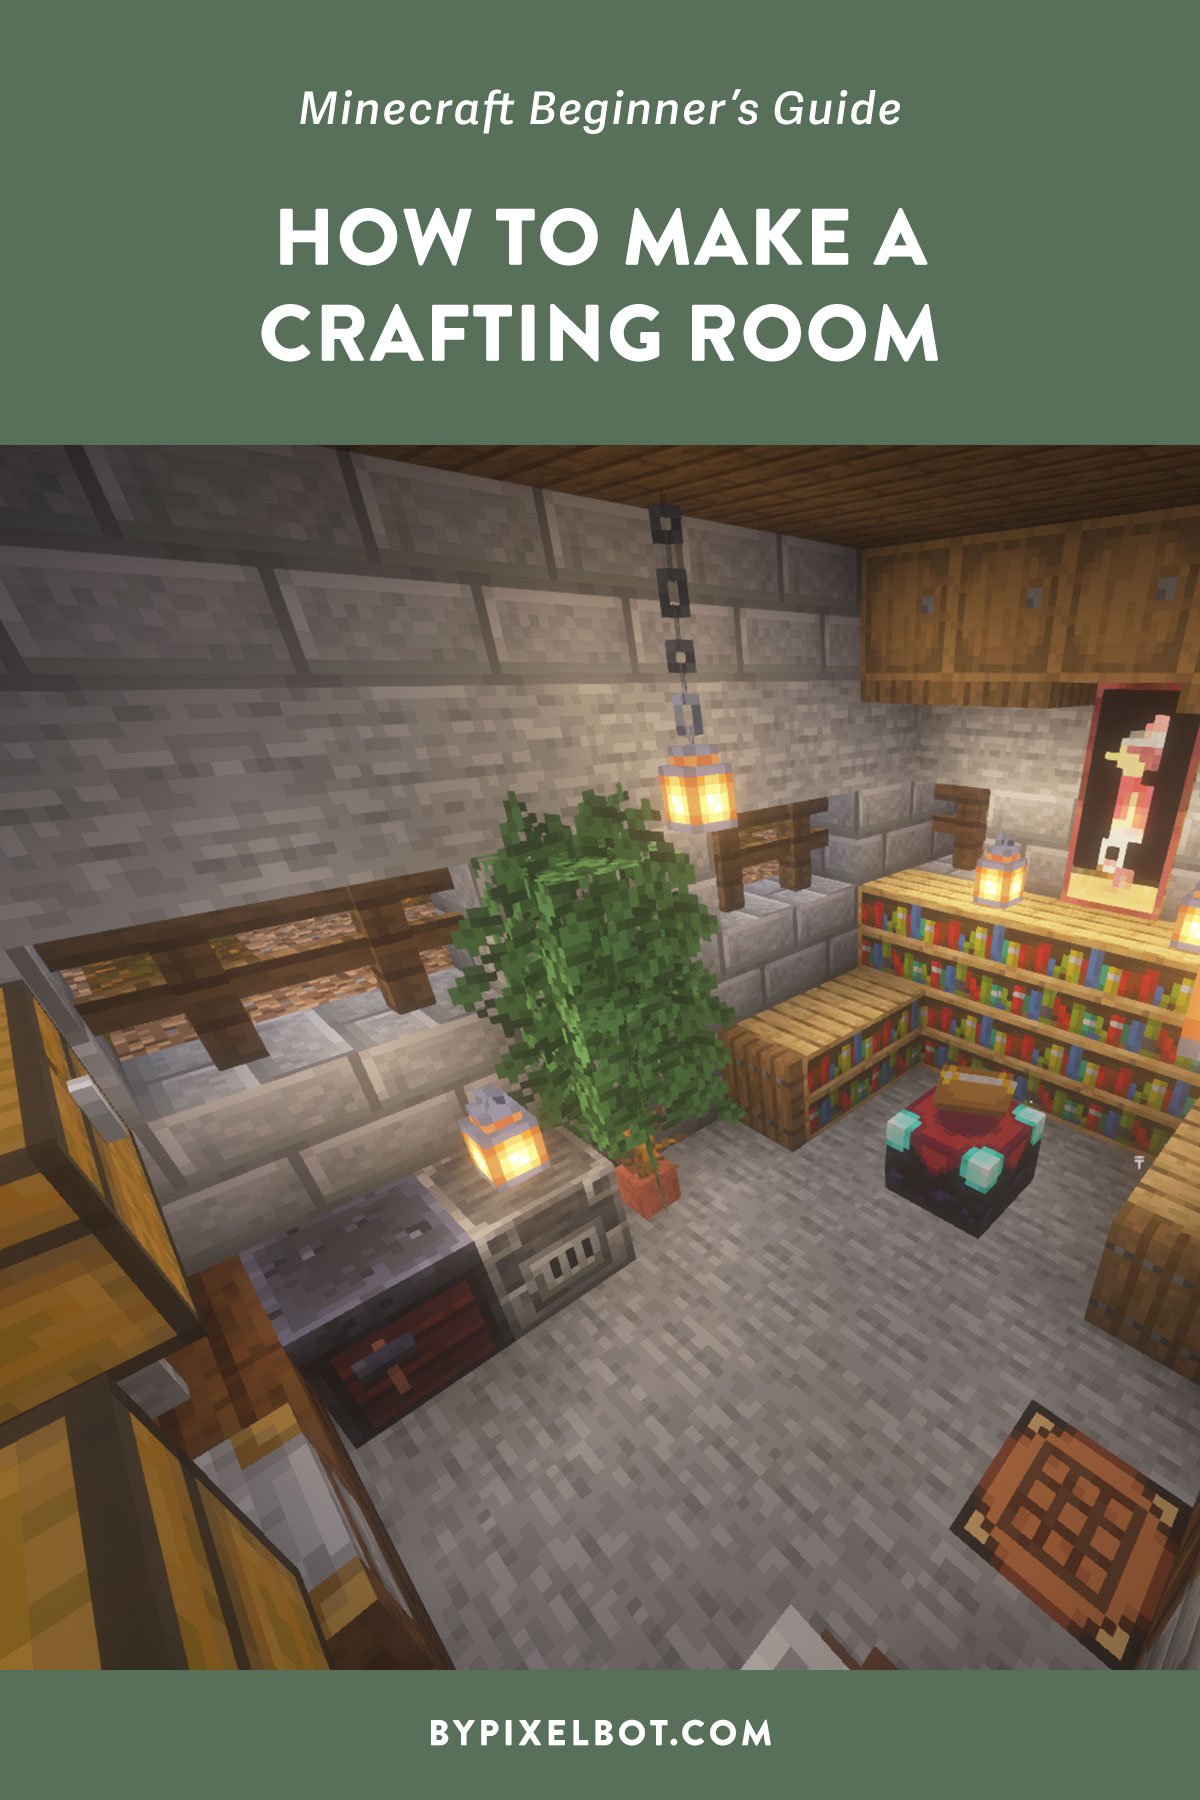
A crafting room is one of the most important spaces a player can have! A dedicated crafting space will keep things organized and allow you to enjoy the game when you craft new items. A crafting room can be as elaborate or as simple as you want, but there are a few must-haves for this room. Keep on reading to learn more about my tips for getting you started.
Get a Crafting Table

Rule number one to building a crafting room is having a crafting table! This is one of the most important tools in the game and opens up an entire world of possibilities. So, if you haven't done so already, grab four wood planks and build a crafting table!
Build Some Chests

A crafting room complete with chests to store your newly crafted items! Not only can you store your crafted items in chests, but it's also a good idea to have chests dedicated to keeping common crafting materials like wood, stone, and ores.
Consider the Size of Your Room

Make sure you build a room that's practical as well as aesthetically pleasing to you. If your room is too small, you won't have room for storage or enough space to feel comfortable. If your room is too large, you may end up feeling like your room is too sparse. When starting out, keep it simple with only the essentials and expand on it as you start to upgrade.
Hang Up Some Signs

Instead of rummaging through every chest because you need help remembering where you put your axe or loaf of bread, hang up some signs to keep everything organized! Labeling your chests will make grabbing items a breeze.
Add Some Shelves

Do you want your room to look more organized and lifelike? Try adding some shelves! Putting a slab underneath a chest makes it look like it's sitting on a shelf. This can make your room look cleaner and make it feel homier!
Start Working Towards an Enchanting Table

If you're starting out in the game, you probably will need more materials for an enchanting table. Still, with your new crafting room, you'll be able to start gathering materials to craft one in the future! An enchanting table is a valuable tool to improve your weapons. Some of the materials you'll want to collect are diamond and obsidian. Once you have the materials, an enchanting table will be a great addition to your crafting room!
Final Thoughts
There's no single right way to build a crafting room, but there are some essentials, like a crafting table and storage chests. Once you have the necessities, make sure to add your own spin to things to make them feel like your own! If you want to read another article for builds aimed at beginners, try reading our posts on building a bed and a door!
Did you find this post helpful? Leave a comment and let me know. I’d love to hear from you.
TIP: Pin this image below by hovering over it to save it to your Pinterest account and refer back to it later.