How to Make a Smelting Room in Minecraft (5 Easy Tips)

Disclosure: This page contains affiliate links and I may earn a commission if you click on them and make a purchase. This comes at no additional cost to you and allows me to continue to run this website. Lastly, please do not copy, modify, and/or redistribute my content and claim as your own. For info on photo/video sharing, see the terms and conditions page. Thanks for your support!
A smelting room is essential for any player. Once you've established your base and started mining, you'll need a place to turn your ores into craftable materials. Smelting will open up new possibilities as you enhance your tools and unlock more recipes! We've got you if you need tips before building your smelting room! Read on for my seven steps to building a fantastic smelting room!
Craft a Furnace (or Two or Three...)
You can't have a smelting room without a furnace, so this is the first step! Crafting a furnace is easy: you'll need to place eight cobblestones around the edges of your crafting table, leaving an empty space in the middle. If you need a more in-depth explanation of how to build a furnace, check out our article that goes into further detailed instructions! Craft as many furnaces as you like; having a few is beneficial, so you can smelt multiple things at once.
Decide on the Dimensions
Next, you'll want to decide how big you want your room to be. Do you want a large room with tons of furnaces or a cozy room with one or two furnaces? You may want to add on to your crafting room. Whatever you do, pick a room size that suits your needs and is practical. Your smelting room can be as large or small as you want, but deciding the dimensions will allow you to make plans for the interior. Once you've decided on the design and how big it will be, build the room.
Get Some Chests
You'll need a place to put all your smelting materials, so chests are necessary for any smelting room. Depending on the size of your room, you can have an entire wall dedicated to storage, but a few chests to start out with will do! To build a chest, you'll need eight wooden planks. When you open your crafting table, you'll place the eight planks around the edges, leaving an empty square in the middle.
Add a Smithing Table
Once you've got a few furnaces in your room, consider adding a smithing table. A smithing table allows you to upgrade your diamond gear when you have some. Not only that, but the smithing table also makes a great decoration! To craft one using a crafting table, you'll place four wood planks in a square, then put two iron ingots on top.
Build an Anvil
An anvil is another handy tool to have in your smelting room. You can use an anvil to rename, repair, and combine certain items! To craft an anvil, you will need three blocks of iron and four iron ingots. In the crafting table, you'll place three blocks of iron in each space of the top row. In the middle row, place one iron ingot in the middle. On the bottom row, place an iron ingot in each square.
Final Thoughts
Once you've established yourself in-game with a base and some basic materials, a smelting room can level up your gameplay. Smelting materials will open many opportunities for you and unlock many fantastic recipes. Whatever your play style, a smelting room is well worth the effort that goes into building it!
What else did you include in your smelting room? Leave a comment and let me know. I’d love to hear from you.
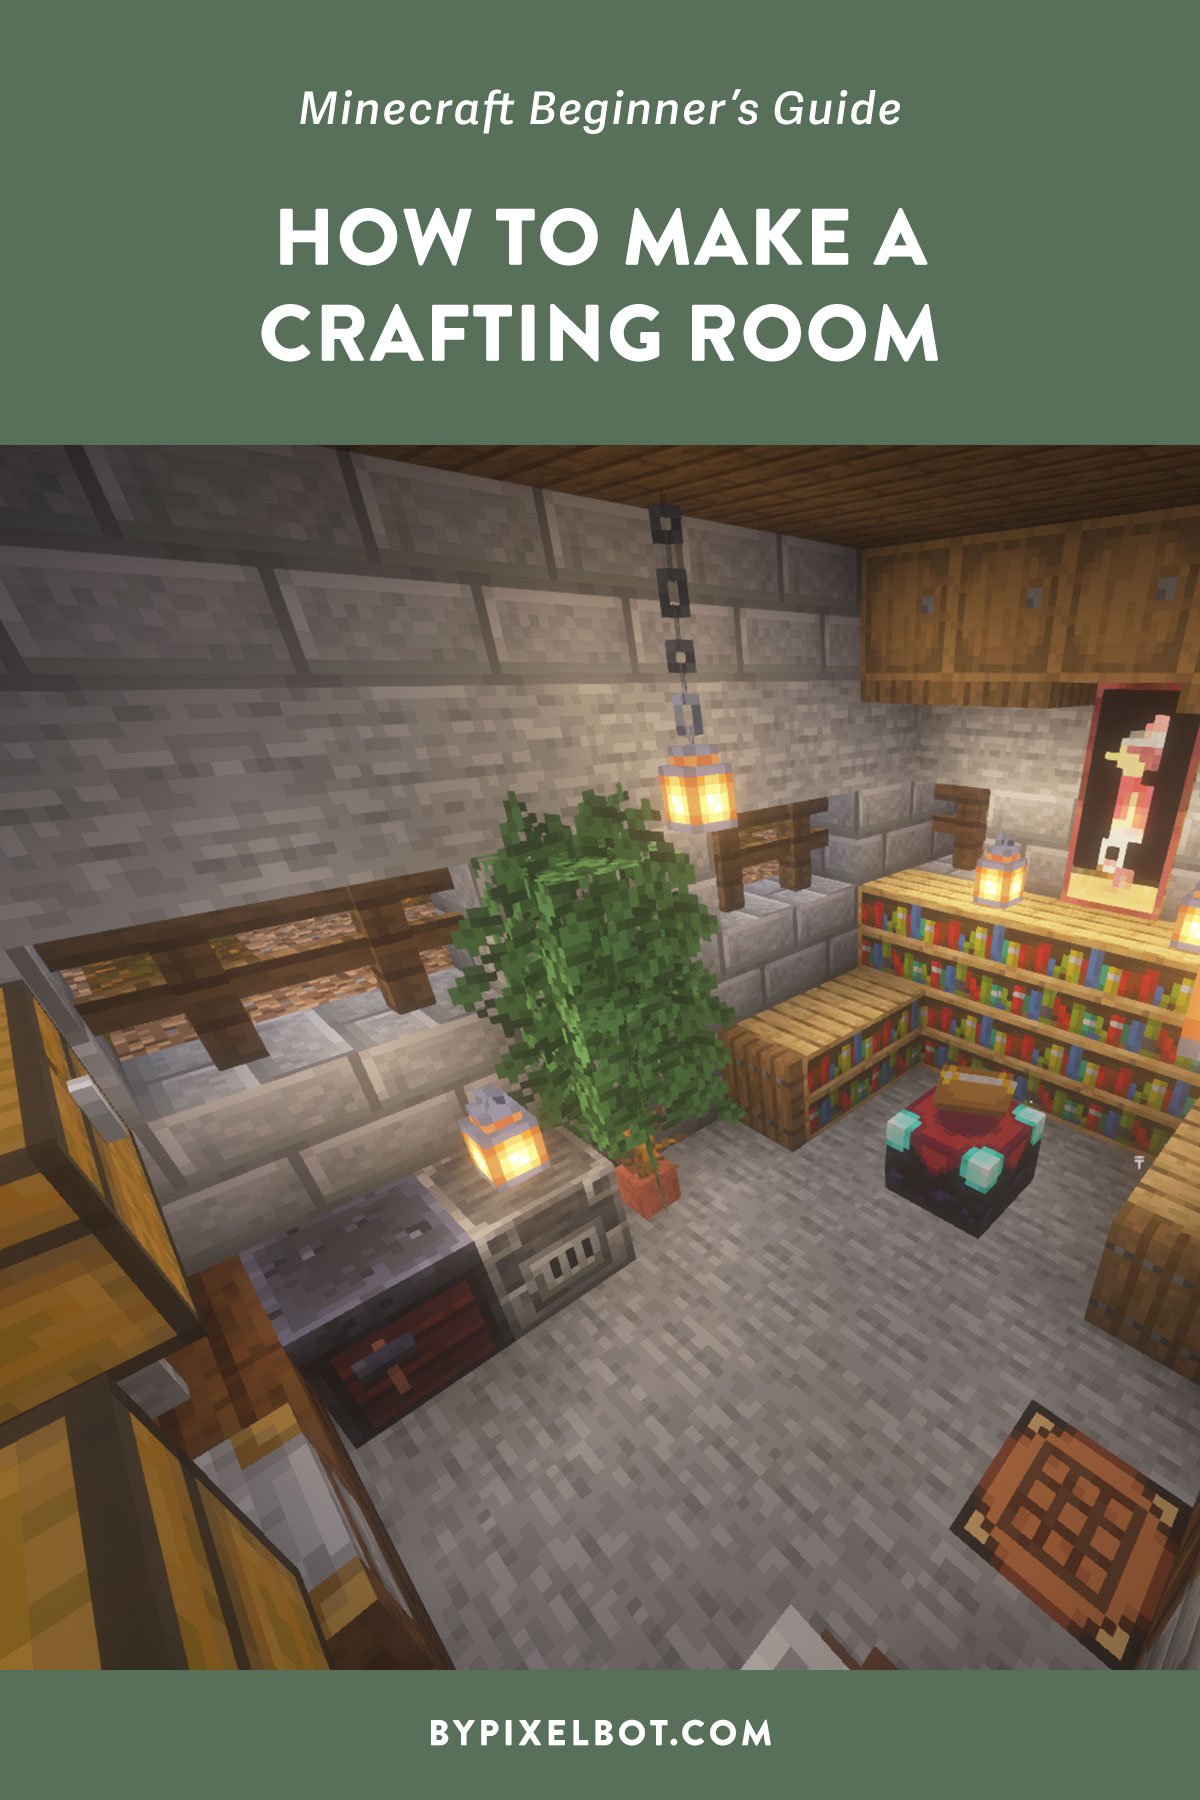
TIP: Pin this image below by hovering over it to save it to your Pinterest account and refer back to it later.