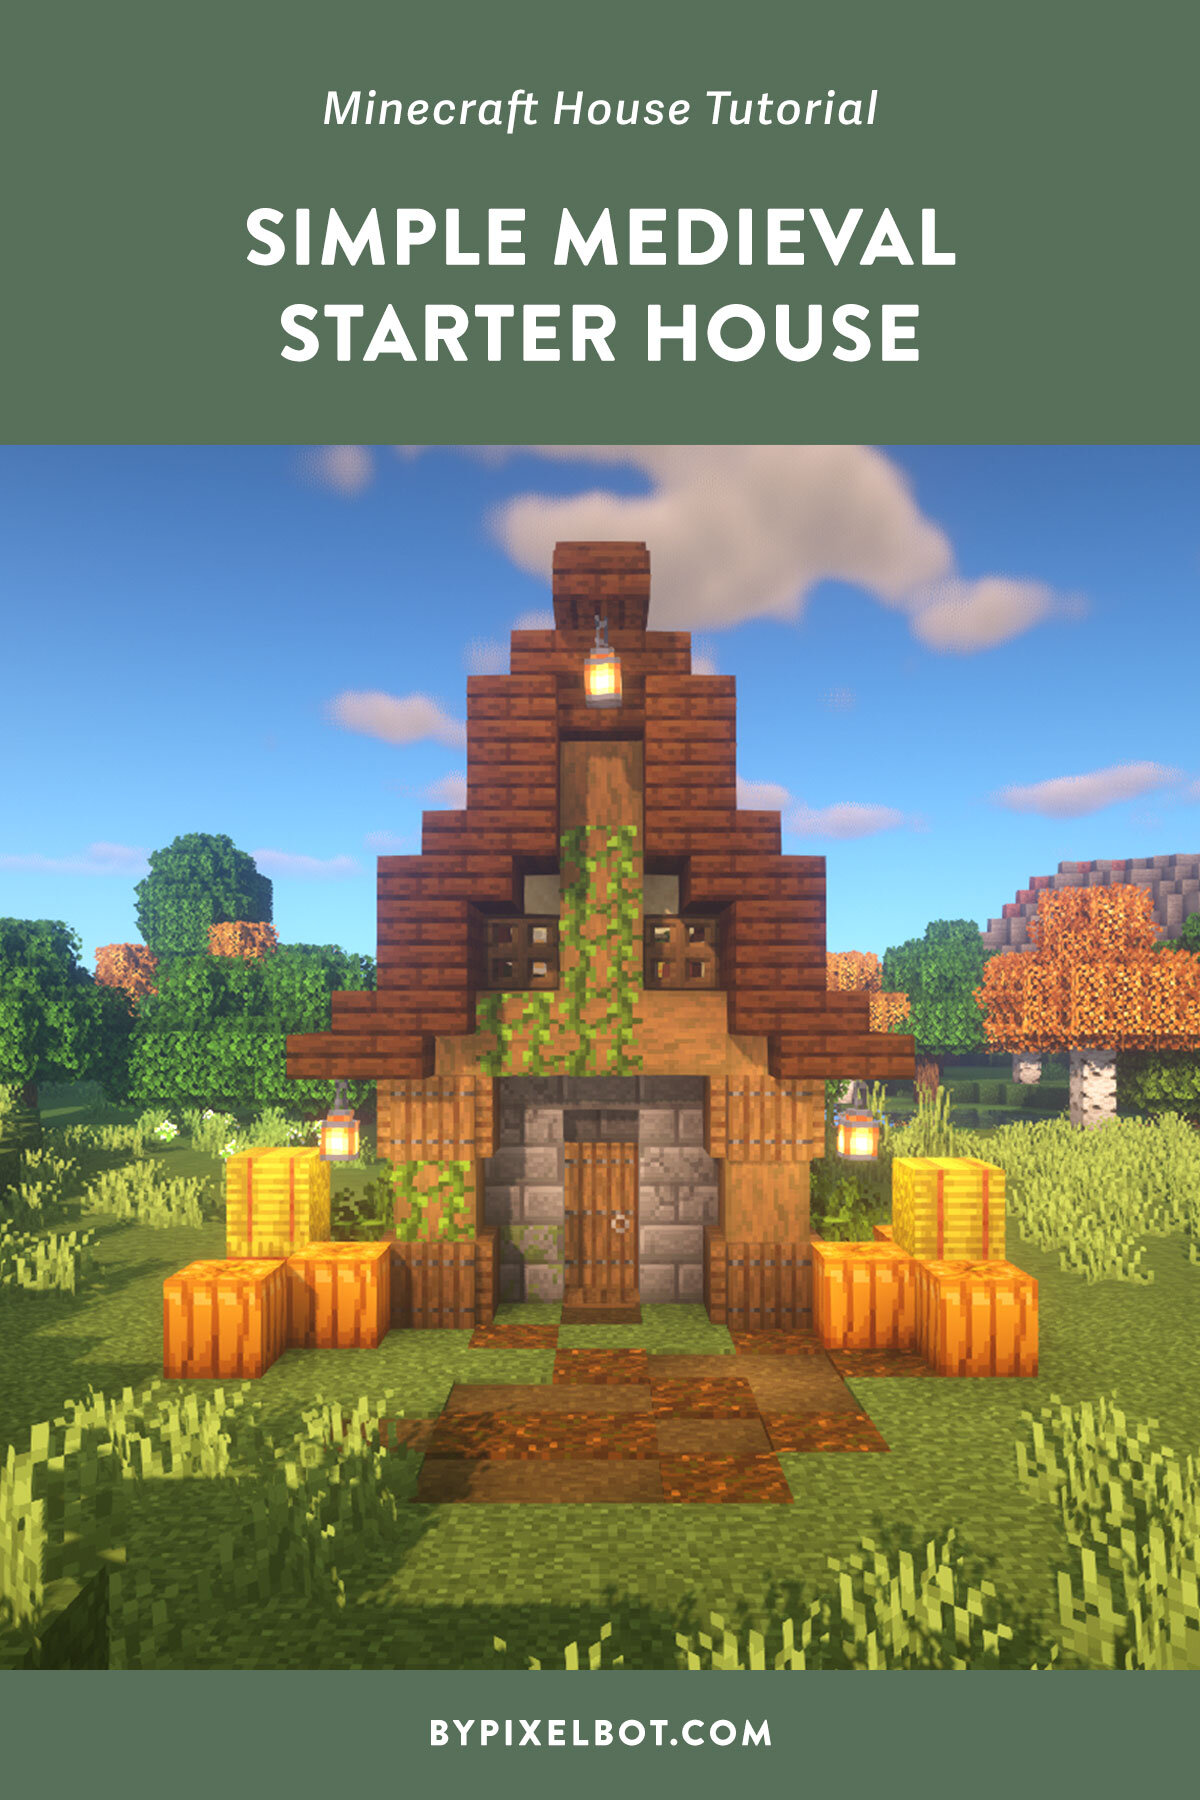
How to Build a Rustic Medieval Tavern in Minecraft

Disclosure: This page contains affiliate links and I may earn a commission if you click on them and make a purchase. This comes at no additional cost to you and allows me to continue to run this website. Lastly, please do not copy, modify, and/or redistribute my content and claim as your own. For info on photo/video sharing, see the terms and conditions page. Thanks for your support!
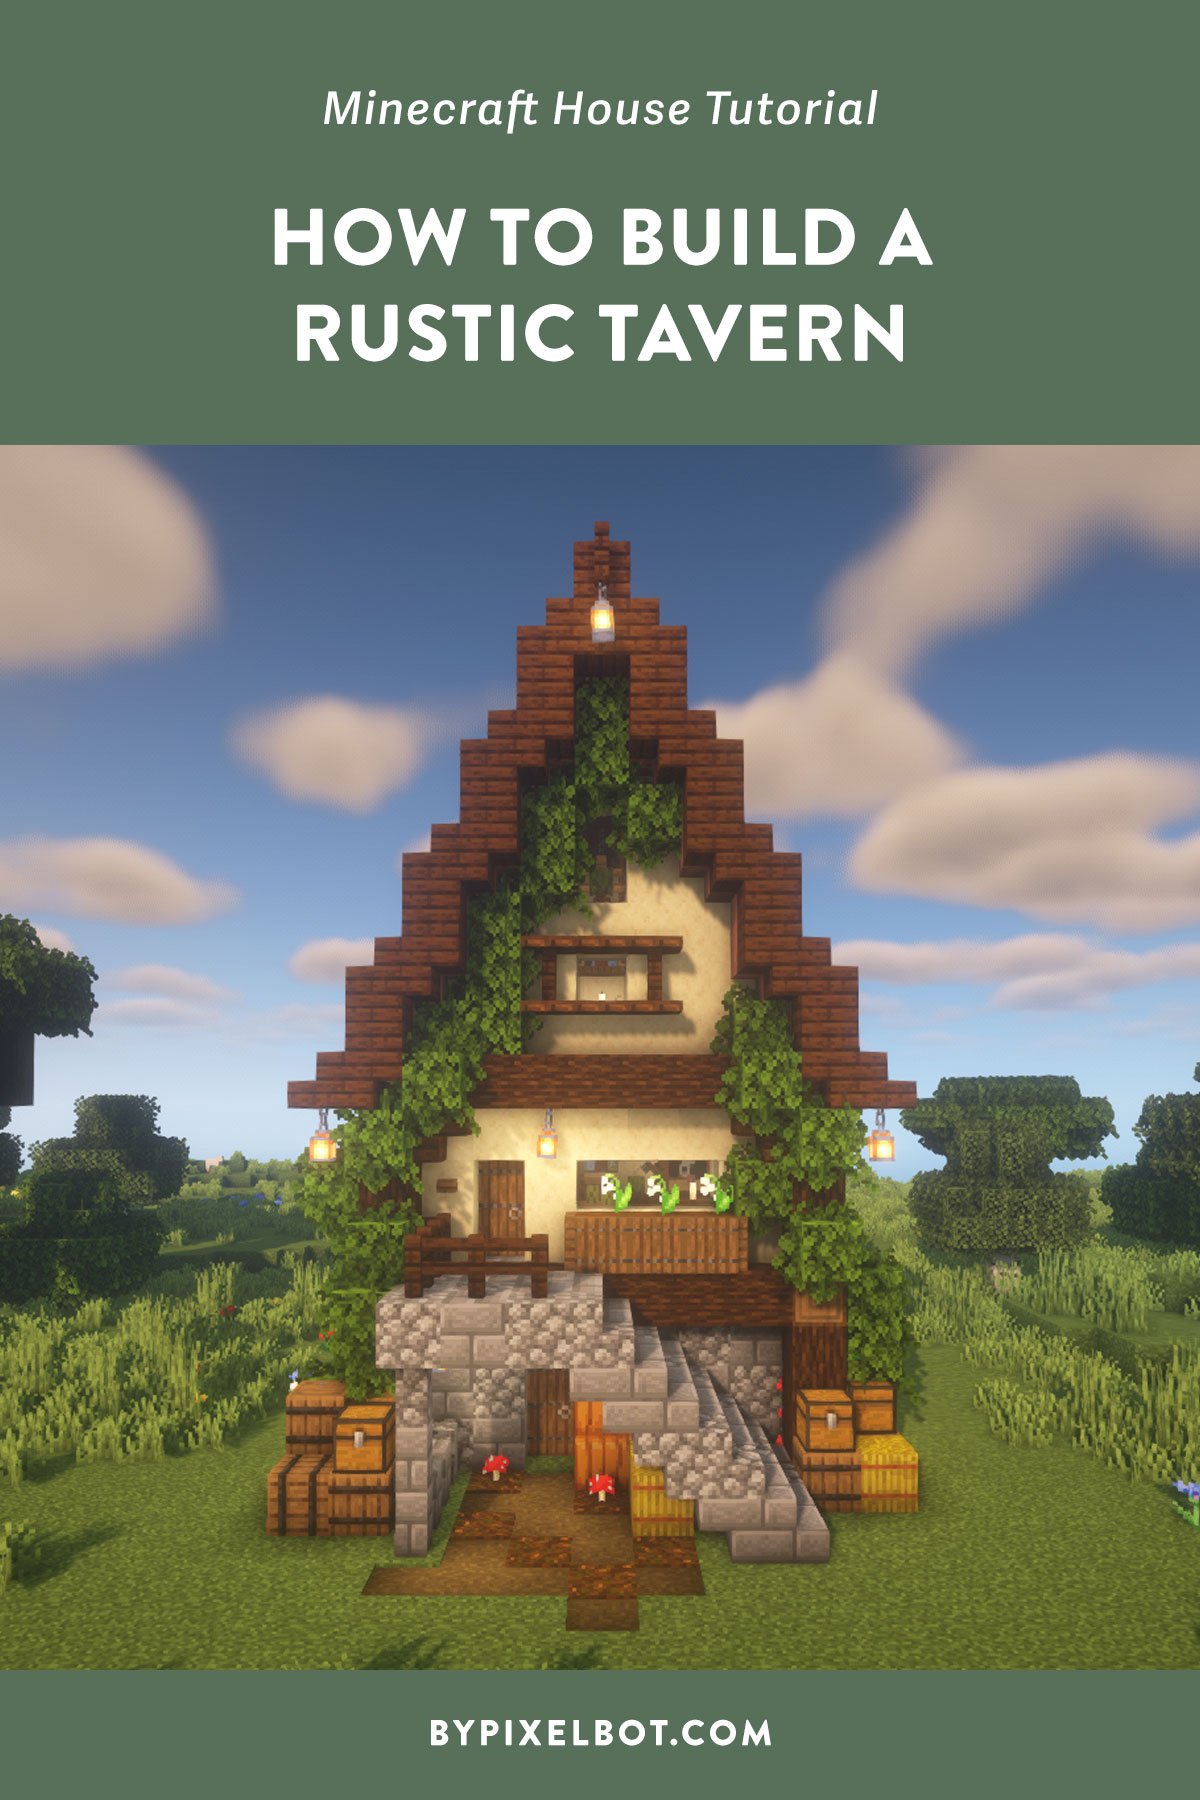
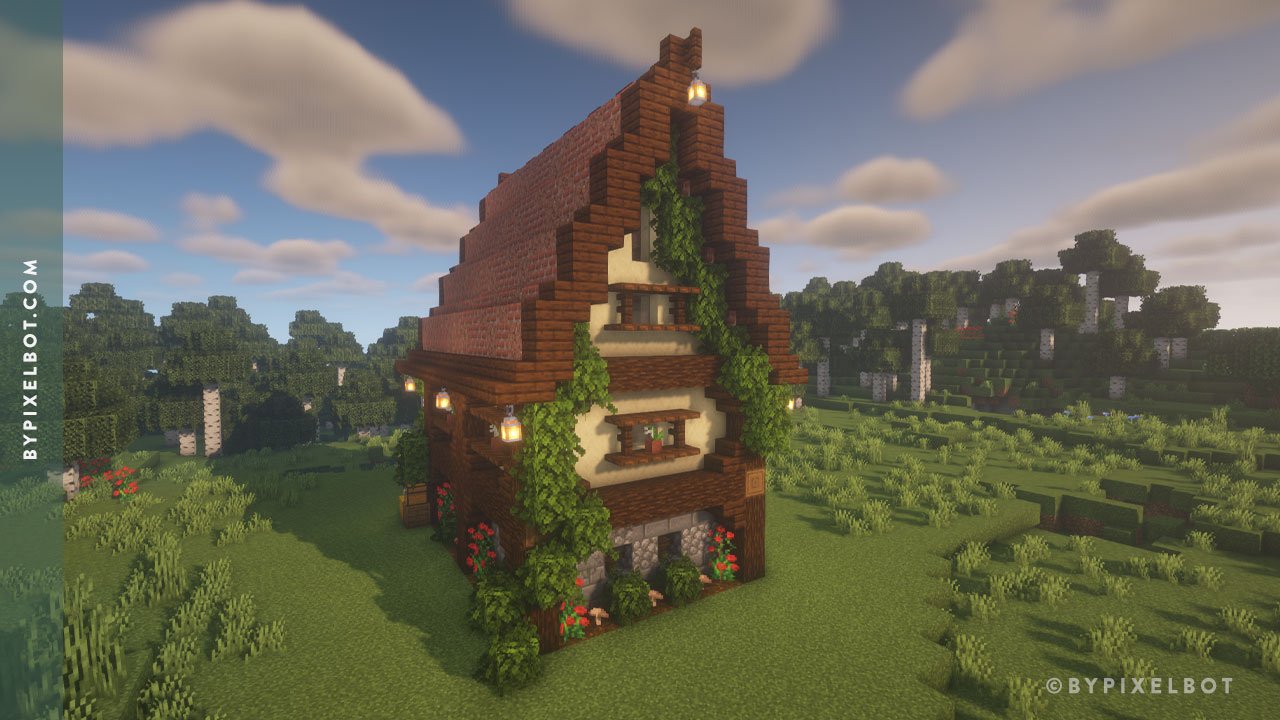
In this tutorial, I will show you how to build a rustic medieval tavern in Minecraft. This is one of my larger builds that I wanted to share because it just turned out so nice and I thought it would be a community favorite! This build relies on a variety of textures, so you’ll see a lot of variations in stones. You can definitely use this blueprint as a regular house, but I decorated it as if it’s an actual tavern. This was built in 17.1.1. Java Edition.
How to Build a Rustic Medieval Tavern in Minecraft (Step-by-Step) Tutorial
Step 1. Layout Dimensions

These are the dimensions you will start out with. The marked yellow blocks will eventually be the columns.
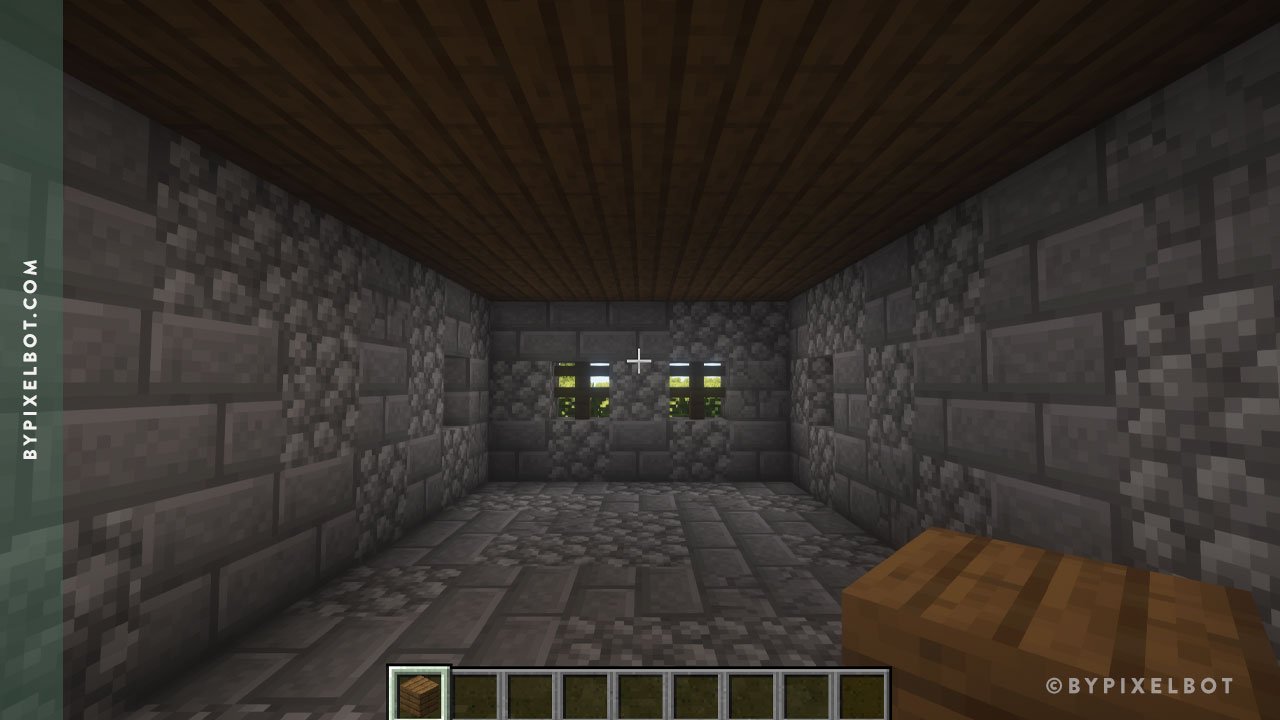
Step 2. First Level Flooring

Inside the red outline, clear out and fill with a combination of stone bricks, cracked stone bricks, and cobblestone to add variation.
Step 3. Walls and Columns
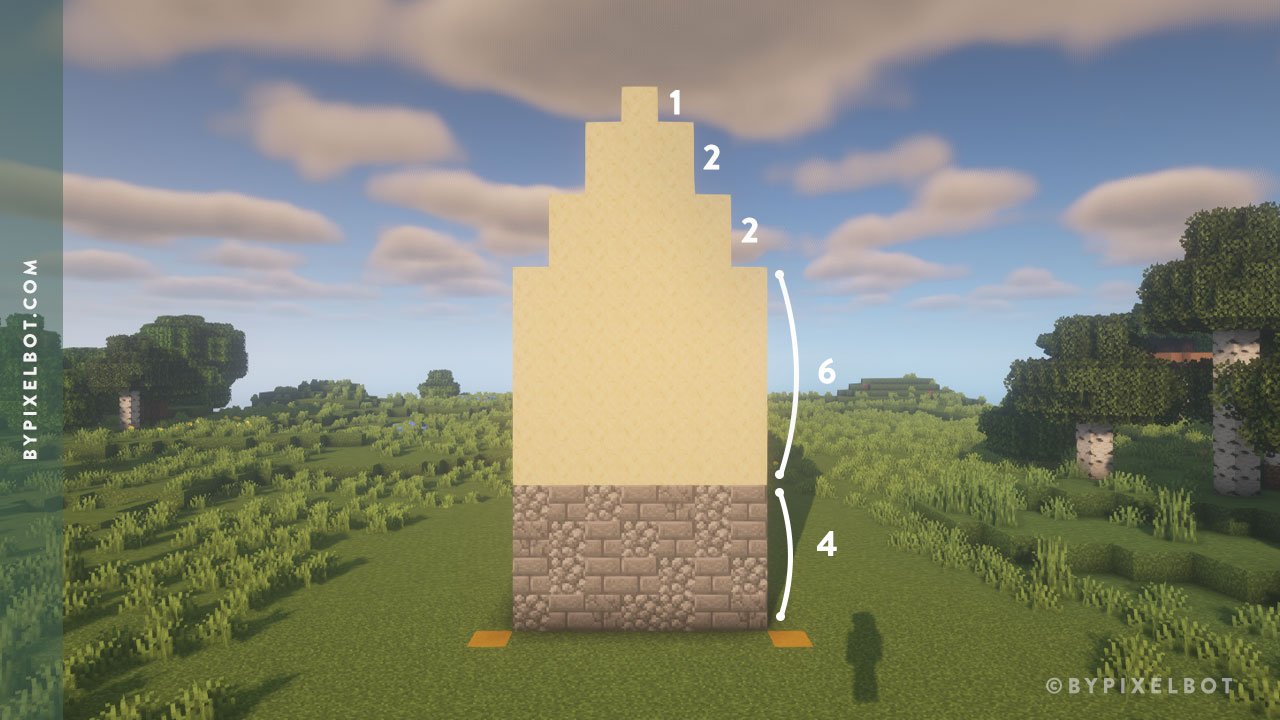
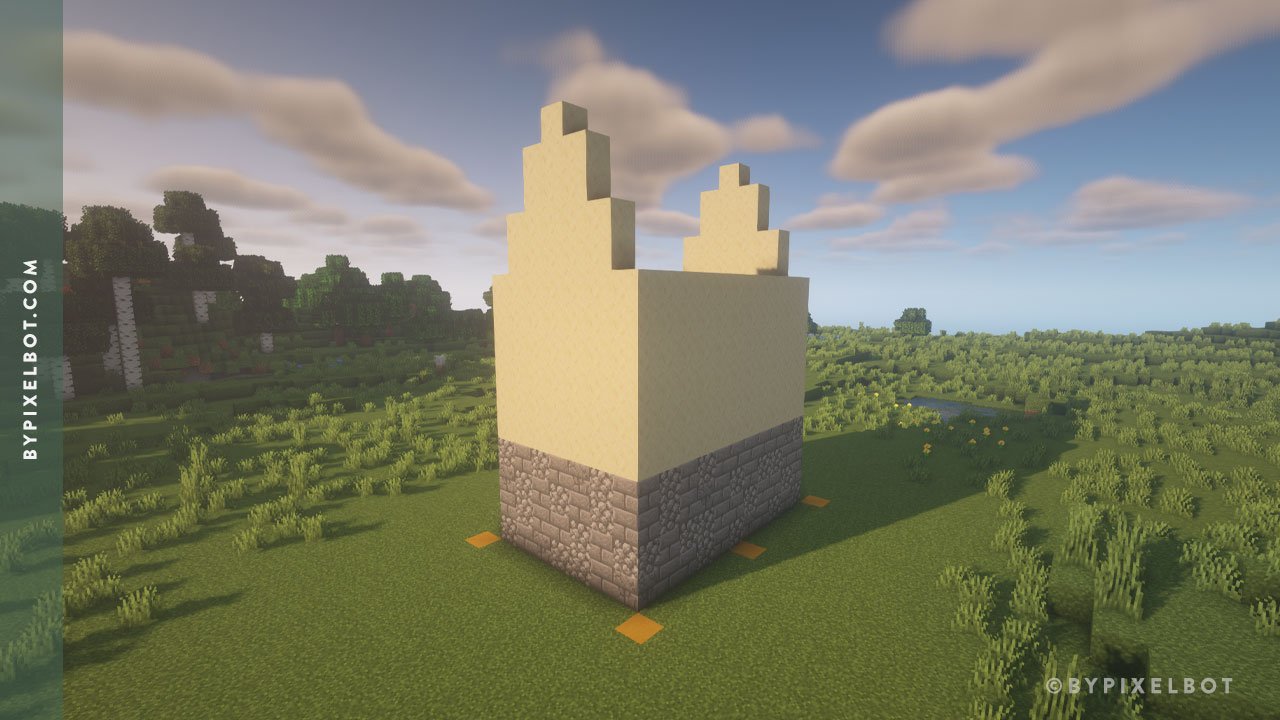
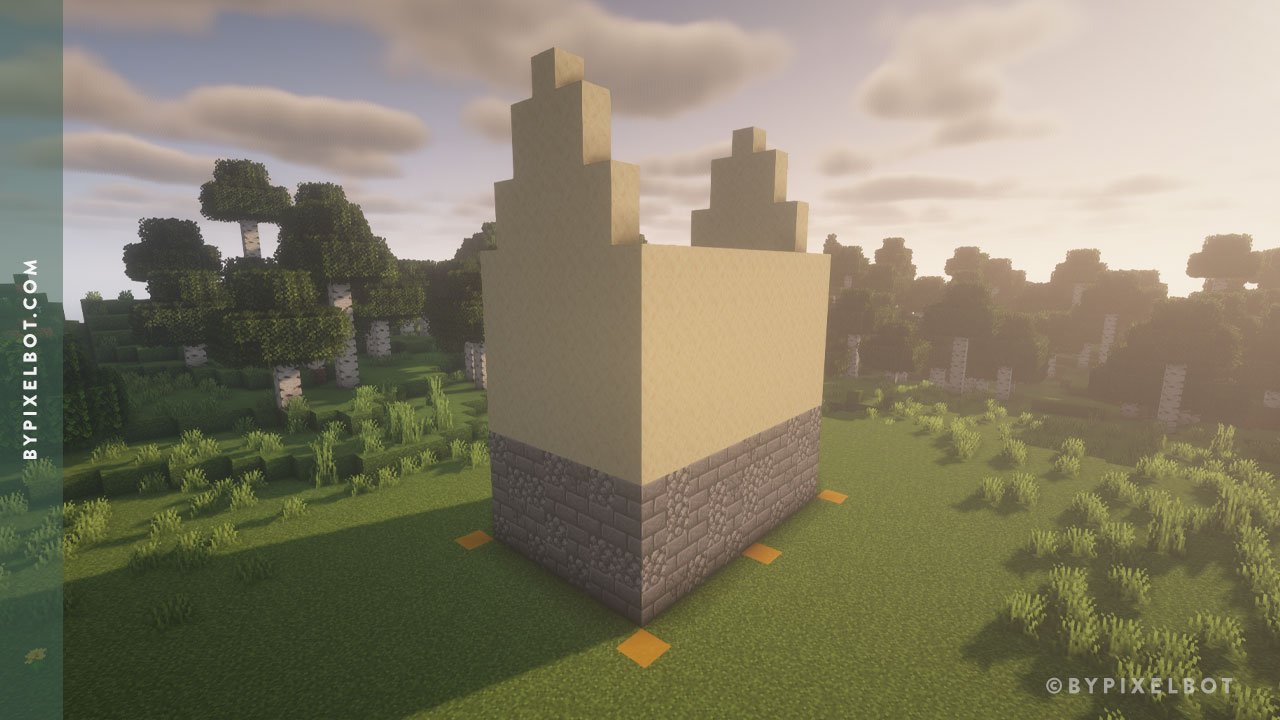
On top of the red outline, build four blocks up with a combination of stone bricks, cracked stone bricks, and cobblestone. Then, build six blocks up with smooth sandstone and continue following the pattern above to create the pitch of the house.
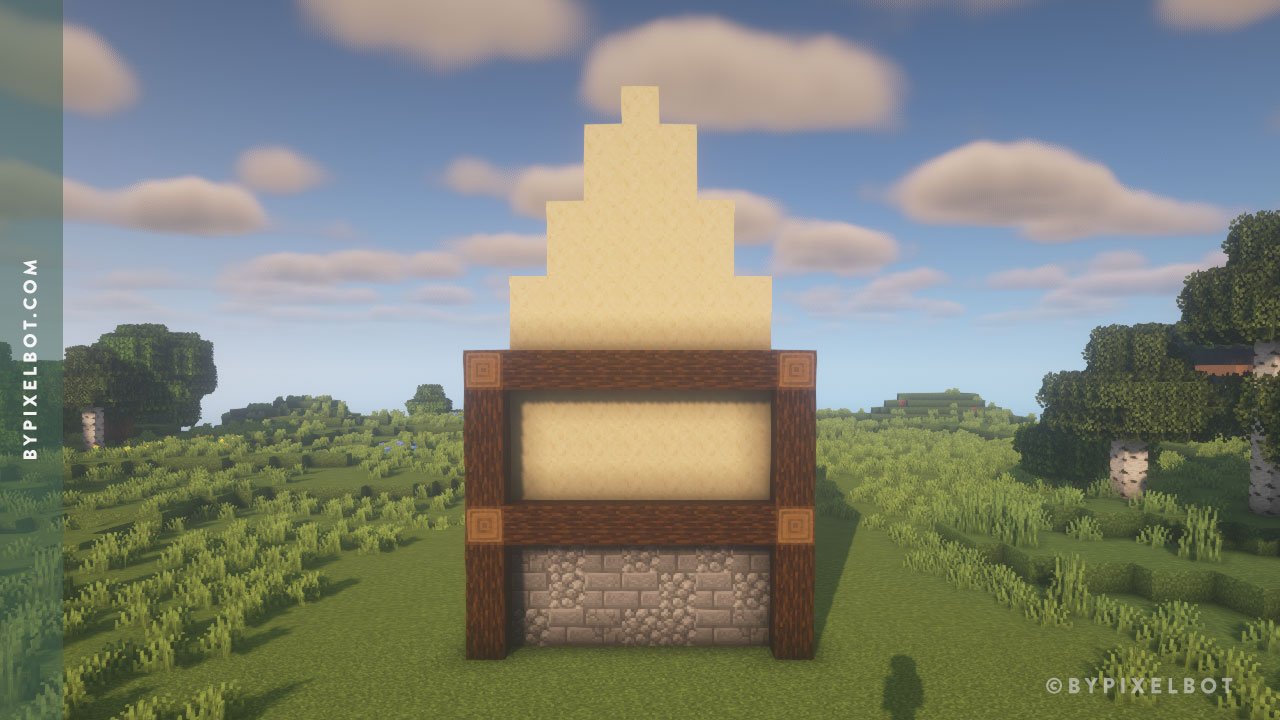
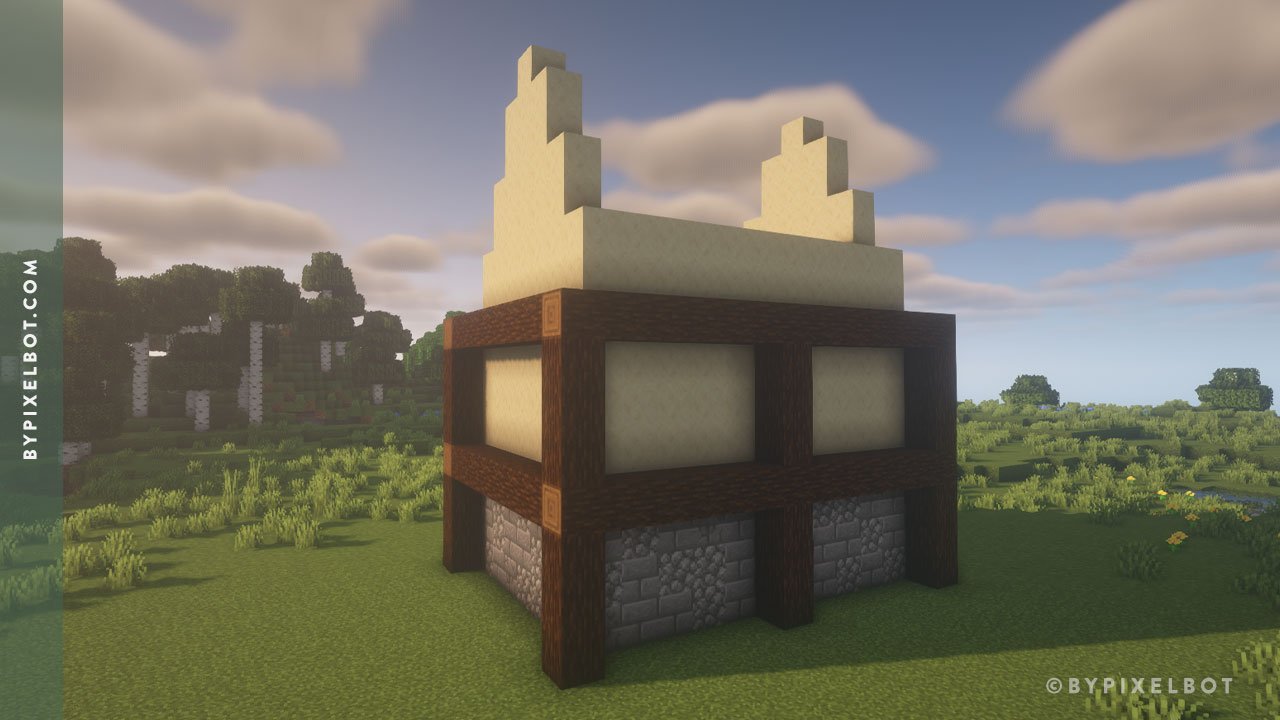
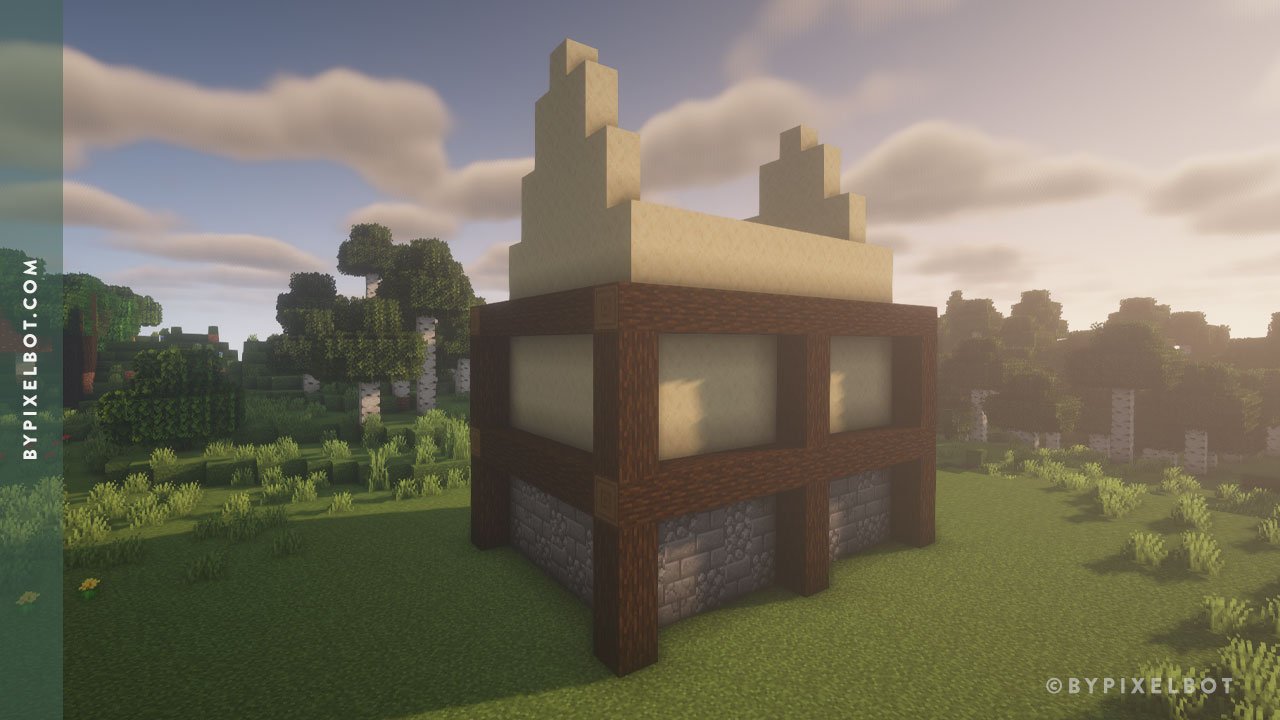
On the marked yellow blocks, build eight blocks up with spruce logs as shown above. On the fourth and eighth, build across connecting the spruce logs. On the sides of the house, build a middle support log as shown in the photos.
Step 4. Roof

Credit: Arc png from pngtree.com
Copy the the roof pattern provided above. You will be using dark oak stairs and dark oak planks. Do the same thing for the back of the house.

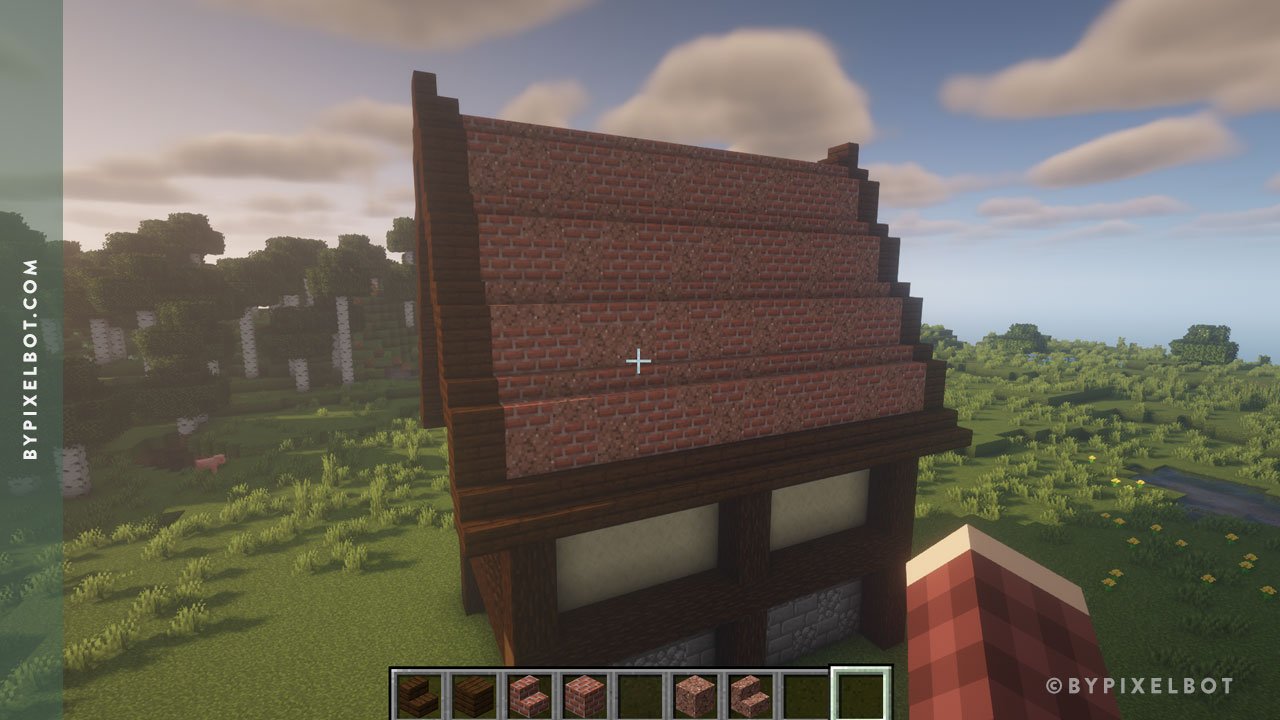
Here is a view from the back showing the same pattern. On both sides of the house, connect the roof from the bottom with dark oak stairs as shown above.

At the pitch of the roof, connect the dark oak planks from the front to the back of the house.
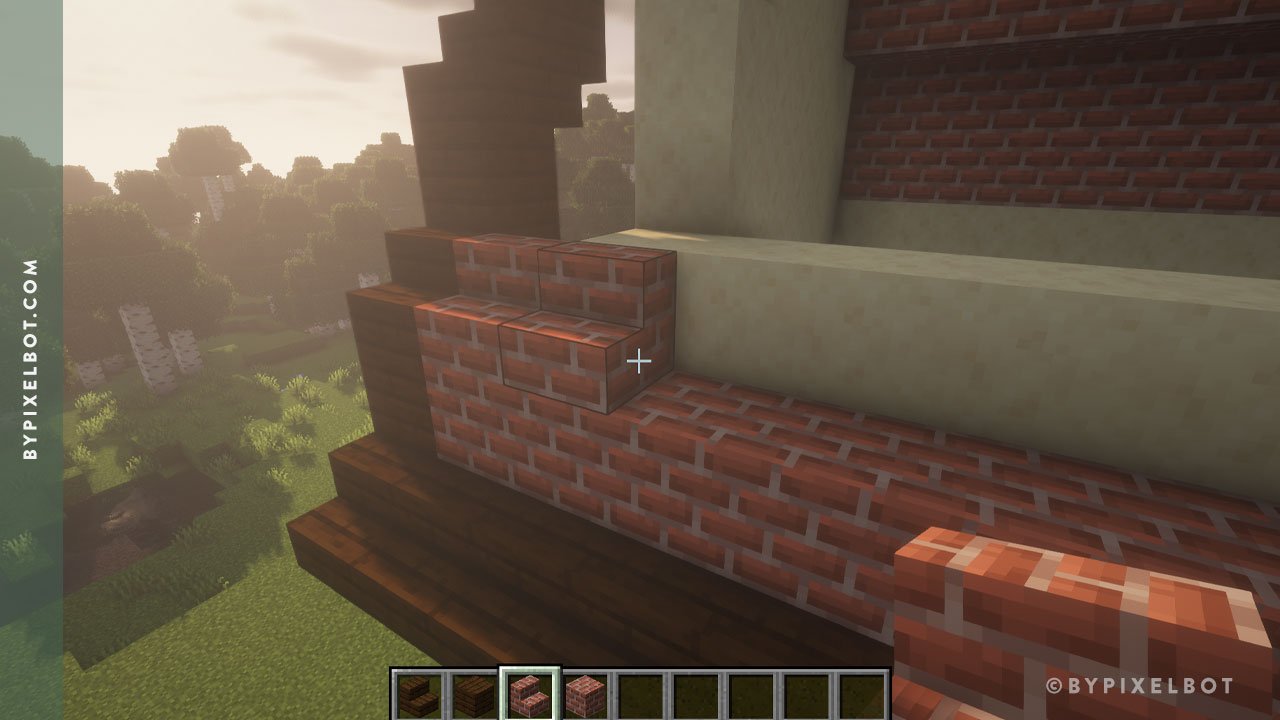
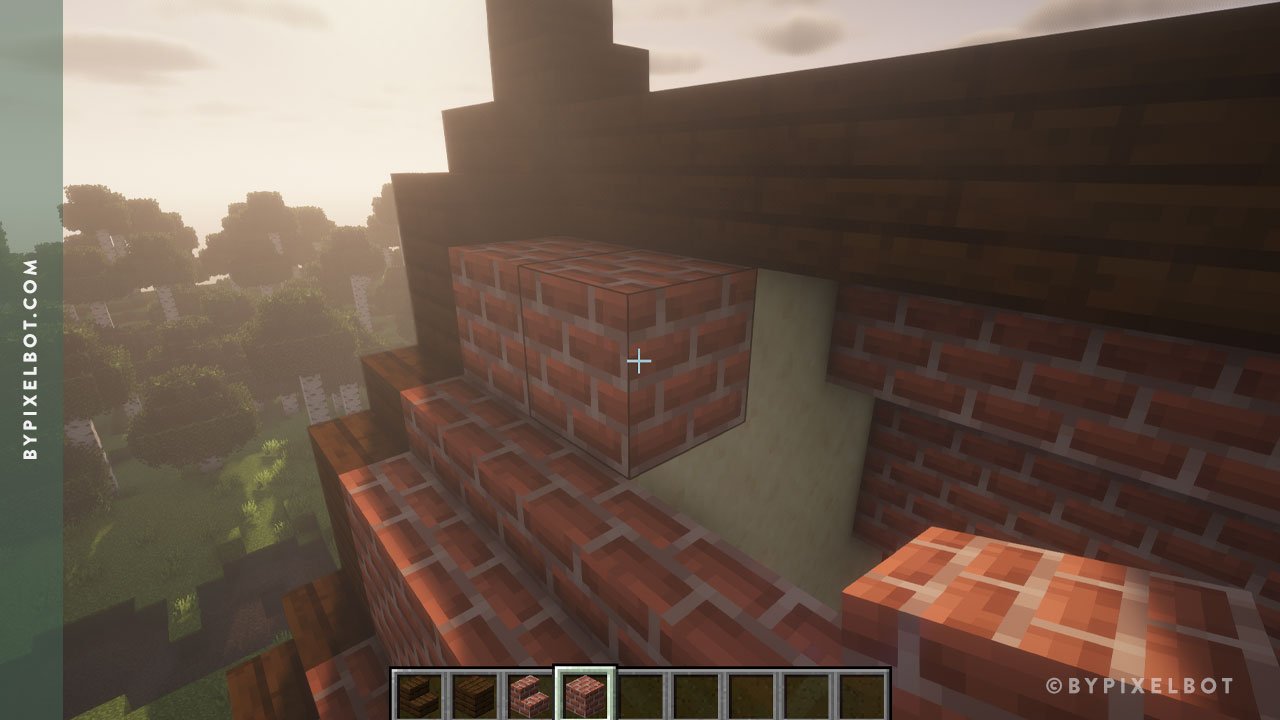
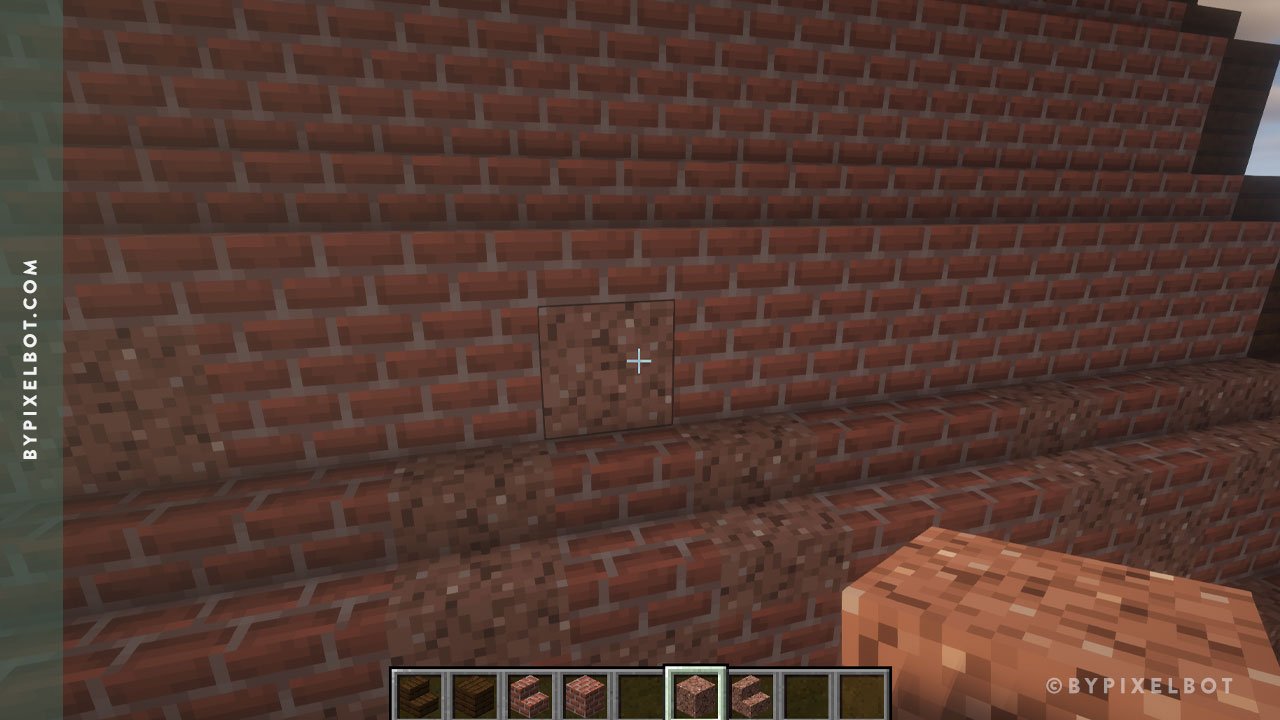
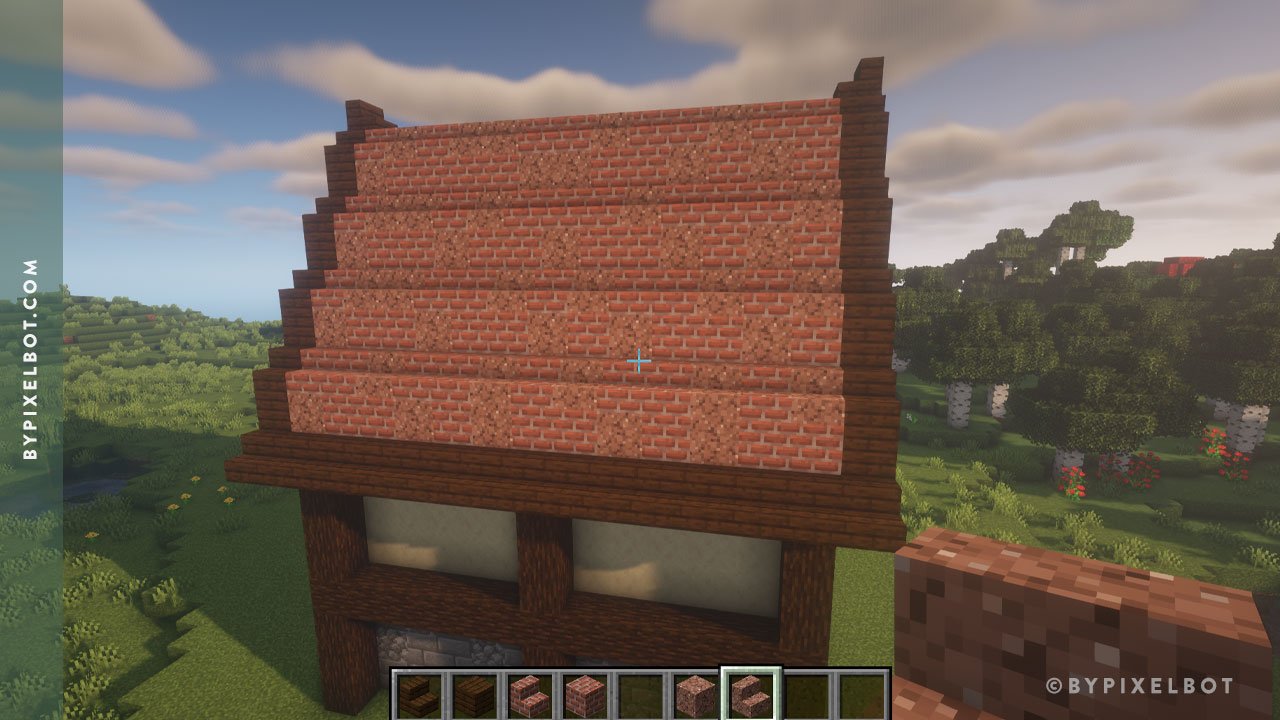
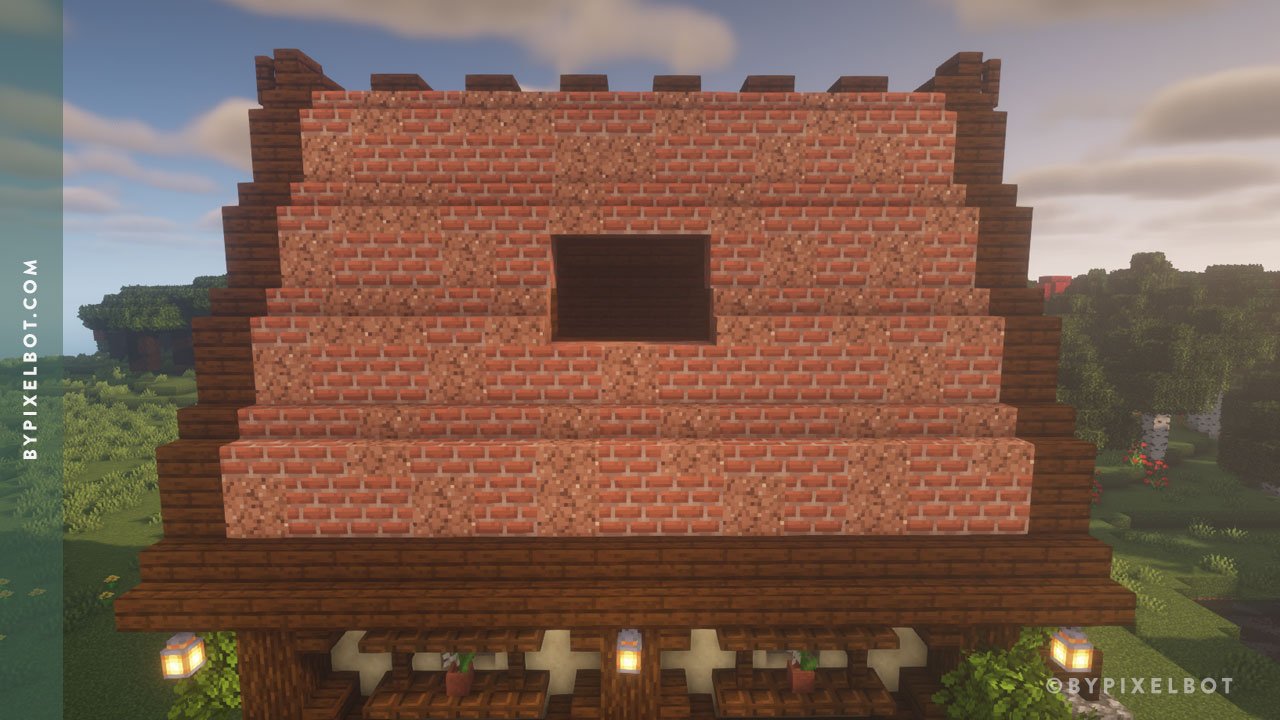
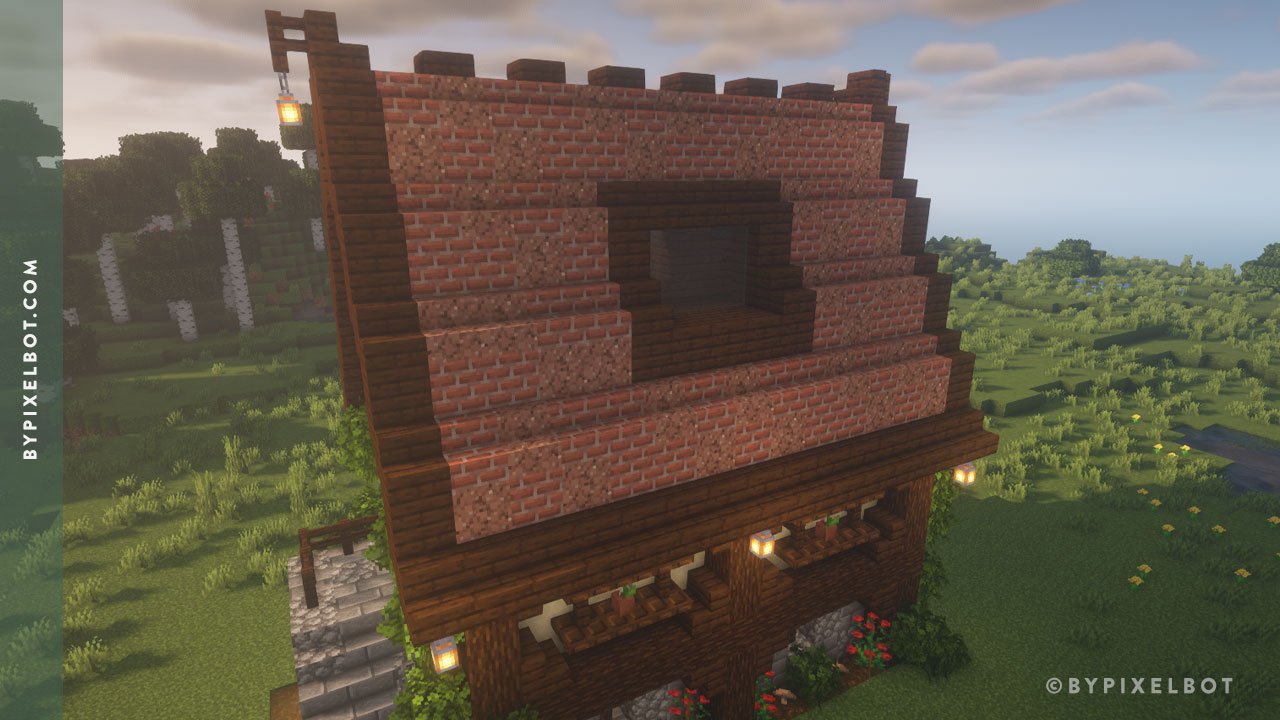
Fill in the roof with brick and brick stairs by following the roof outline. Add variation by applying a combination of granite and granite stairs.

Fill in the front and back of the house with granite and brick stairs that follow the roof pattern between the dark oak and the smooth sandstone wall.

Alternate dark oak slabs on the top of the roof pitch.
Step 5. Doors and Windows

The front of the house:
Gray stained glass pane
Spruce door

Copy this for both sides of the house:
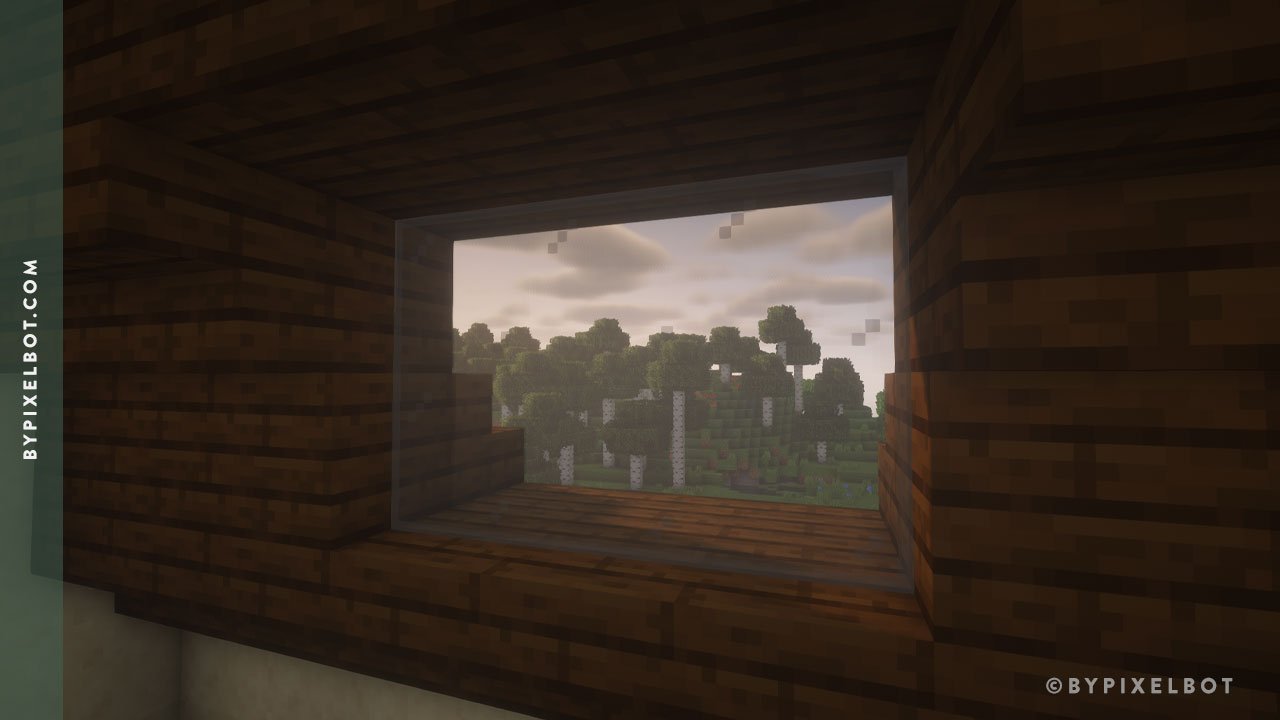
Gray stained glass pane on the second level
Spruce fence on the first level

The back of the house:
Gray stained glass pane
Spruce fence on the first level
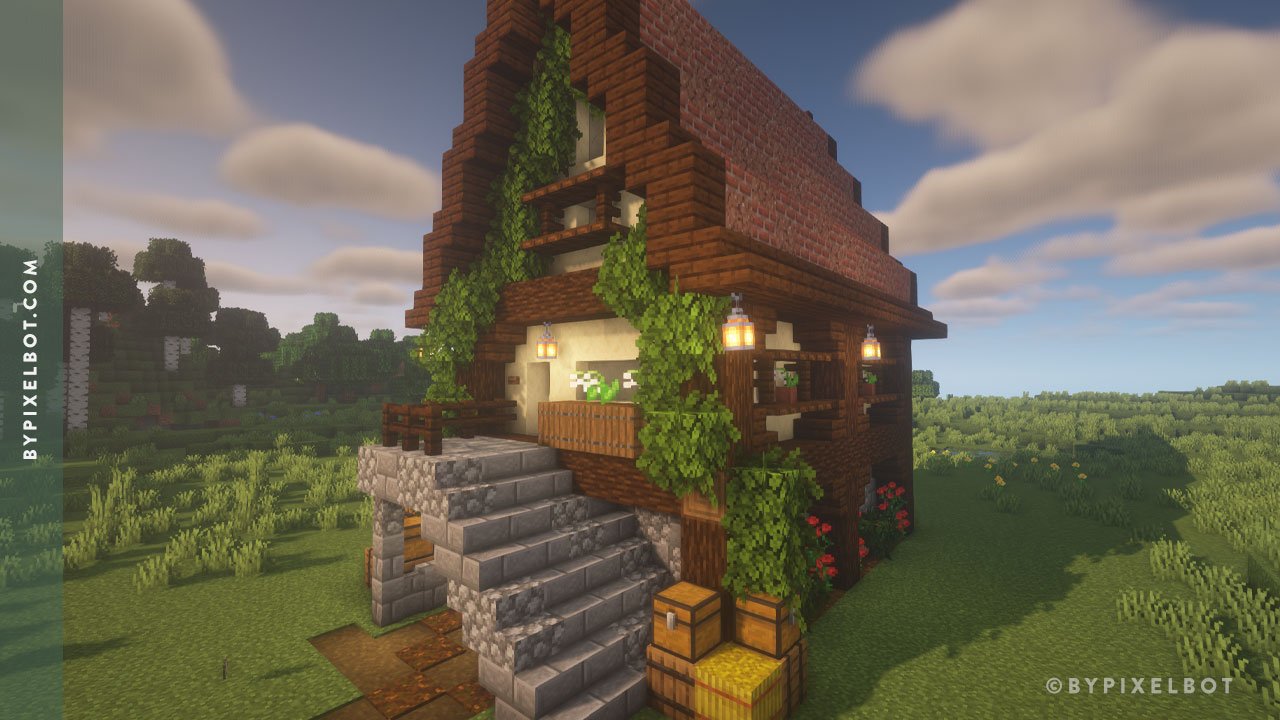
Step 6. Front Entry


Use a combination of stone bricks, cobblestone, stone brick stairs, and cobblestone stairs to create the front entry.
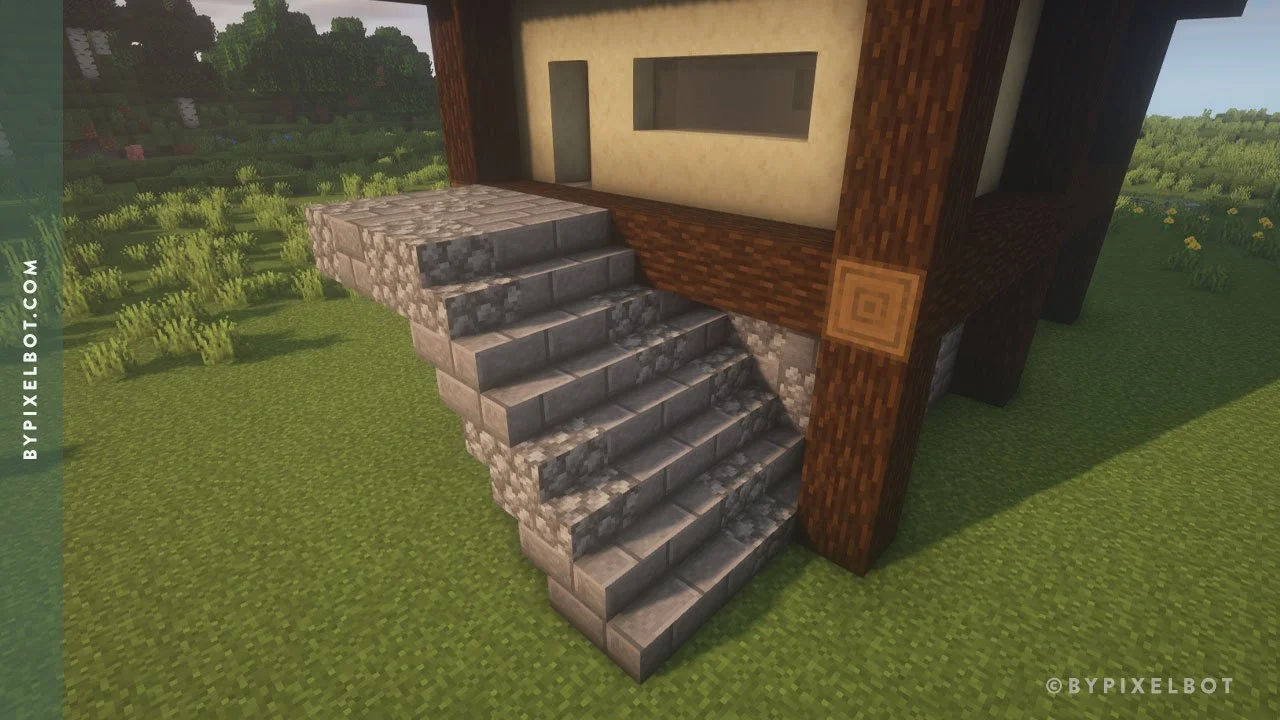
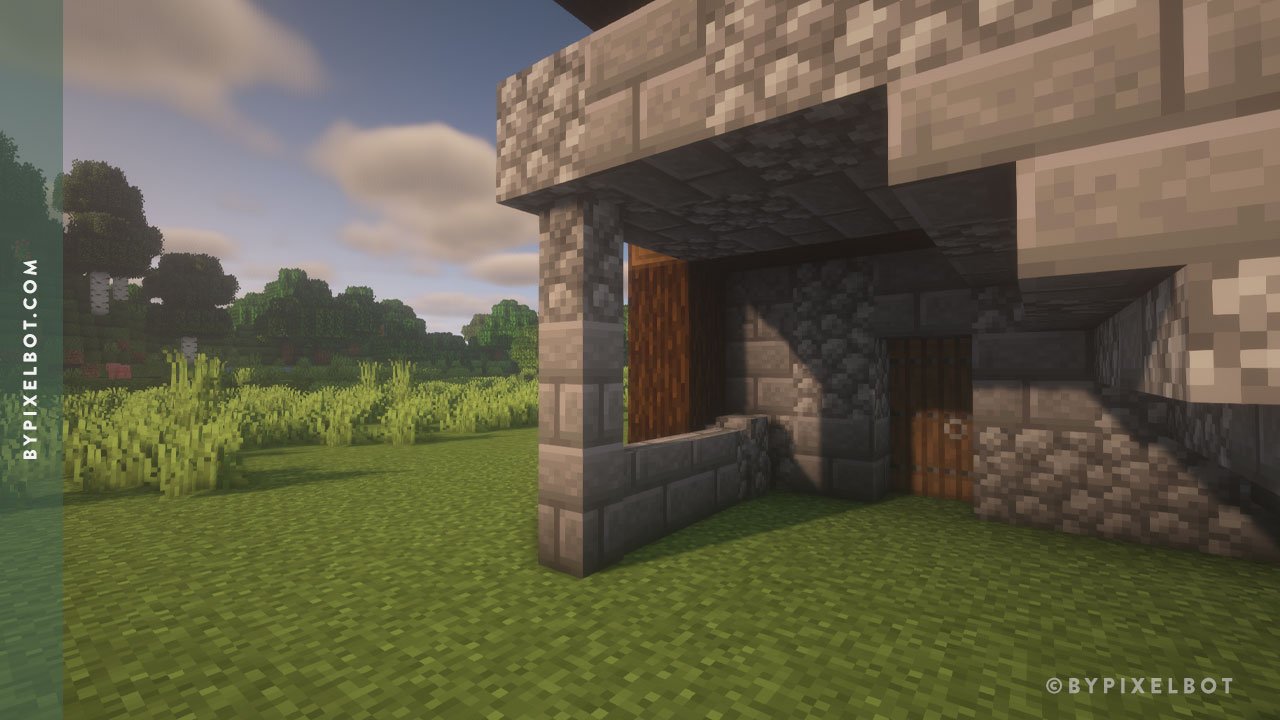
Combination of stone brick and cobblestone walls to create support beam and wall

Dark oak stairs
Dark oak fence
Spruce button
Lantern
Podzol
Lily of the valley
Spruce trapdoor

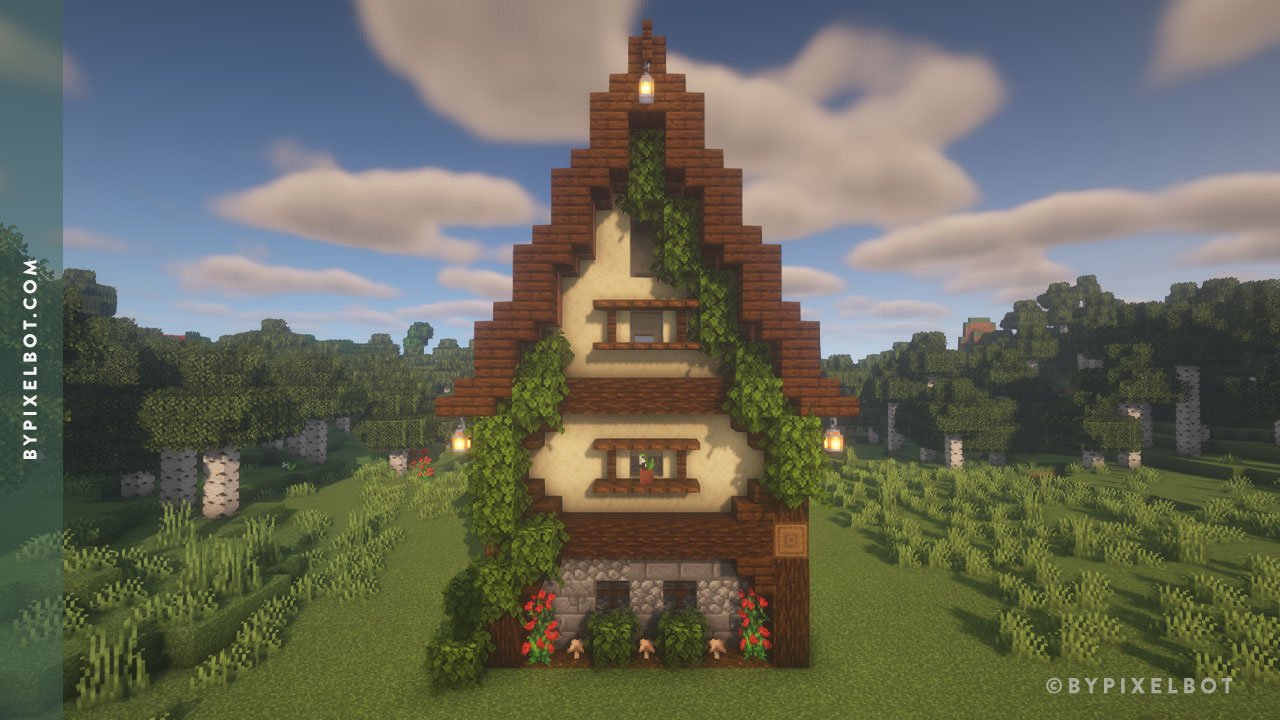
The third level features dark oak fence and dark oak trapdoor on the window design. The pitch features a dark oak fence and lantern. The bottom edge of the roof includes lanterns as well.
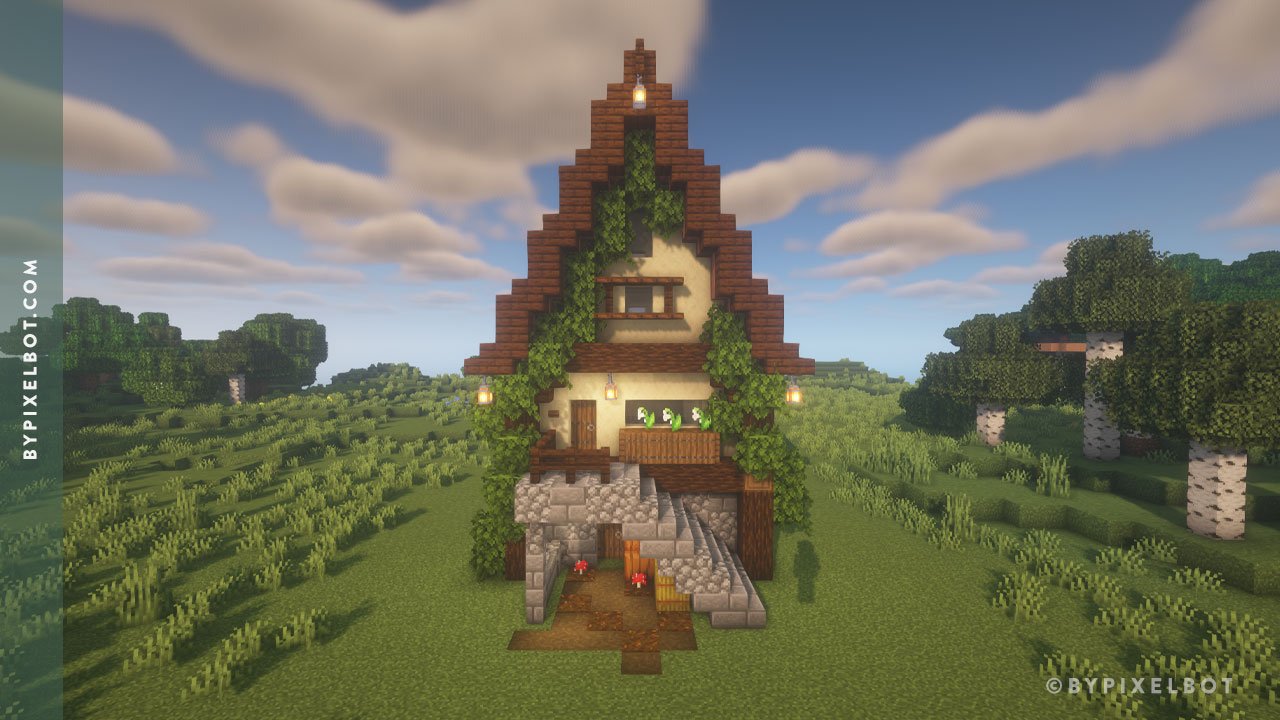
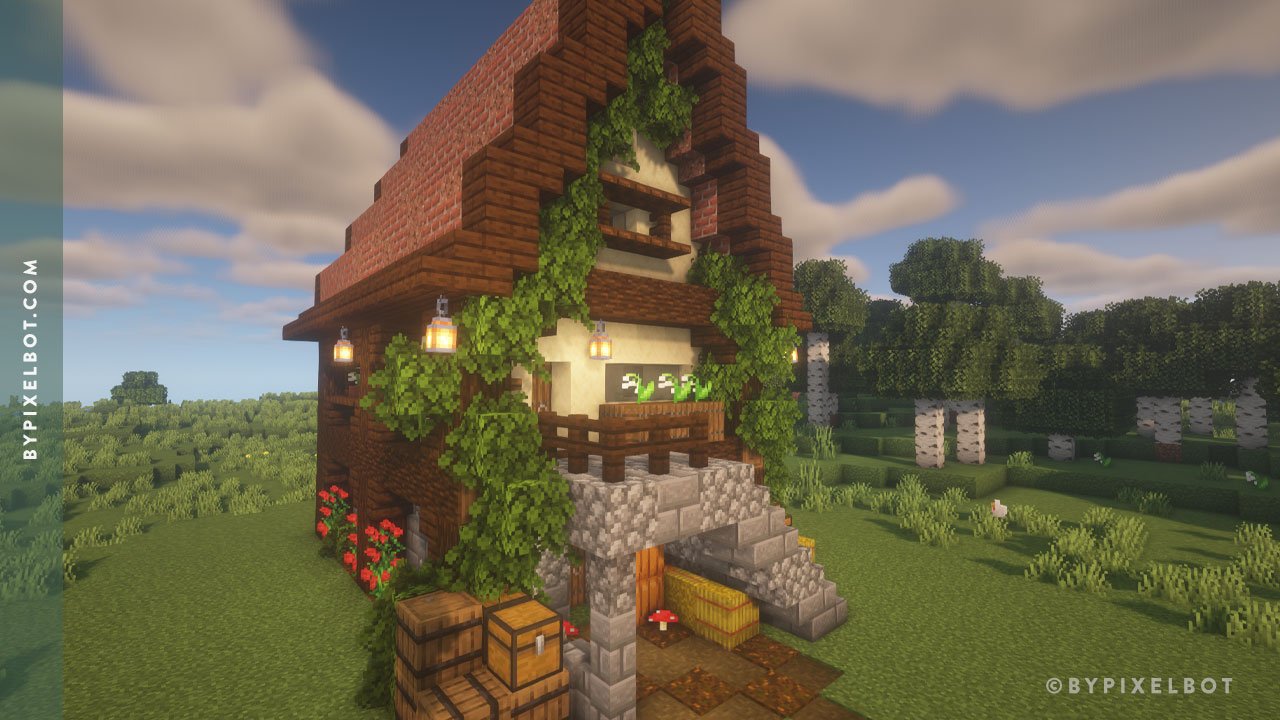
Place dark oak leaves in variation as shown above in the photo.

Lantern
Red mushroom
Podzol and shovel to create path
Pumpkin
Hay bale

Barrel
Chest

Barrel
Chest
Hay bale
Step 7. Sides of the House (Exterior)
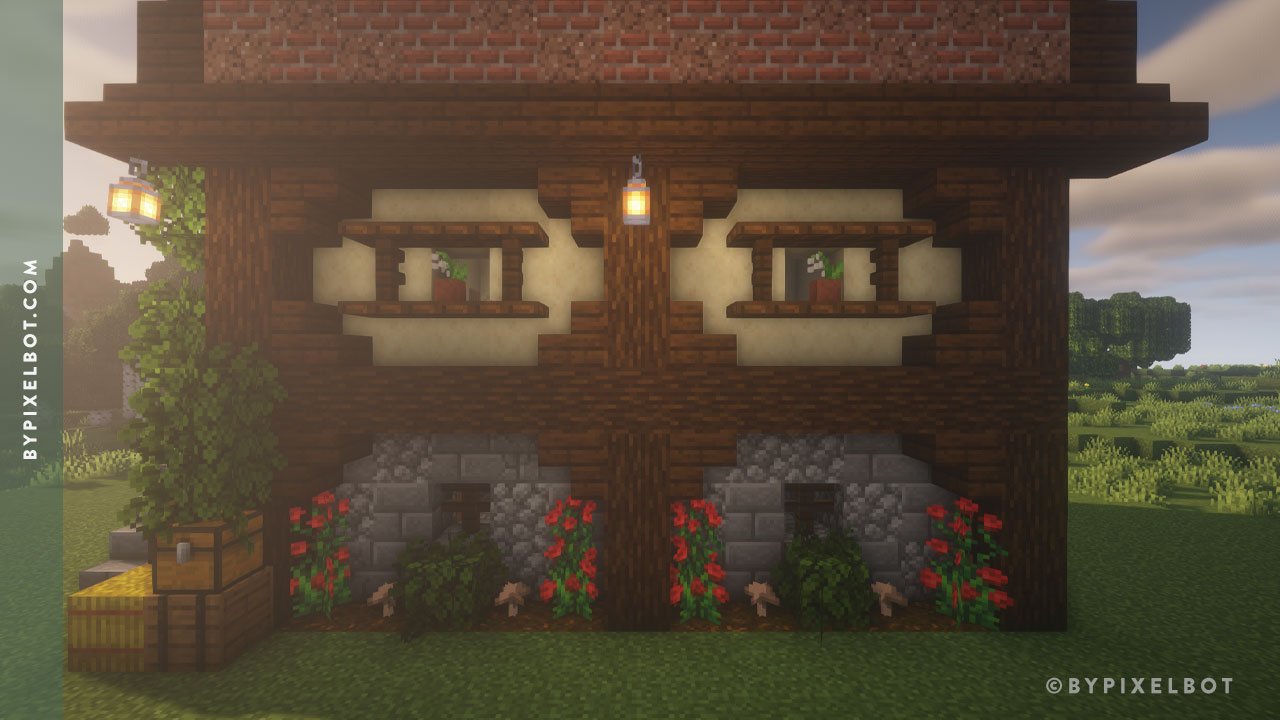
Dark oak stairs
Dark oak trapdoor
Dark oak fence
Flower pot with lily of the valley
Lantern
Rose bush
Brown mushroom
Dark oak leaves
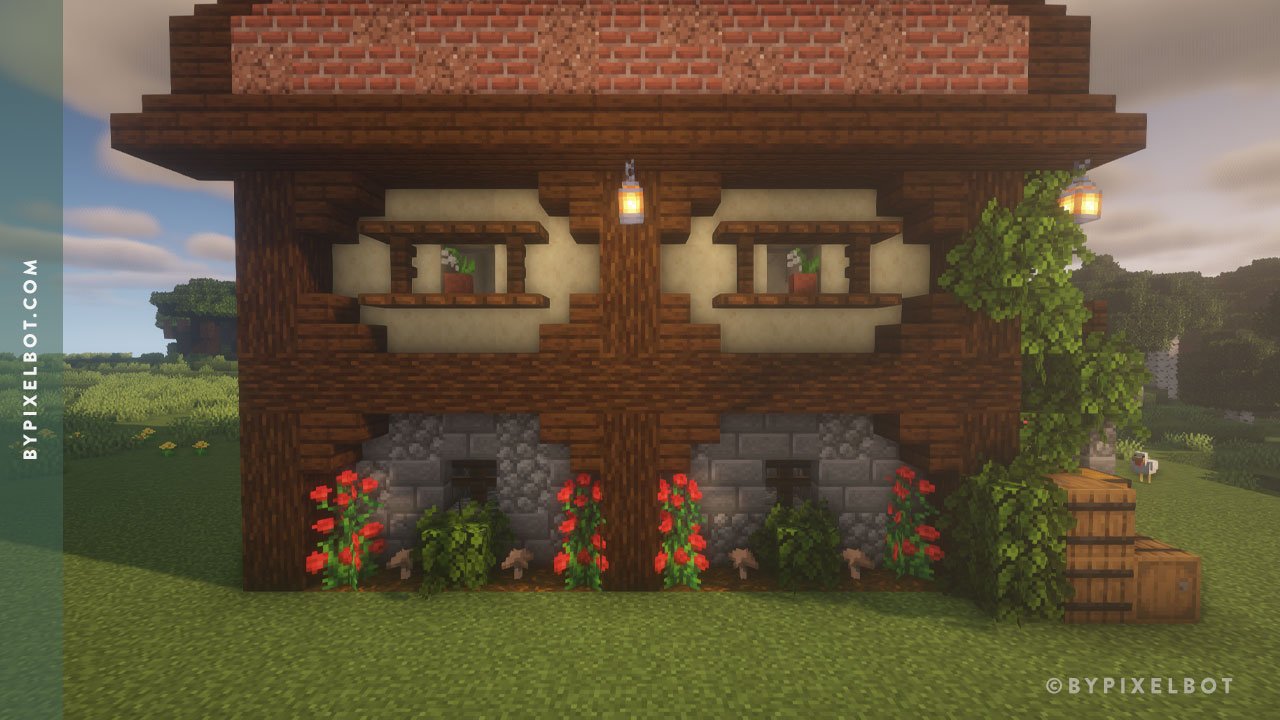
Step 8. Back of the House (Exterior)
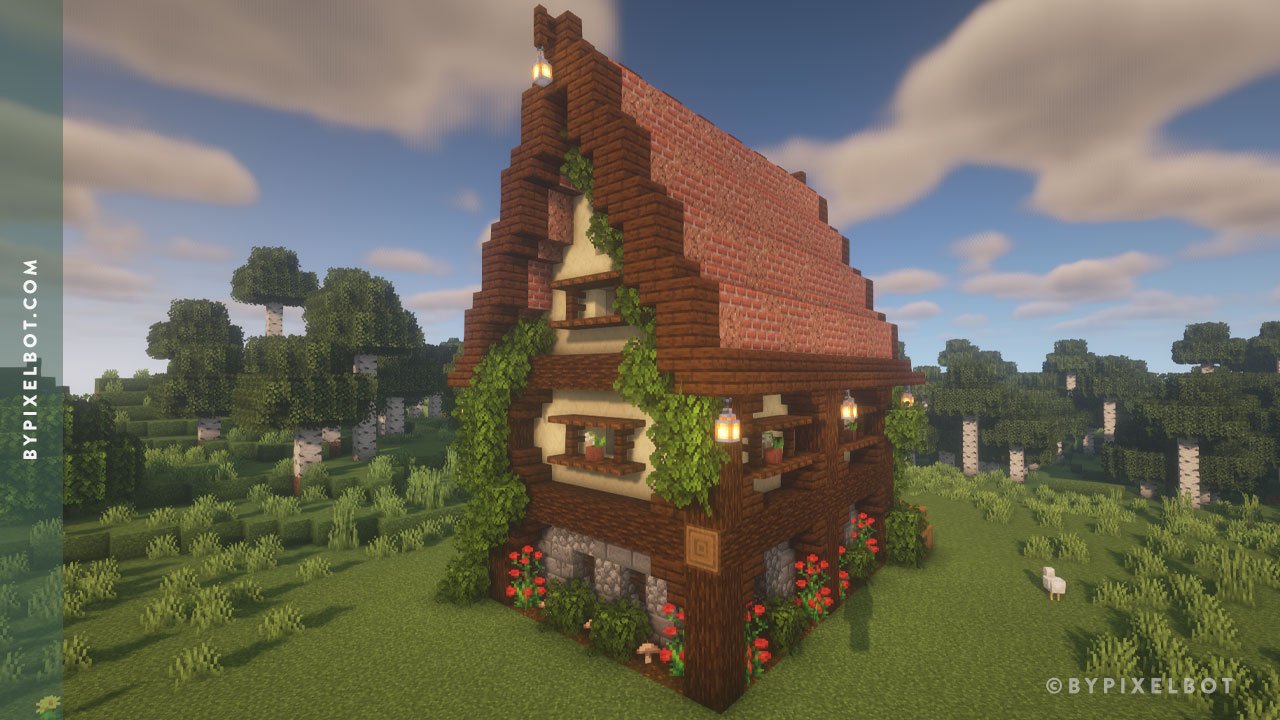
Much like the front of the house, place dark oak leaves in variation on both sides.
Dark oak fence
Lantern
Dark oak trapdoor
Flower pot with lily of the valley
Podzol
Rose bush
Brown mushroom
Dark oak leaves
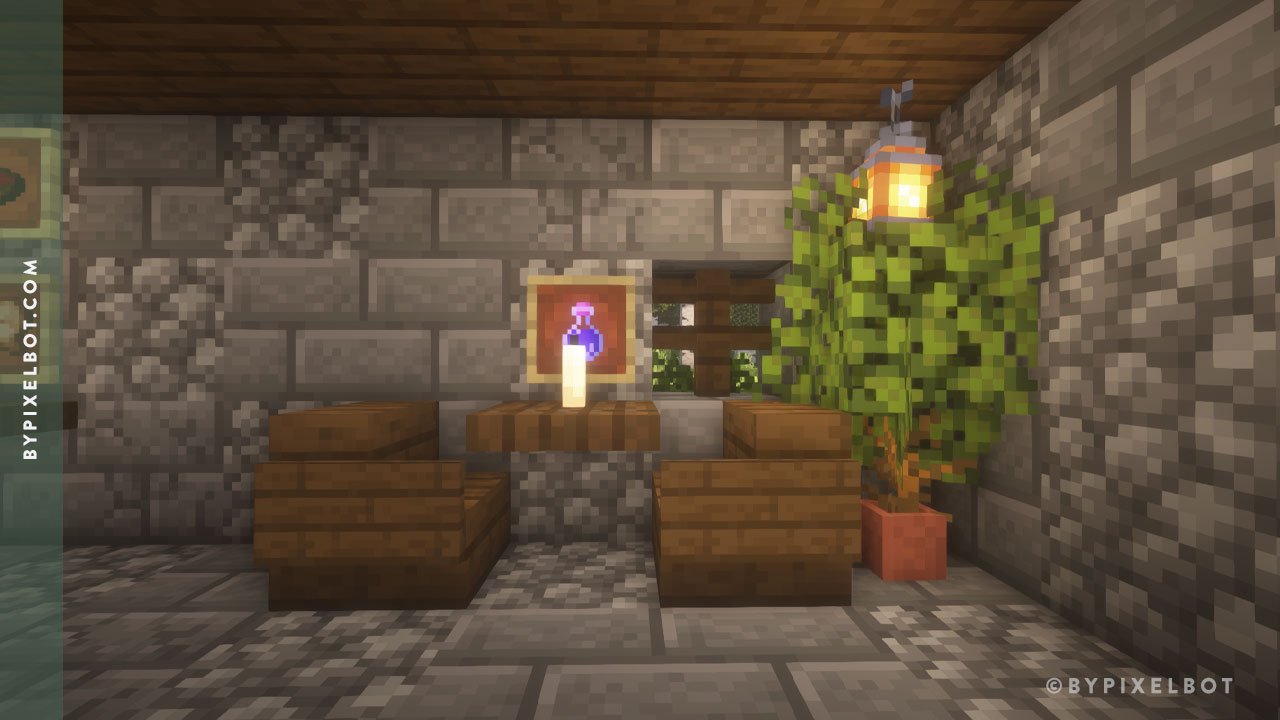
Step 9. Level 1 Furnishing
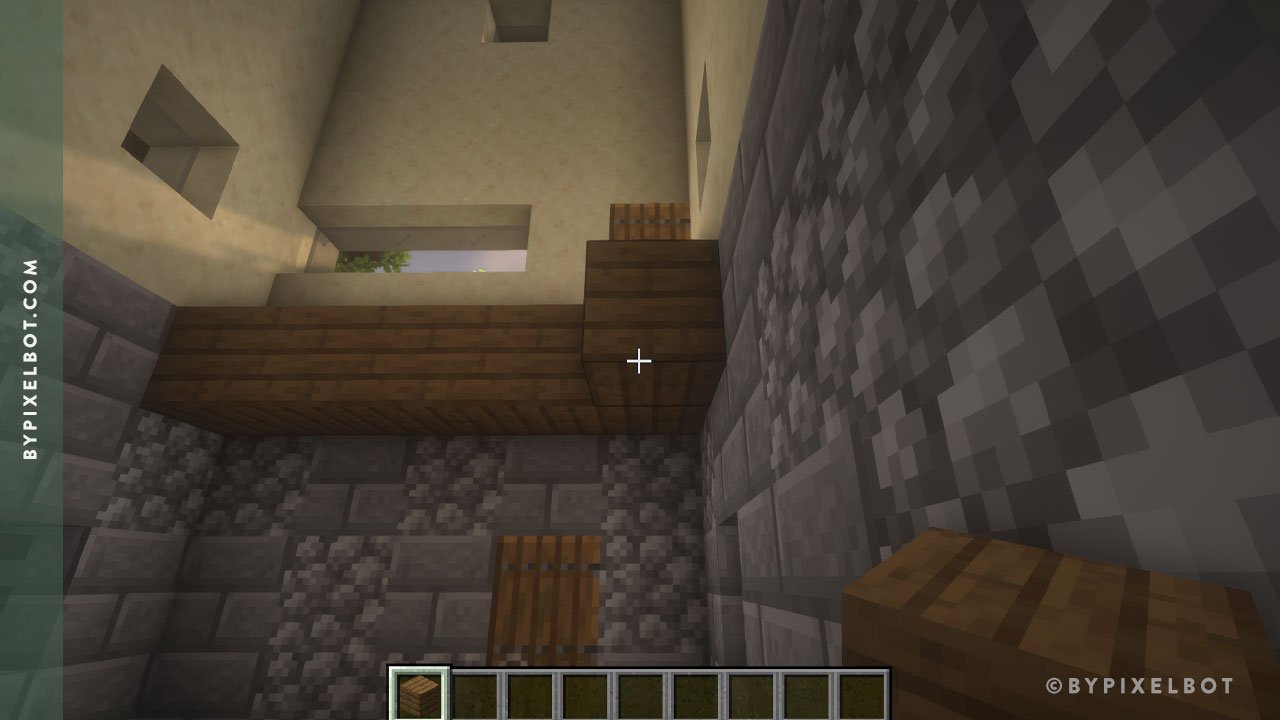
Add spruce planks to the 4th block from the bottom. This will serve as the flooring for level 2.

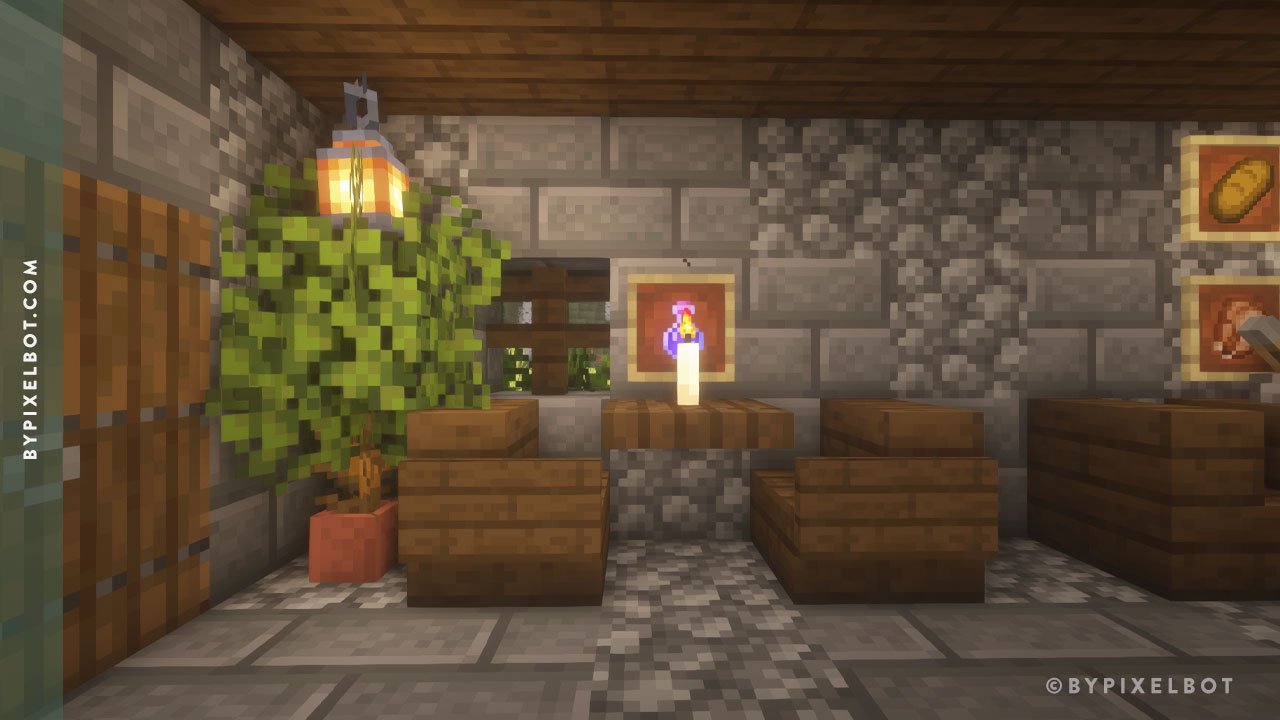
Item frame
Bread
Mushroom stew
Cooked chicken
Baked potato
Beetroot soup
Cooked rabbit
Lantern
Barrel
Stone brick wall
Iron trapdoor
Beehive
Smoker
Brewing stand

Spruce stairs
Spruce trapdoor
Flower pot
Lever
Spruce stairs
Spruce sign
Spruce trapdoor
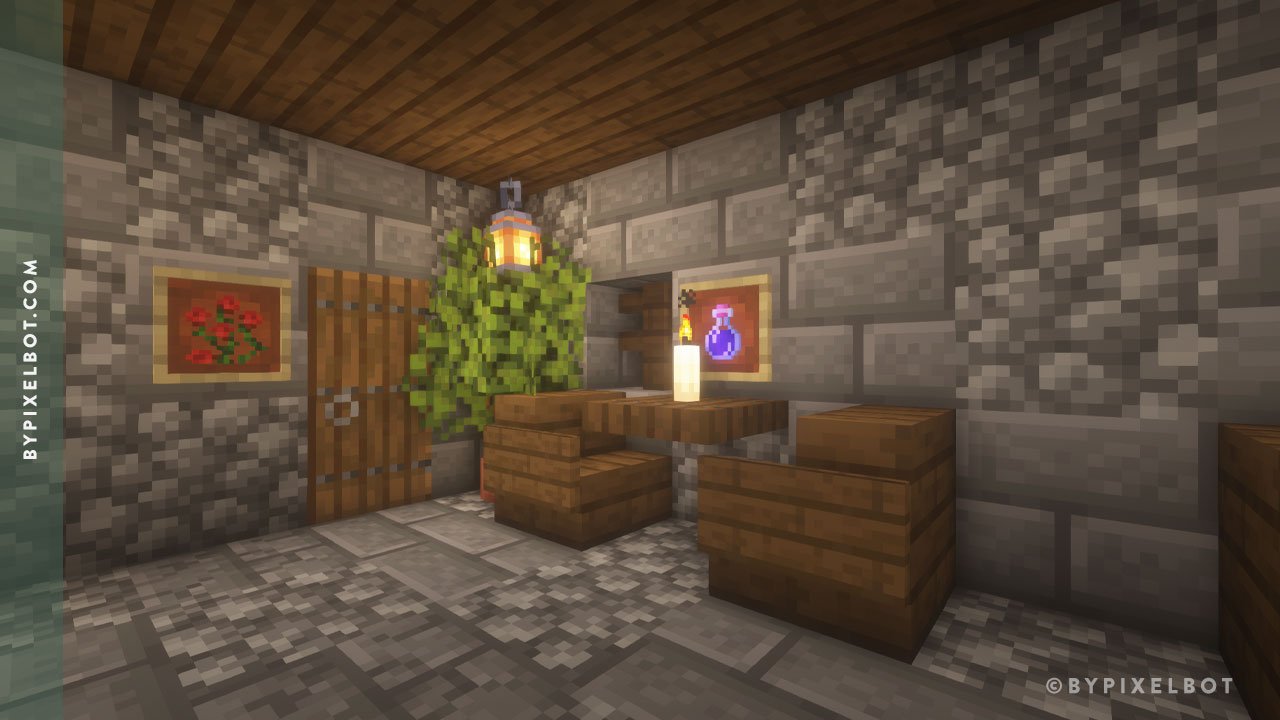
Candle (w/ flint and steel to light up)
Item frame (w/ potion)
Item frame (w/ rose bush)
Lantern
Flower pot
Dead bush
Azalea leaves
Step 10. Level 2 Interior

Place spruce planks on the fourth block from the ground up. Leave about four blocks of open space to put the stairs in.
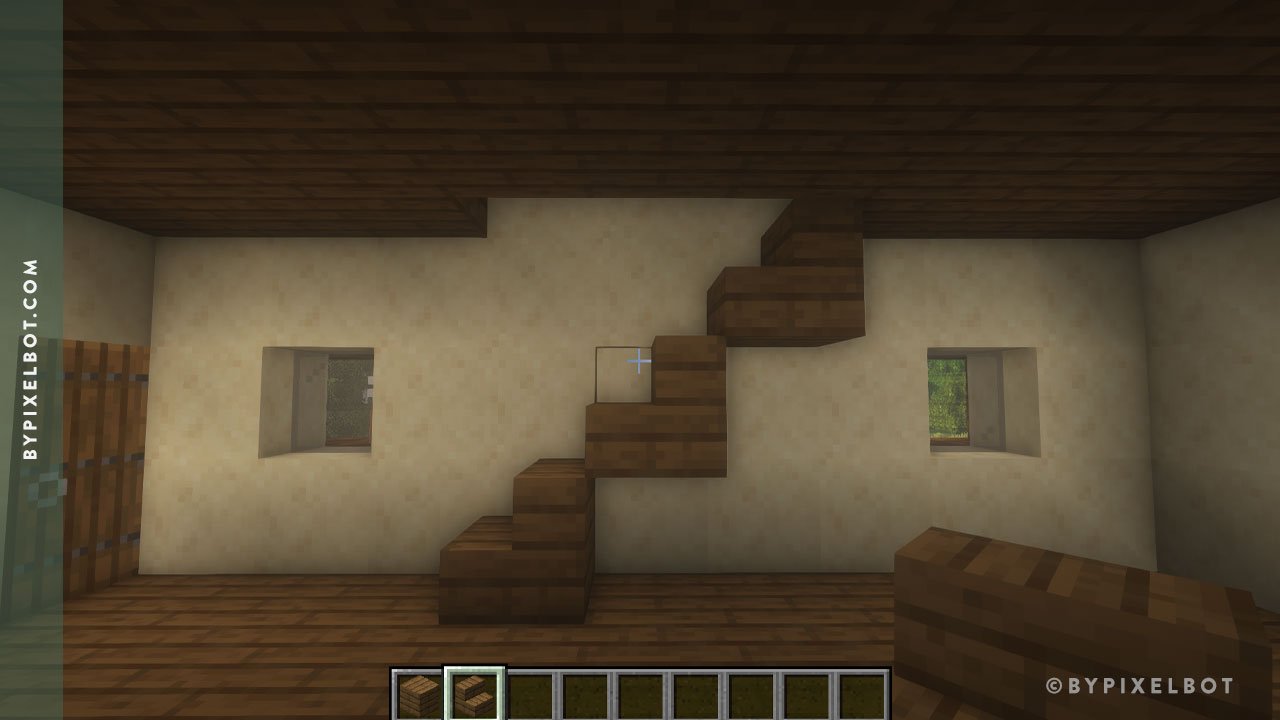
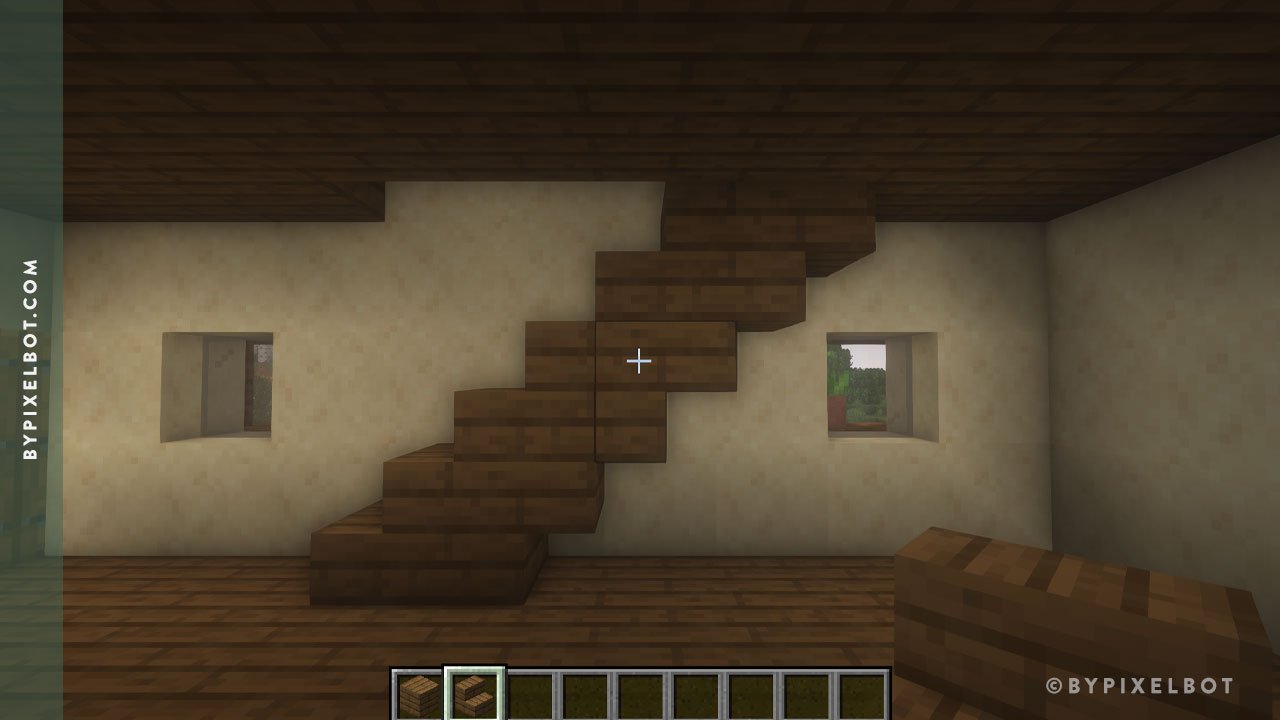
Spruce stairs

Jukebox
Cauldron w/ water
Tripwire
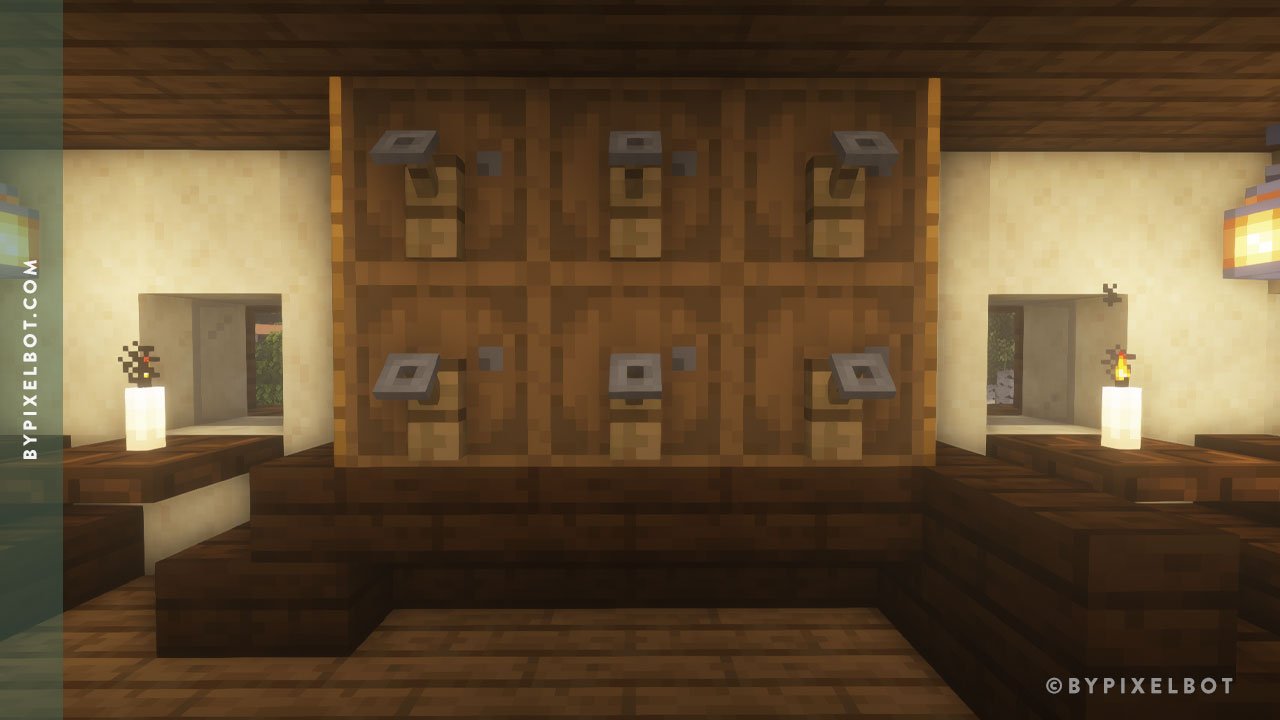
Beehive
Smoker
Spruce trapdoor
Candle w/ flint and steel
Flower pot w/ dark oak sapling
Cobblestone wall
Iron trapdoor
Brewing stand

Dark oak stairs
Dark oak trapdoor
Candle w/ flint and steel
Flower pot w/ azalea
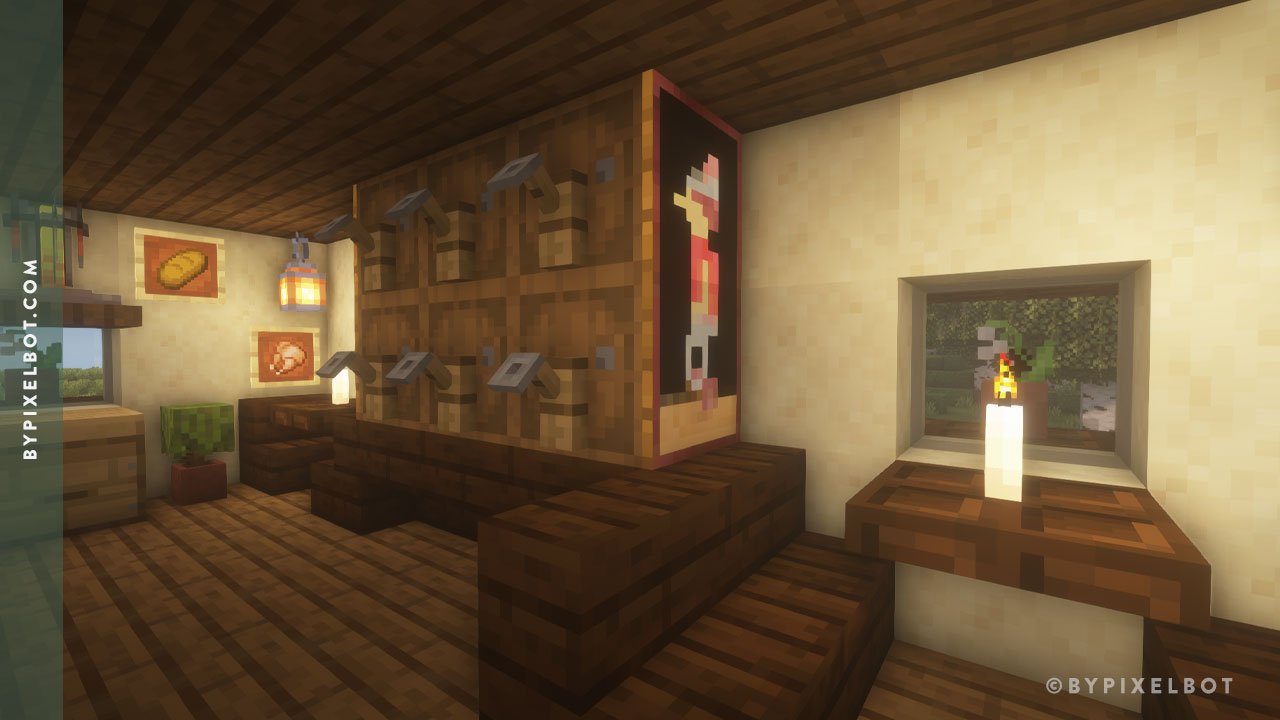
Lantern
Item frame
Bread
Cooked chicken

Dark oak stairs
Dark oak trapdoor
Candle w/ flint and steel
Bookshelf
Sea pickle
Lantern
Item frame
Potion
Red carpet
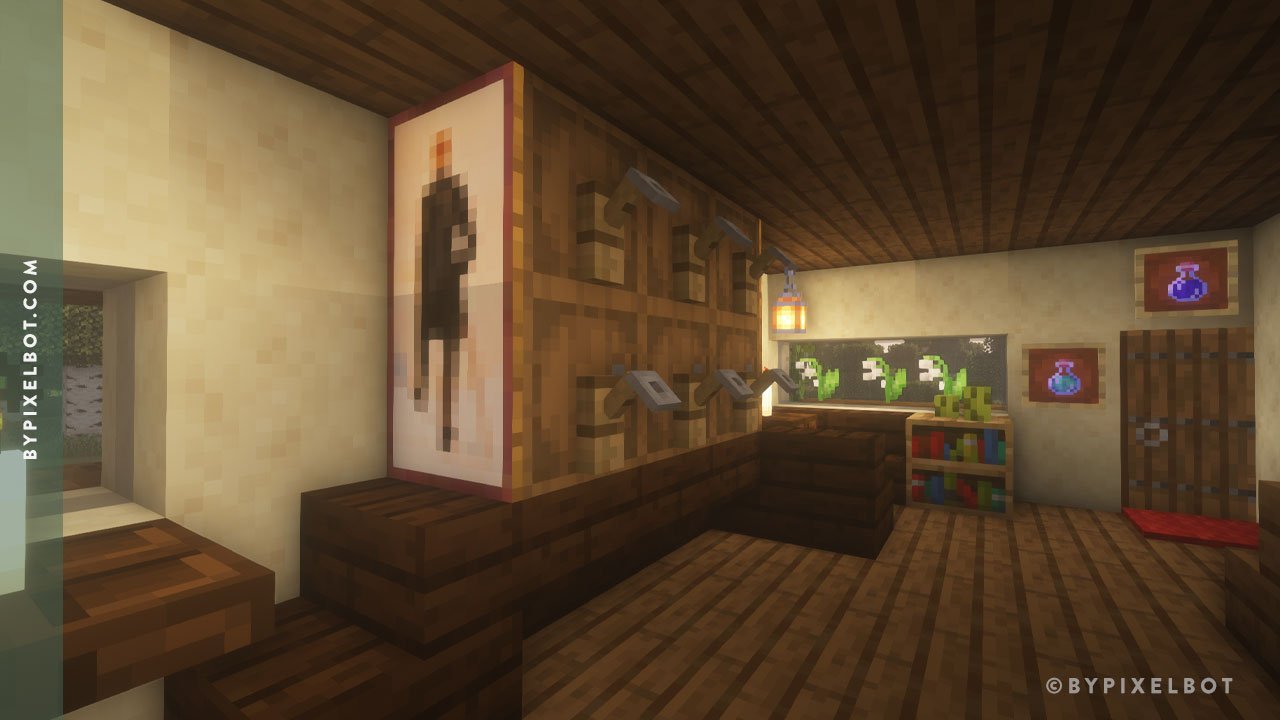
Dark oak stairs
Barrel
Tripwire hook
Painting

Item frame
Pumpkin
Cake
Melon
Step 11. Level 3 Ceiling

Place an upside down dark oak stair on the third block from the floor.

Place dark oak planks above the upside down stairs across.

Then, place upside down dark oak stairs across.

Then, again with dark oak planks.

In the middle, place dark oak planks all the way across. Now you’ll want to copy the exact same steps on the other side.

This is what you should be left with.
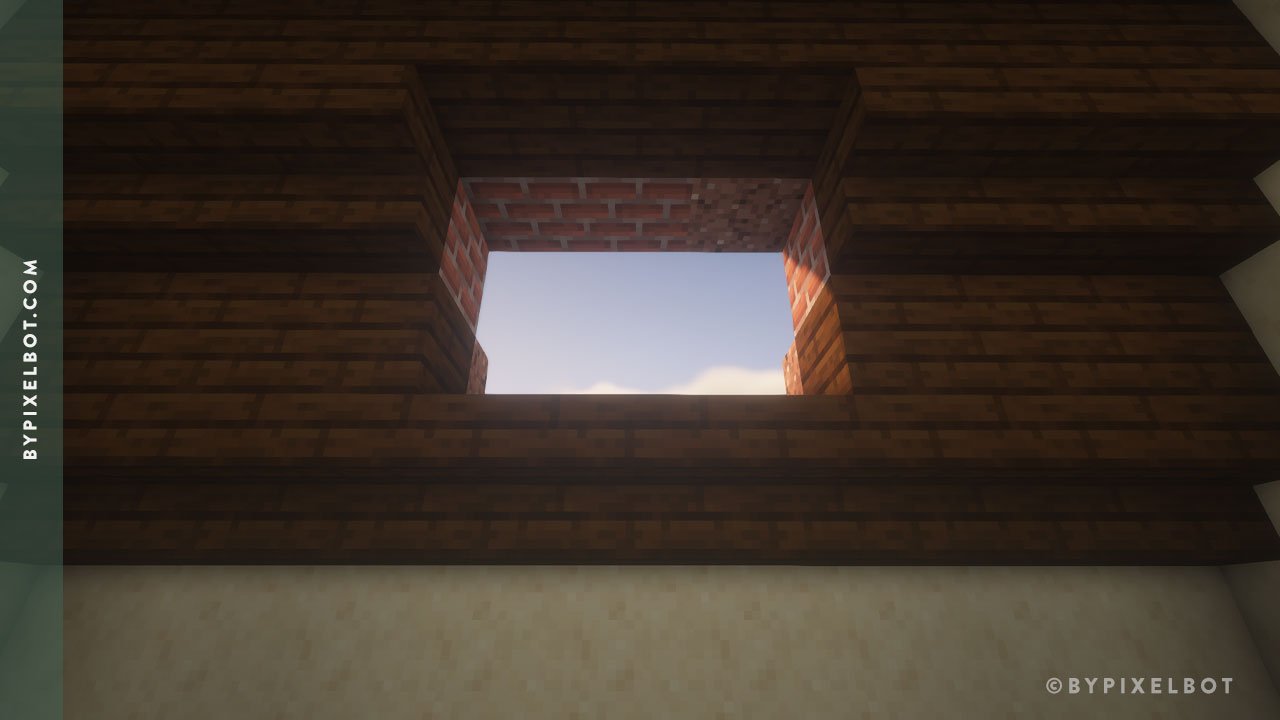
Punch out a 3x2 area in the middle of the roof as shown above.
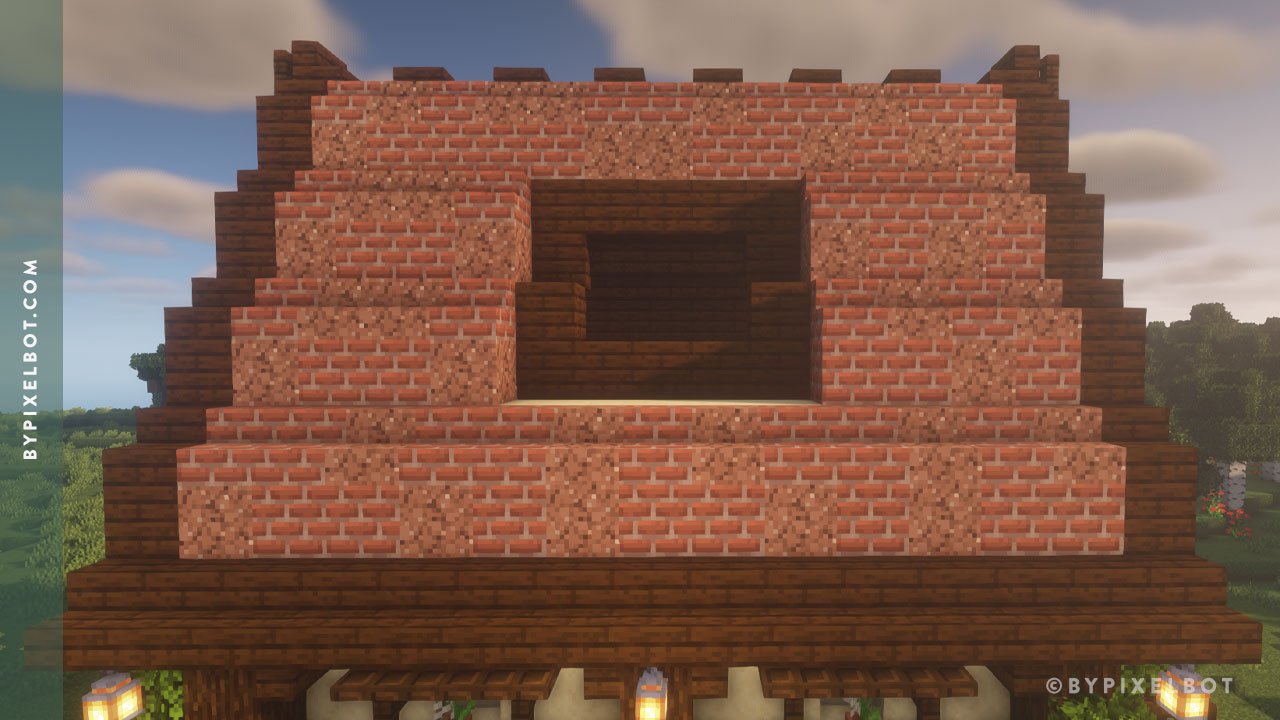
Punch out the blocks surrounding the opening and place with dark oak stairs and planks.
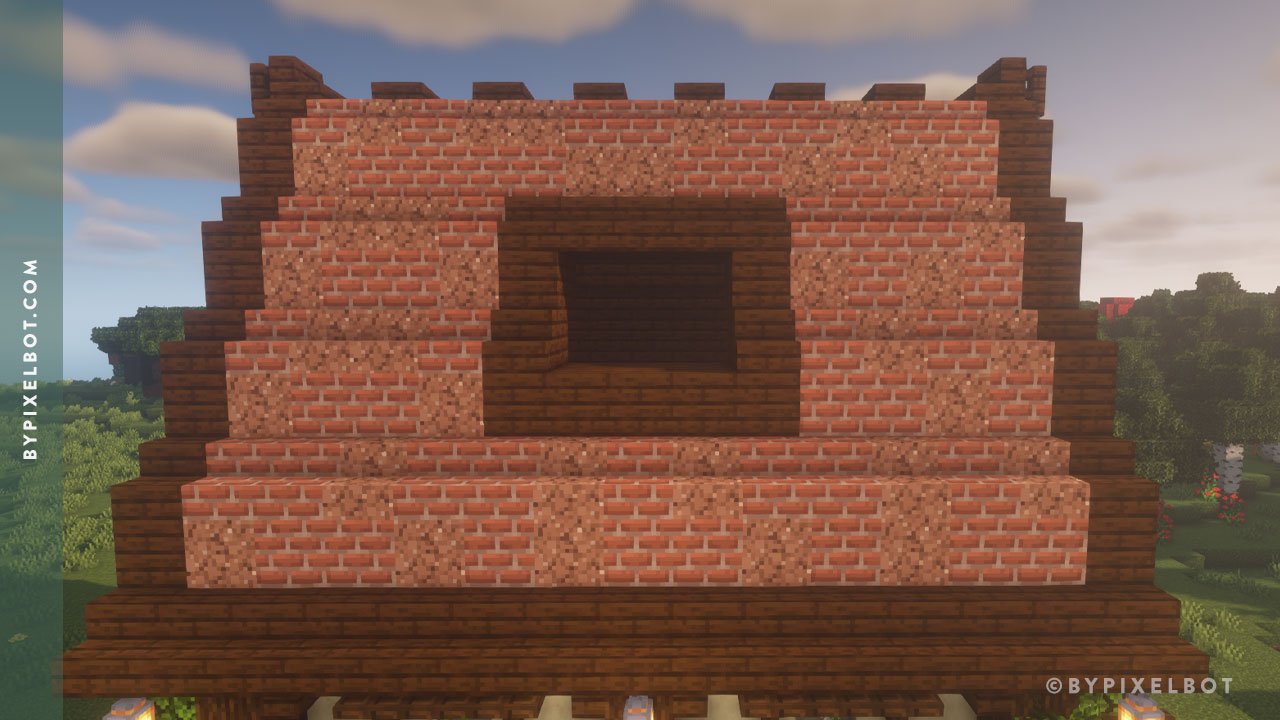
Place gray stained glass pane to complete the window. Copy the same steps and apply it to the other side.

This is what you should now be left with.
Step 12. Level 3 Interior
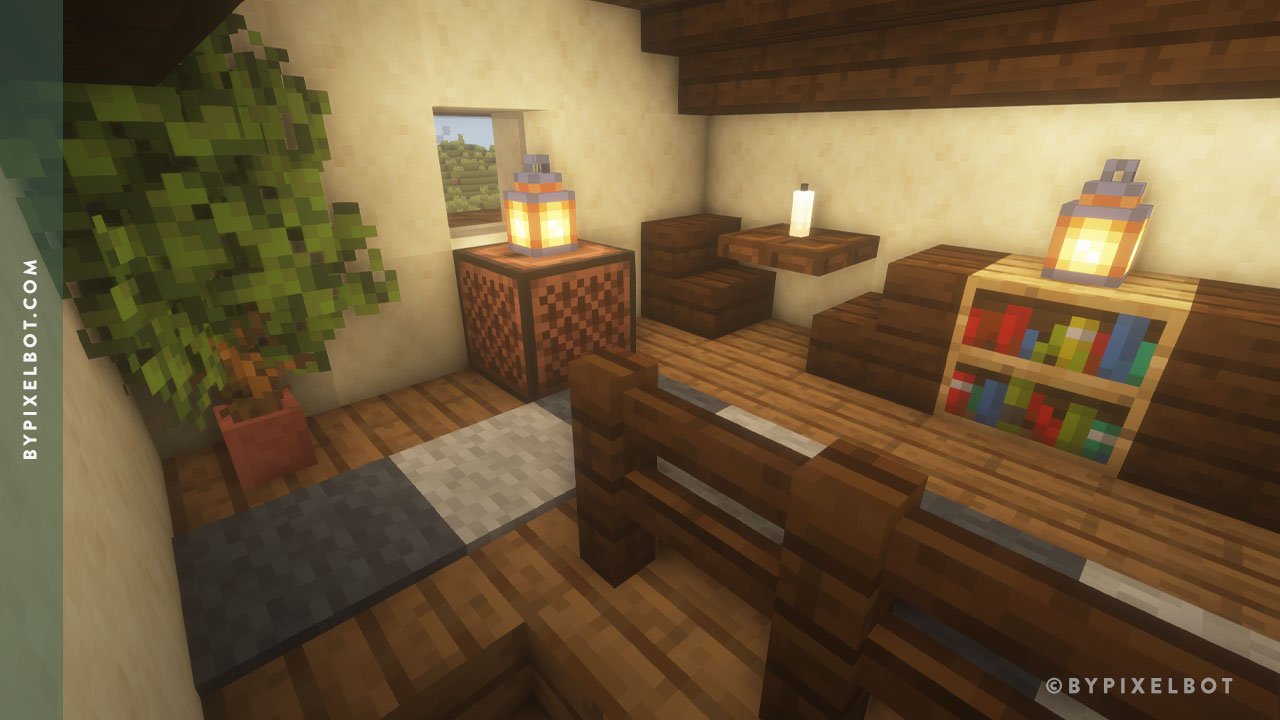
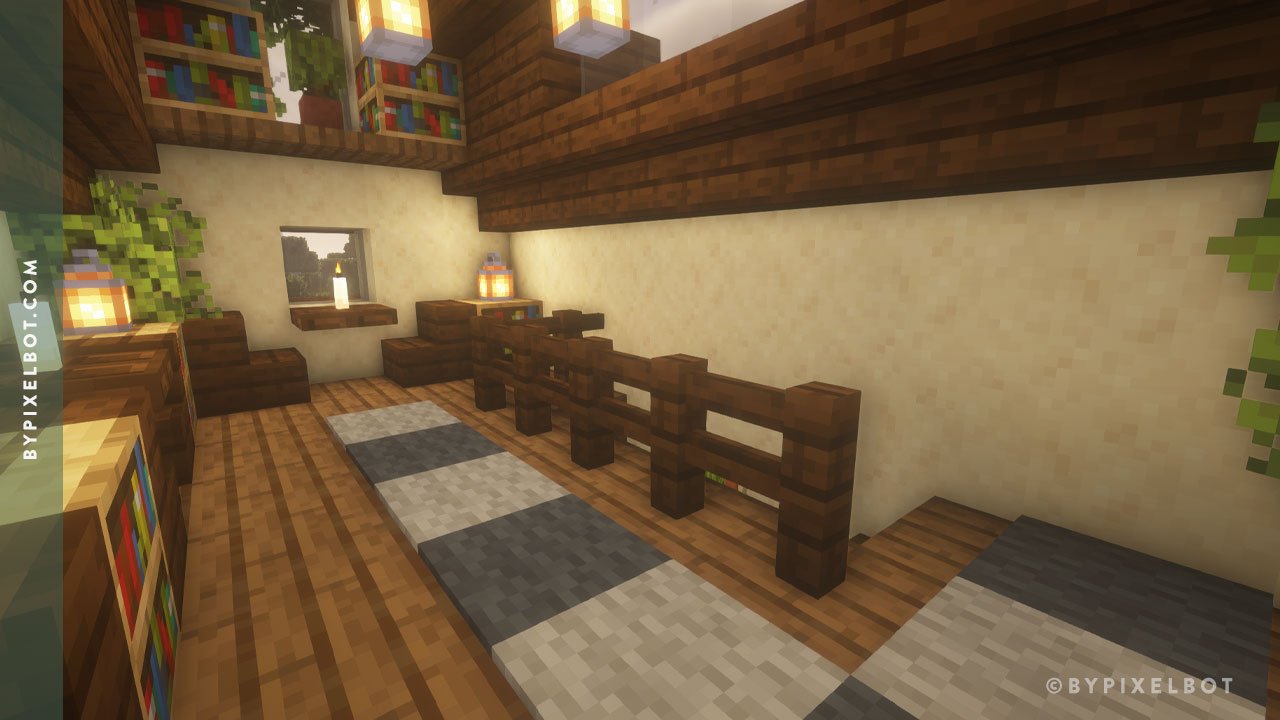
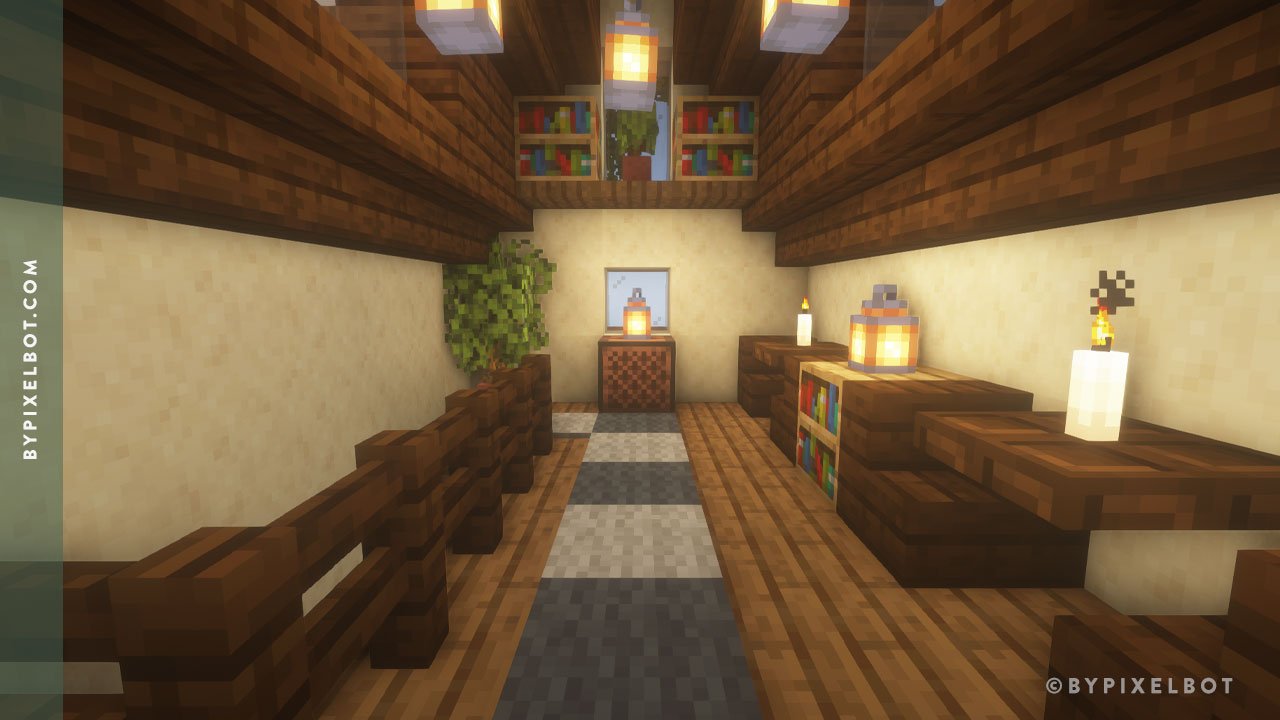
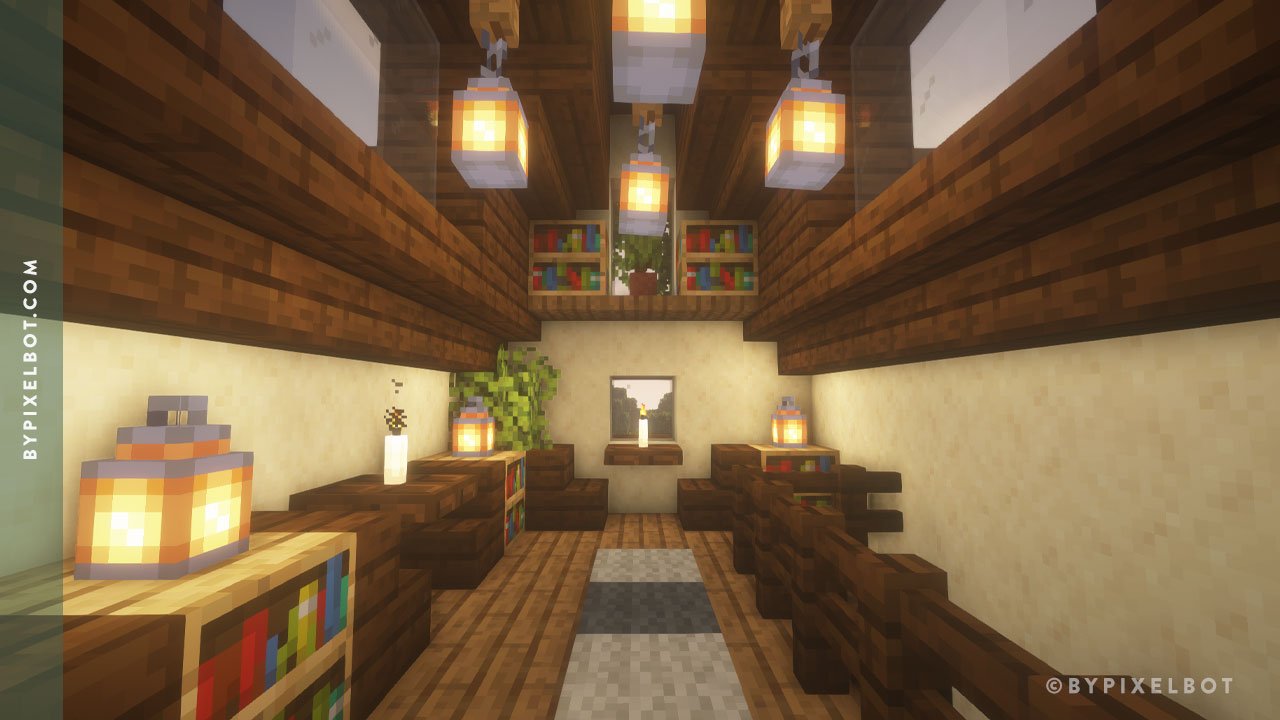

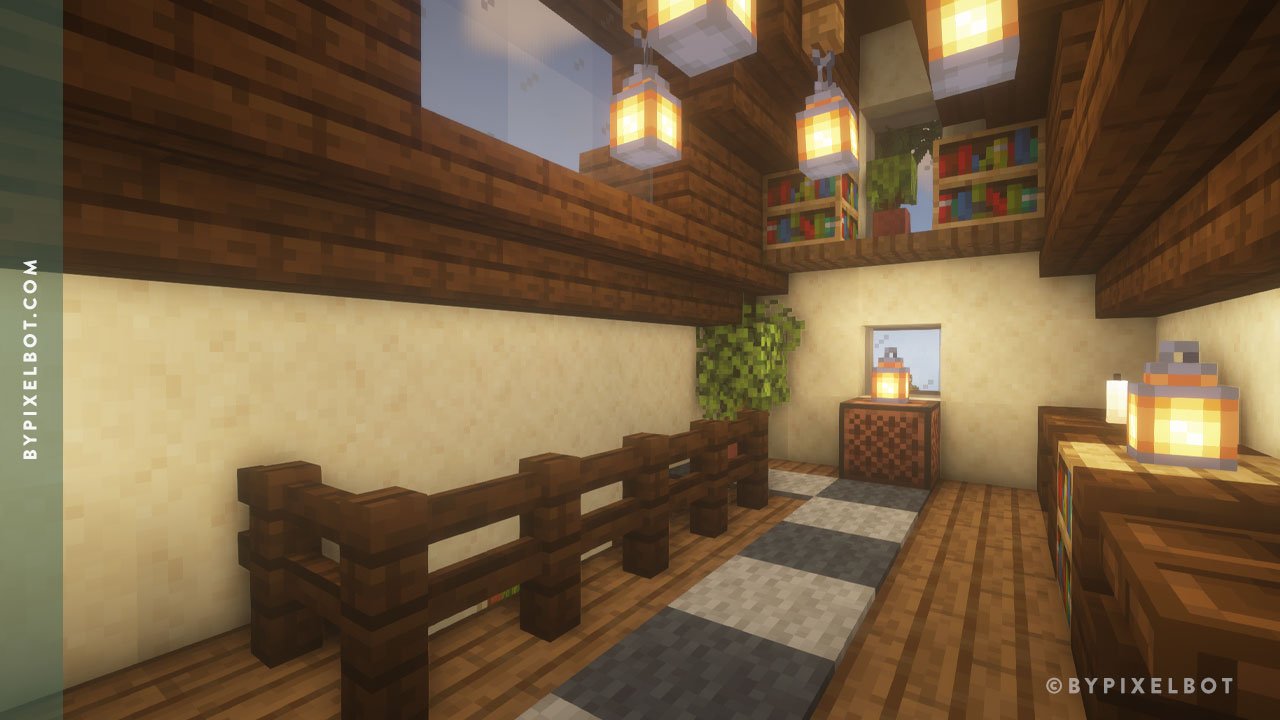
Gray carpet and light gray carpet
Flower pot w/ dead bush and azalea leaves
Jukebox
Lantern
Dark oak stairs
Dark oak trapdoor
Bookshelf
Candle w/ flint and steel
Dark oak fence (for stair railing)
Flower pot w/ azalea (by the window)
Spruce fence (for the chandelier)
Did you use this build in your survival world? Let me know! I’d love to hear from you.
TIP: Pin this image below by hovering over it to save it to your Pinterest account and refer back to it later.