How to Build Basic Oak Starter House in Minecraft
Disclosure: This page contains affiliate links and I may earn a commission if you click on them and make a purchase. This comes at no additional cost to you and allows me to continue to run this website. Lastly, please do not copy, modify, and/or redistribute my content and claim as your own. For info on photo/video sharing, see the terms and conditions page. Thanks for your support!
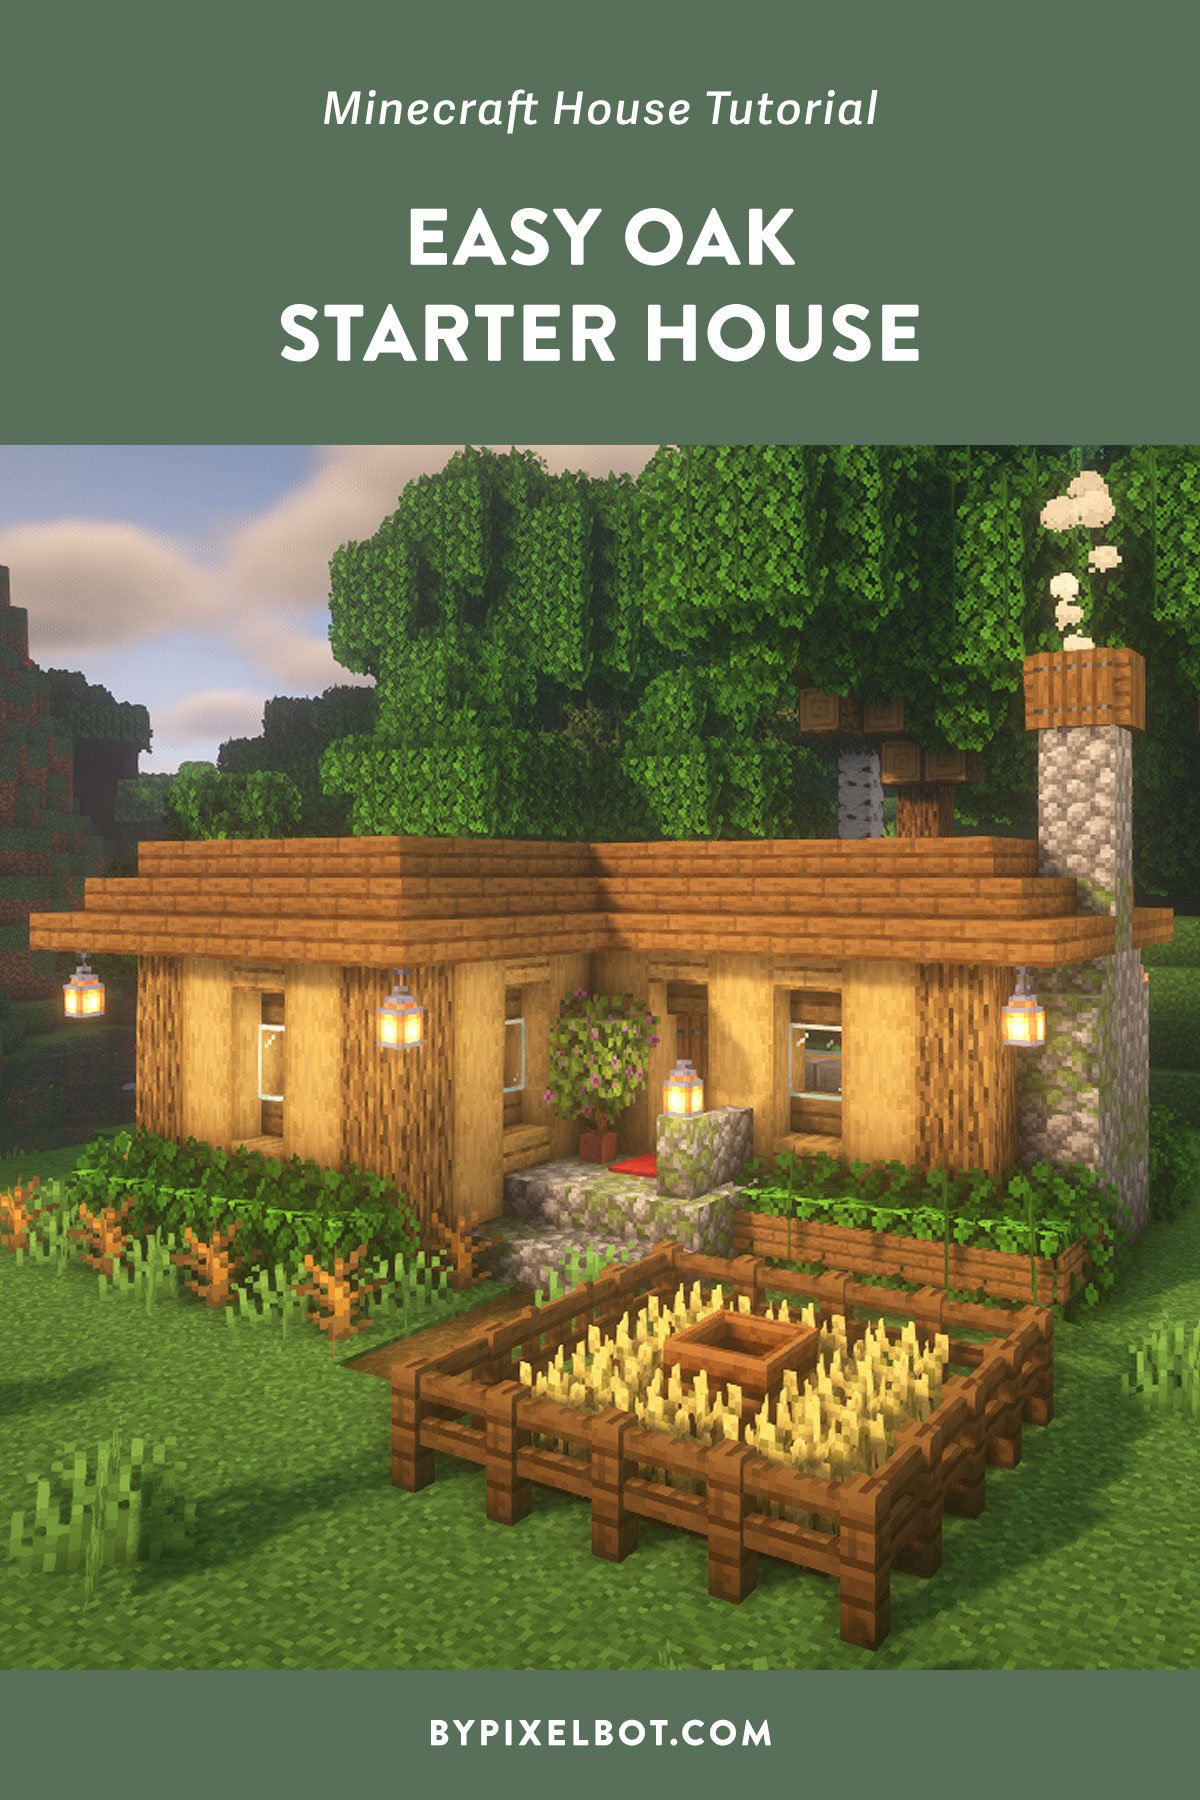
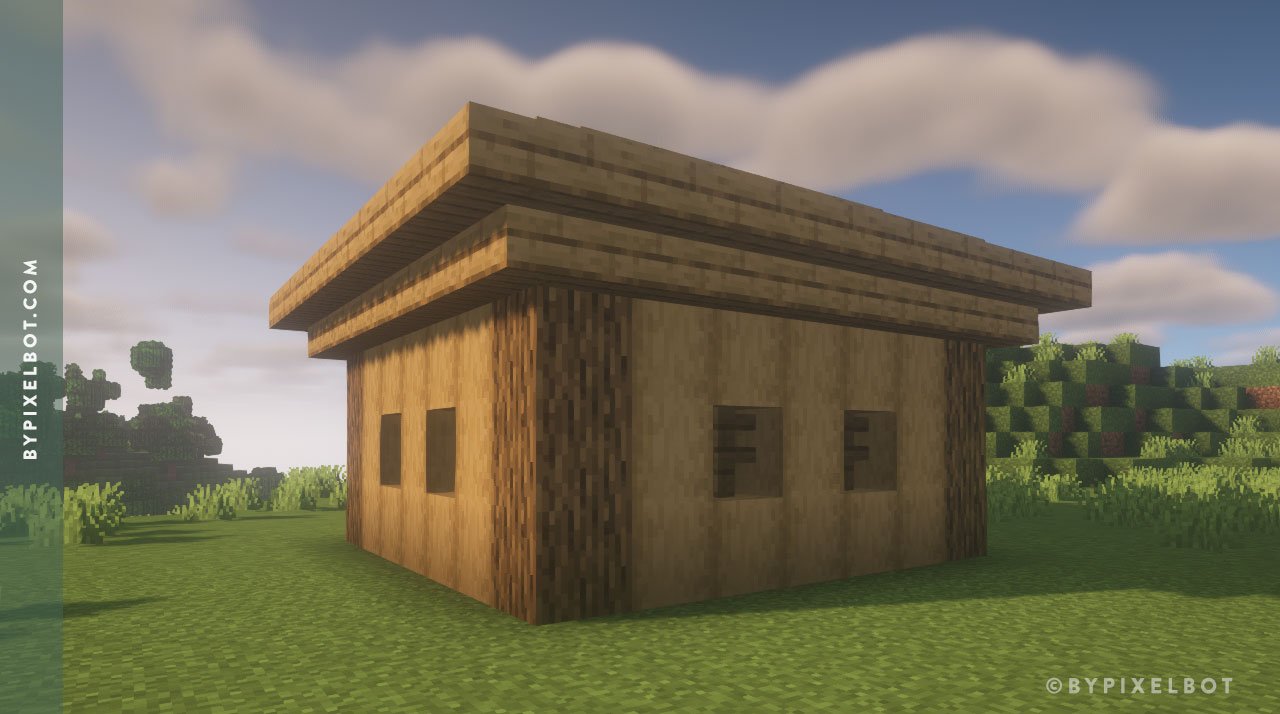
In this tutorial, I will show you how to build a basic oak starter house in Minecraft. What makes this starter survival house different is that I’m going to focus on just oak wood.
When starting out, oak will be the easiest wood material to come across, especially if you spawn in the Plains biome. It comes equipped with the essentials like a bed, furnace, crafting table, chest, and armor. As far as location, the house is near a body of water, caves, and even a village!
So, if you’re truly a beginner Minecraft player, this is the starter house for you! This was built in 1.19 Java Edition.

Before we get into the tutorial, please make sure you download our Material Checklist right above so that you can have it on hand to help keep track of the materials while you collect resources.
How to Build a Basic Oak Starter House in Minecraft (Step-by-Step) Tutorial
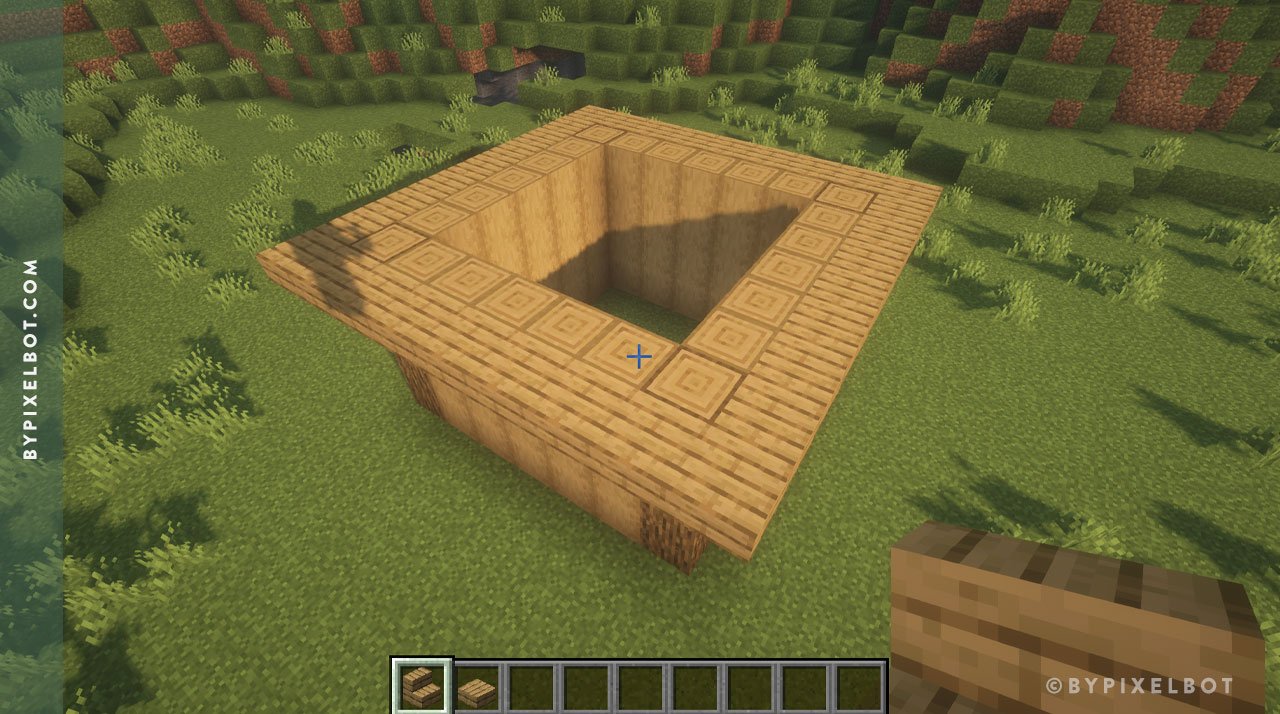
Step 1. Layout Dimensions

Copy the layout dimensions as shown above.
Step 2. Walls

Build 4 blocks up with oak logs on the marked spots for the pillars.

Then, build five blocks up with stripped oak logs in between the oak log pillars.
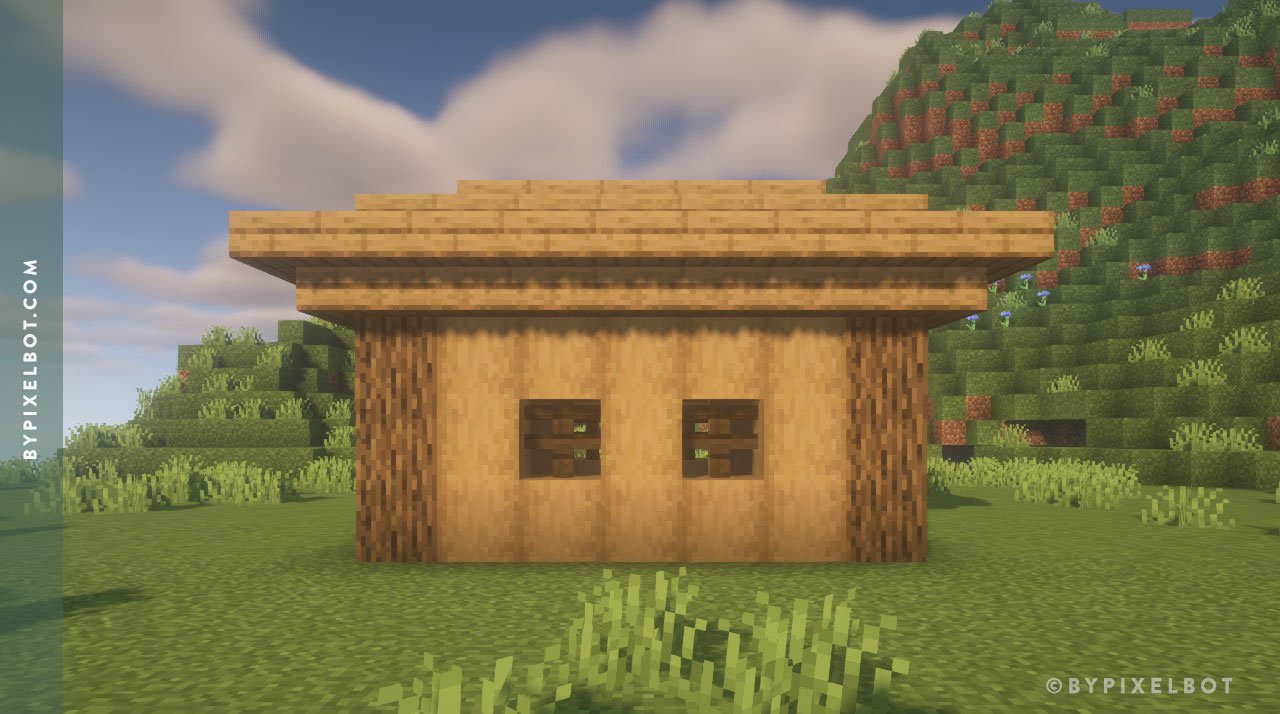
Step 3. Roof
On the upper half of the 4th block, add oak stairs and wrap them around the entire house.
Once the oak stairs are fully wrapped around the house, this is what you should end up with so far.

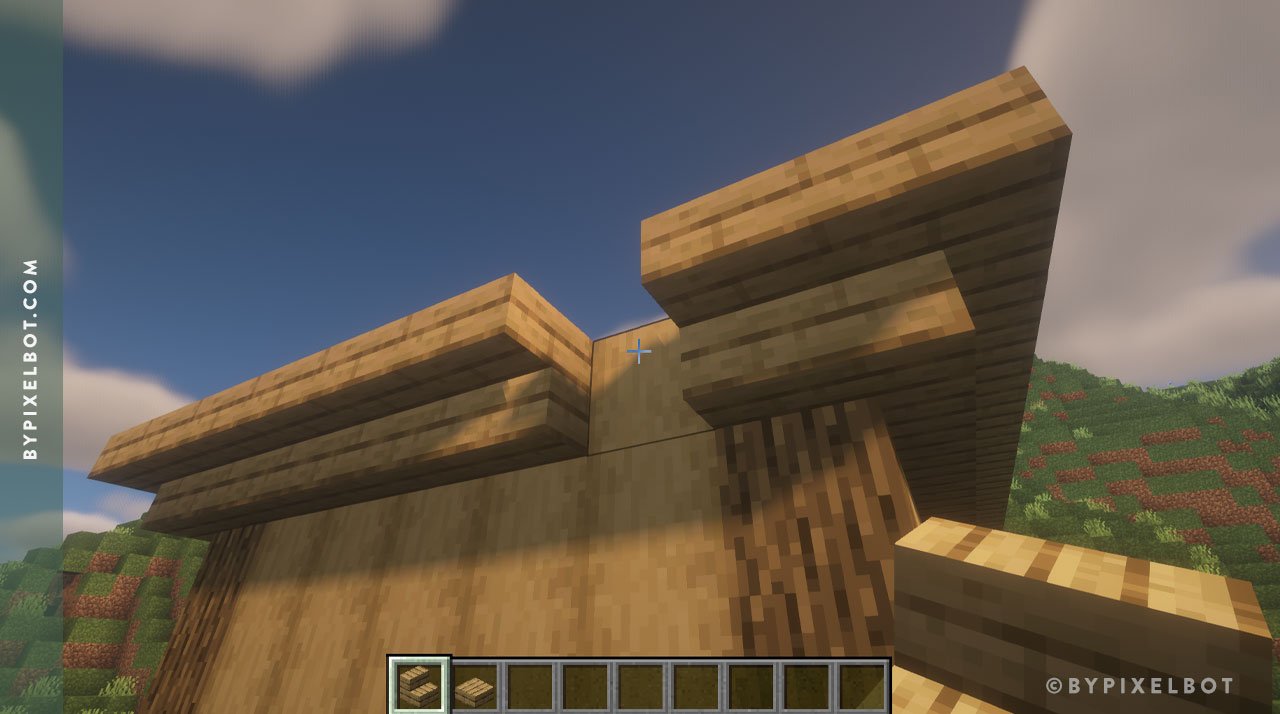
Next, add oak slabs on top of the oak logs and continue around the house until it is fully wrapped.

Finally, place an oak slab on top of the current oak slab that is sitting on top of the oak log.

Place another oak slab next to it.

Go back and get rid of the (now) oak plank.

Replace it back with the oak slab.

Then, resume completing the roof by filling the remainder with oak slabs.

This is what your roof should look like now.
Step 4. Doors and Windows

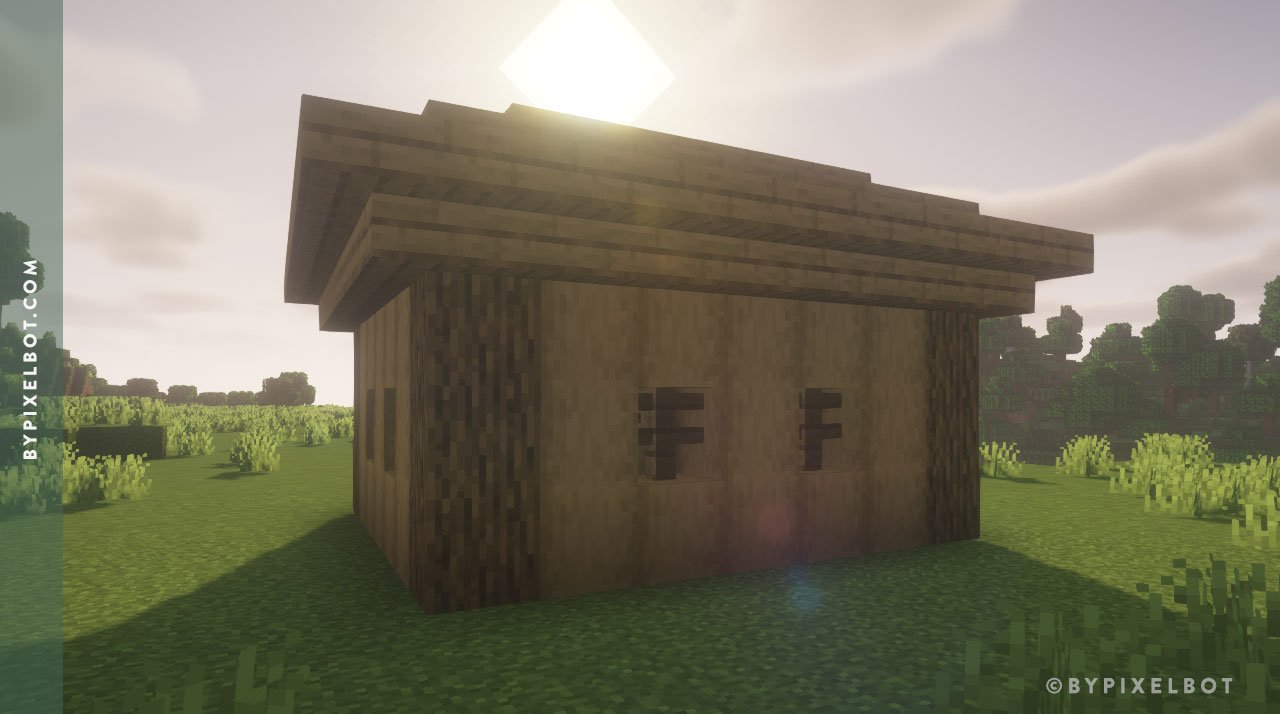
Oak door
Oak fence (for the windows)
If you want to stay organized and keep track of all of your materials, download my free material checklist for this build by clicking the image above.
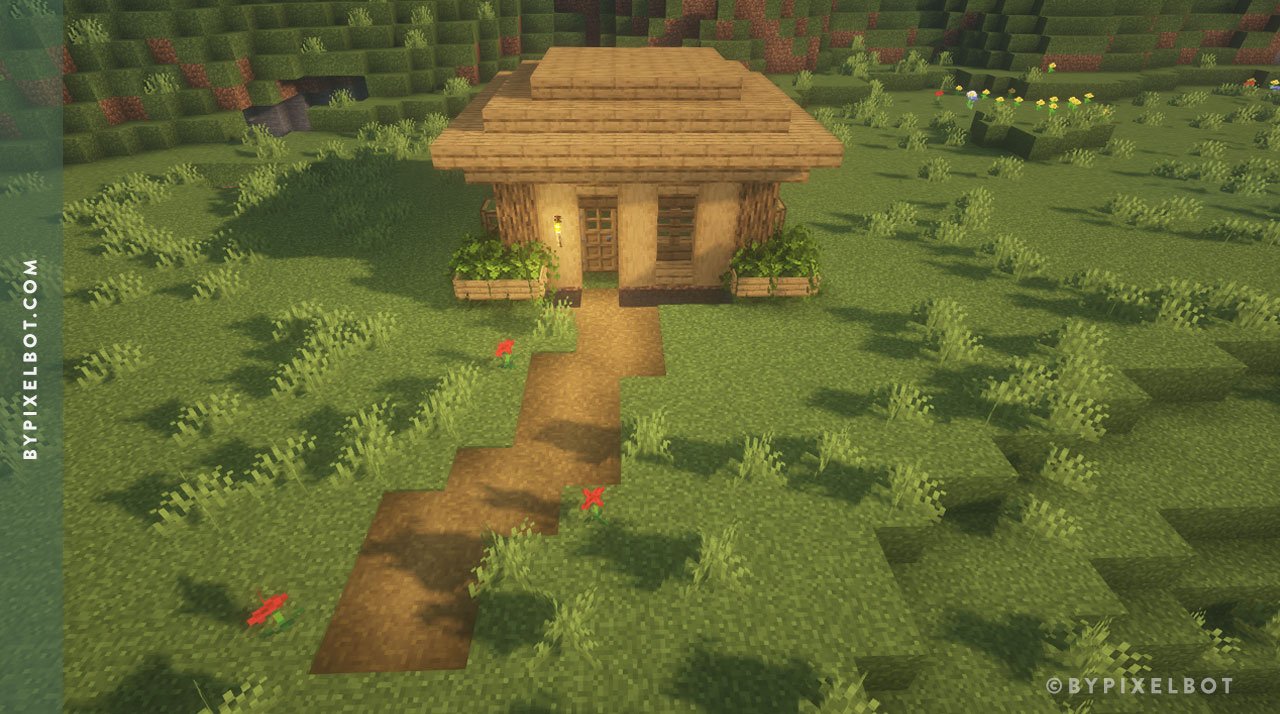
Step 5. Exterior Details

For the exterior walls, add an oak upside-down stair on top of the door and place an oak upside-down stairs and bottom-side up in between all the windows. This helps add more depth and texture.
Then, use a shovel to create a path (you can do this however you want or you can copy what I did above). At each corner of the house, add oak leaves with oak signs. Punch out a row and add water by the entrance to create a small water feature (you can add fish here if you’d like!). Then, place a torch by the door for extra lighting.
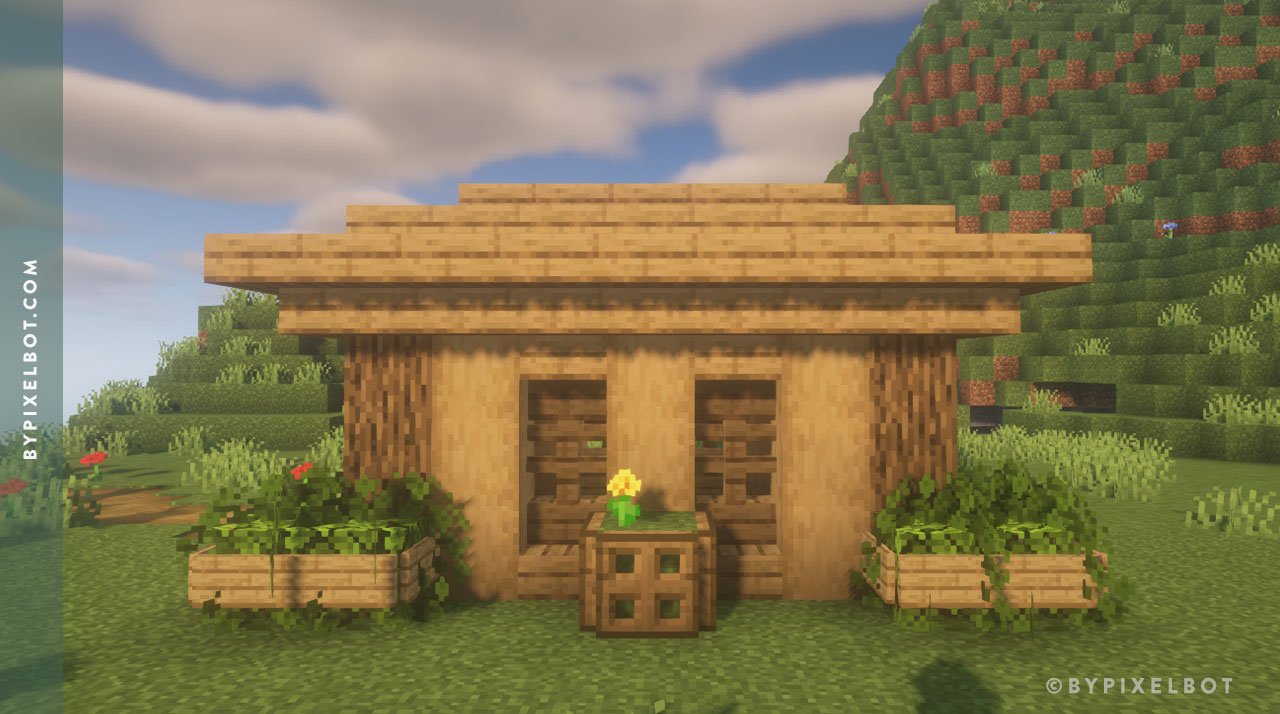
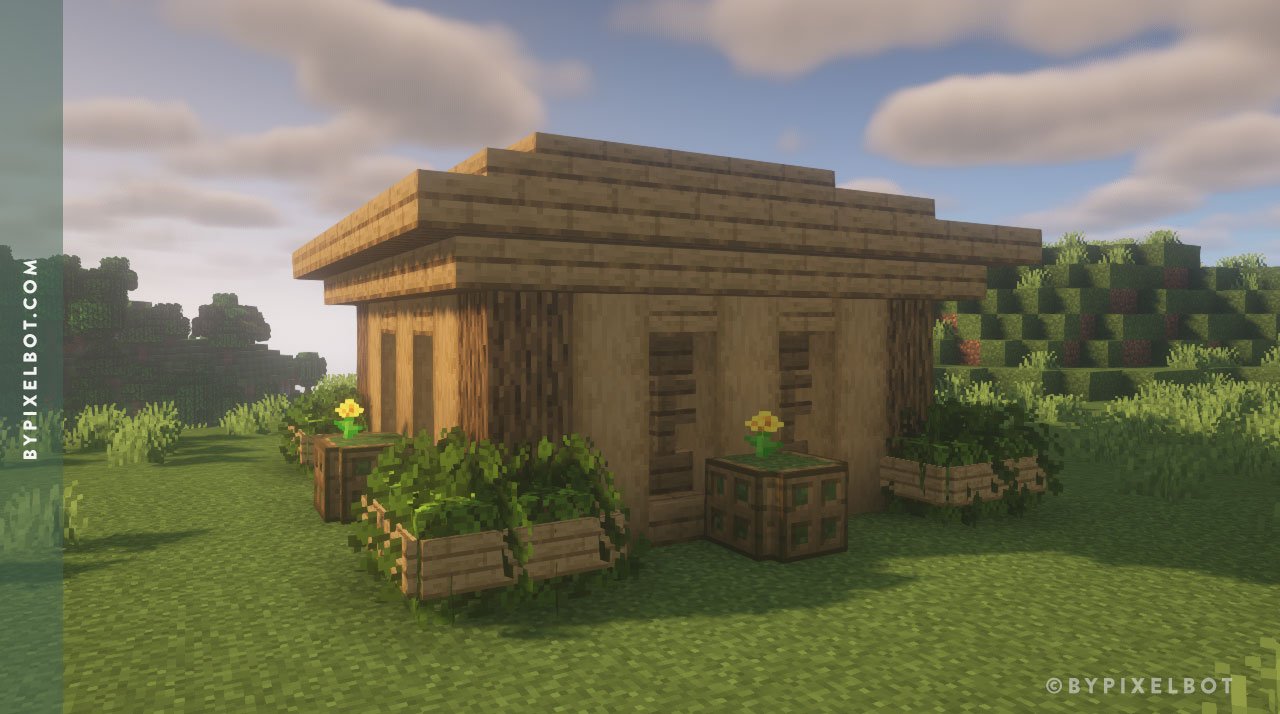
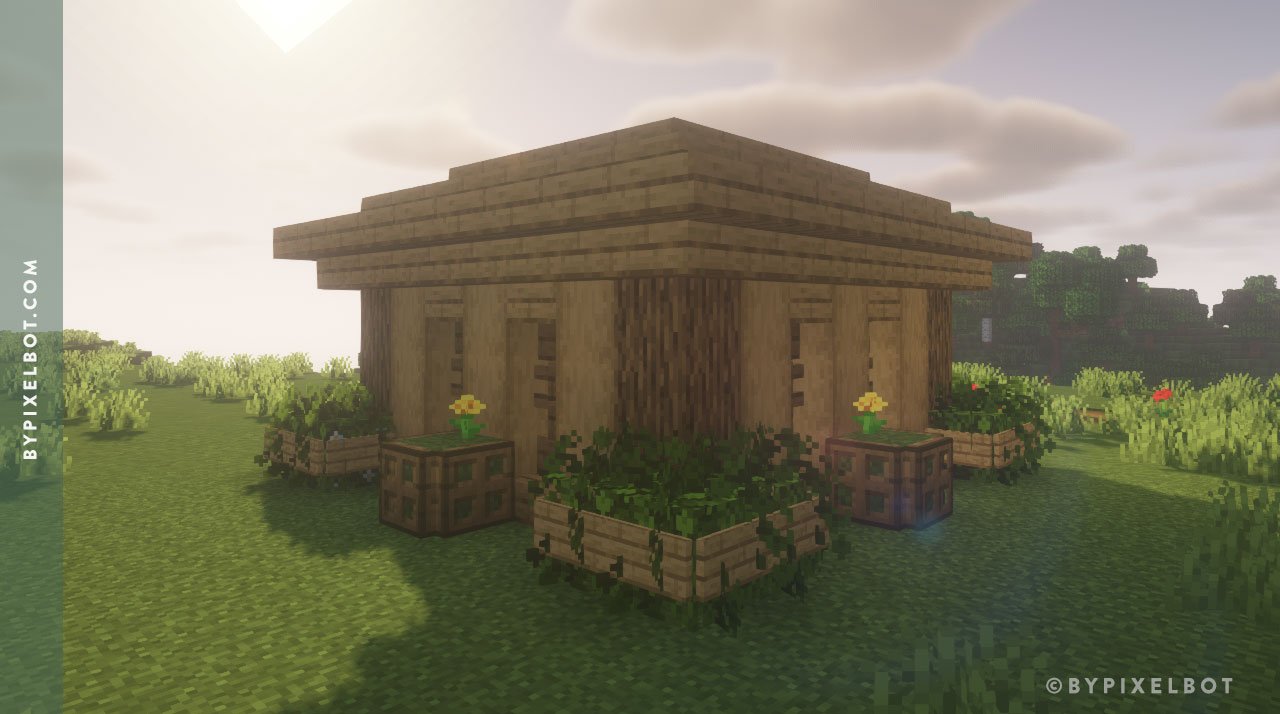
Around the house in between the windows, add a planter box with a grass block, oak trap doors, and a dandelion.
Step 6. Floors

Inside the house, punch 1 block below to make space for the floors.

Place oak planks throughout to fill the floor.
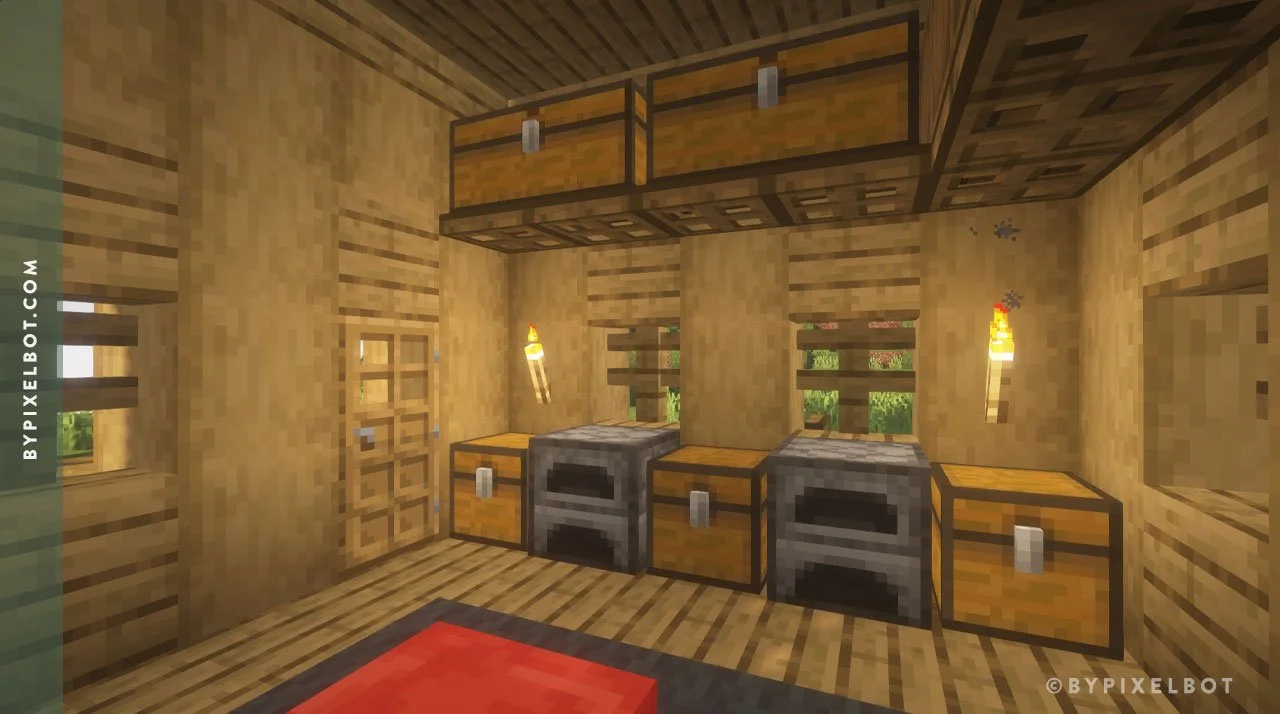
Step 7. Interior
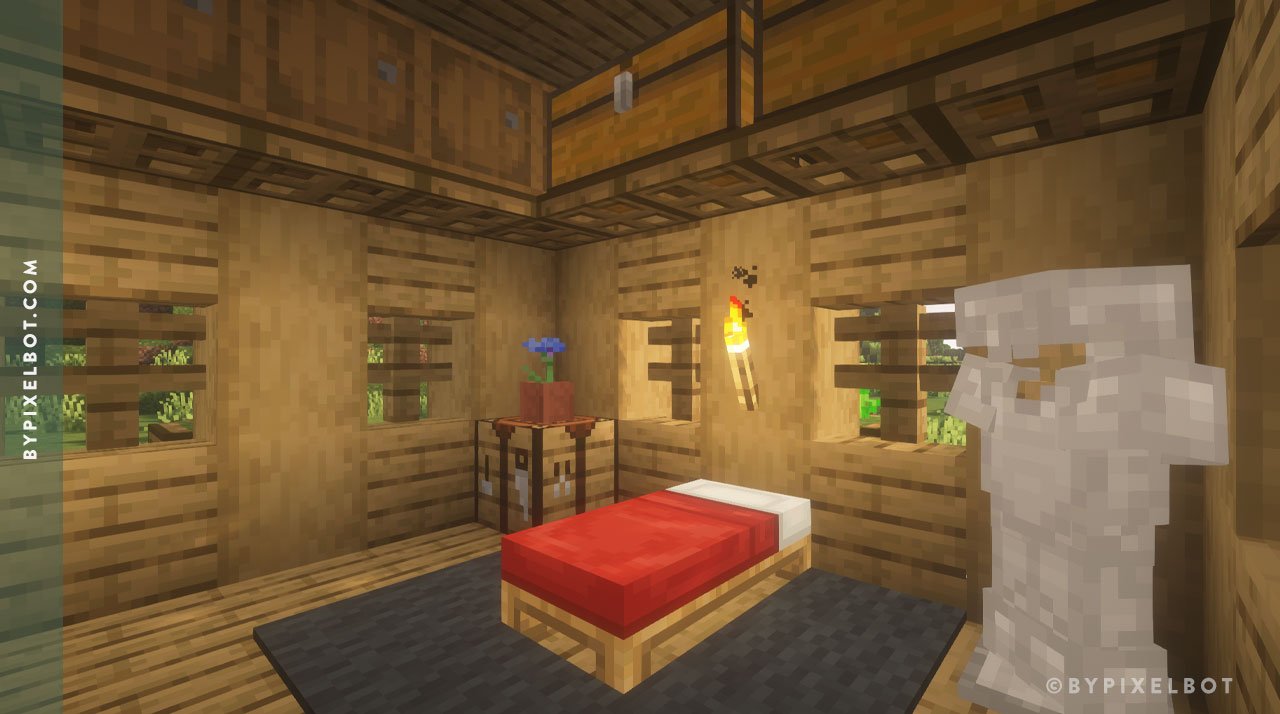
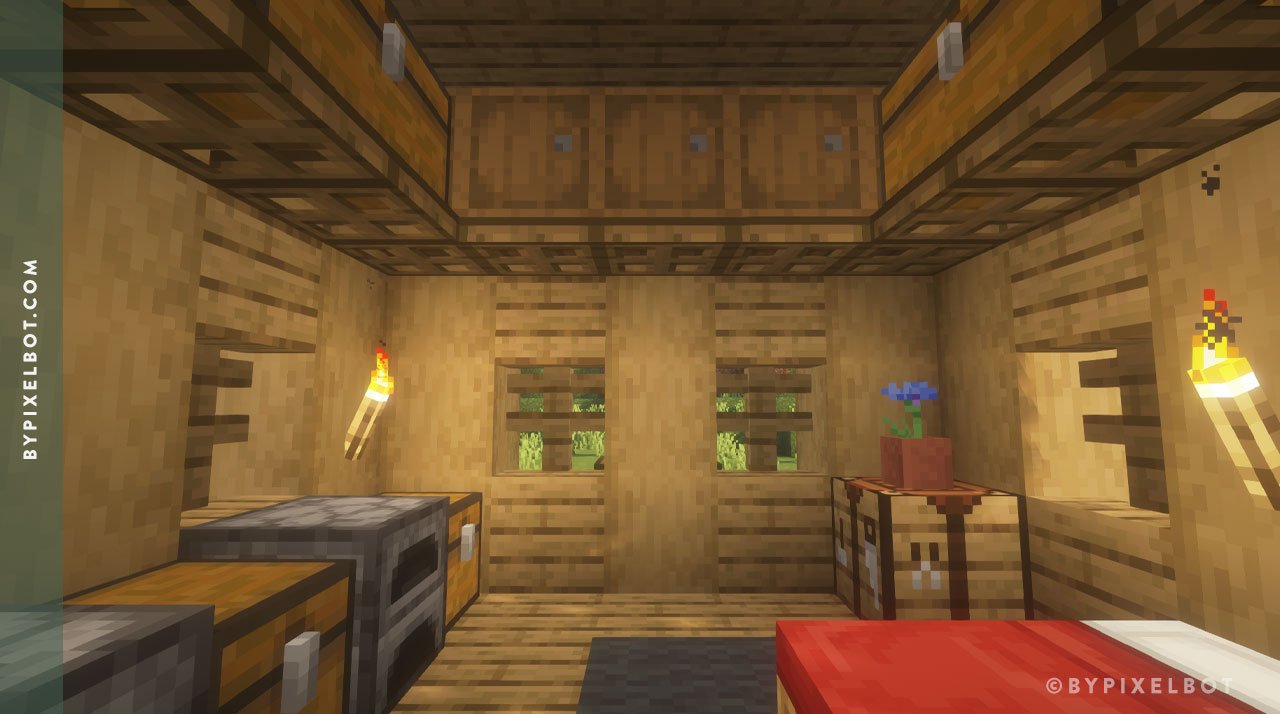
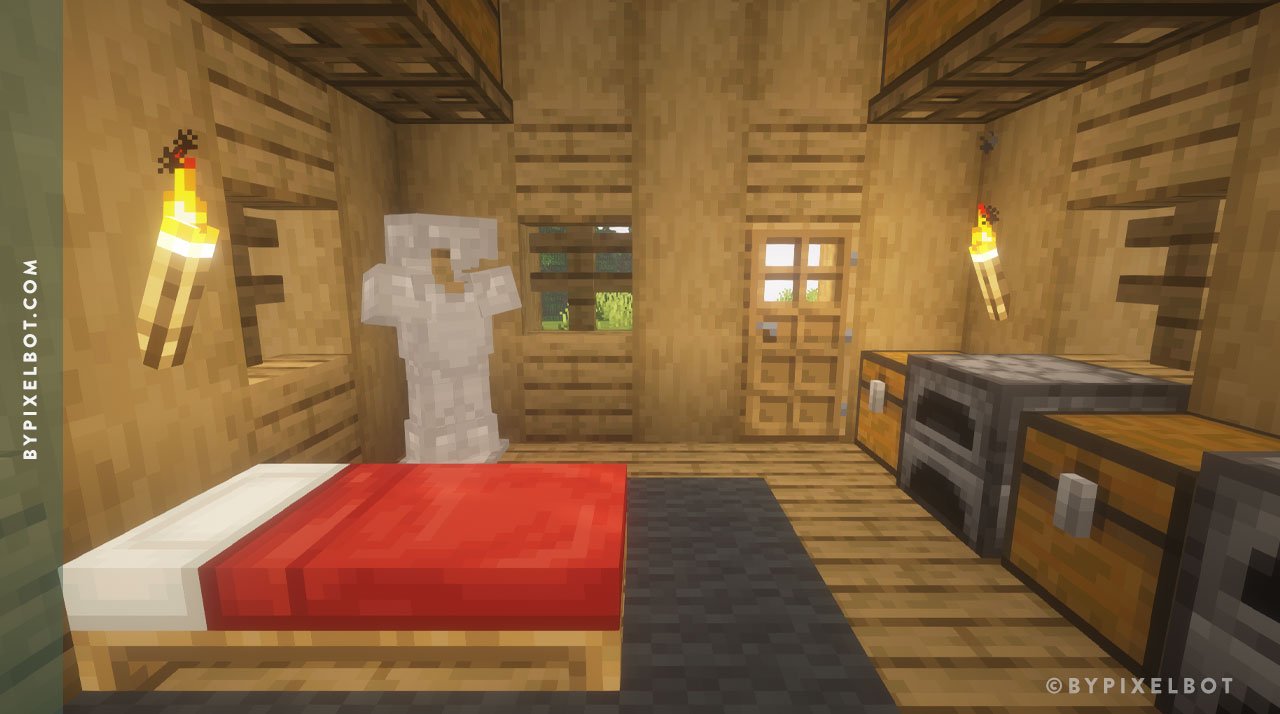
Red bed
Gray carpet
Crafting table
Flowerpot
Cornflower
Armor with iron helmet, chest plate, leggings, and boots
Oak trap door
Chest
Barrels
Furnace
Did you use this build in your survival world? Let me know! I’d love to hear from you.
TIP: Pin this image below by hovering over it to save to your Pinterest account and refer back to later.