Minecraft: How to Build an Easy Starter Cabin (Simple A-Frame Survival House)
Disclosure: This page contains affiliate links and I may earn a commission if you click on them and make a purchase. This comes at no additional cost to you and allows me to continue to run this website. Lastly, please do not copy, modify, and/or redistribute my content and claim as your own. For info on photo/video sharing, see the terms and conditions page. Thanks for your support!
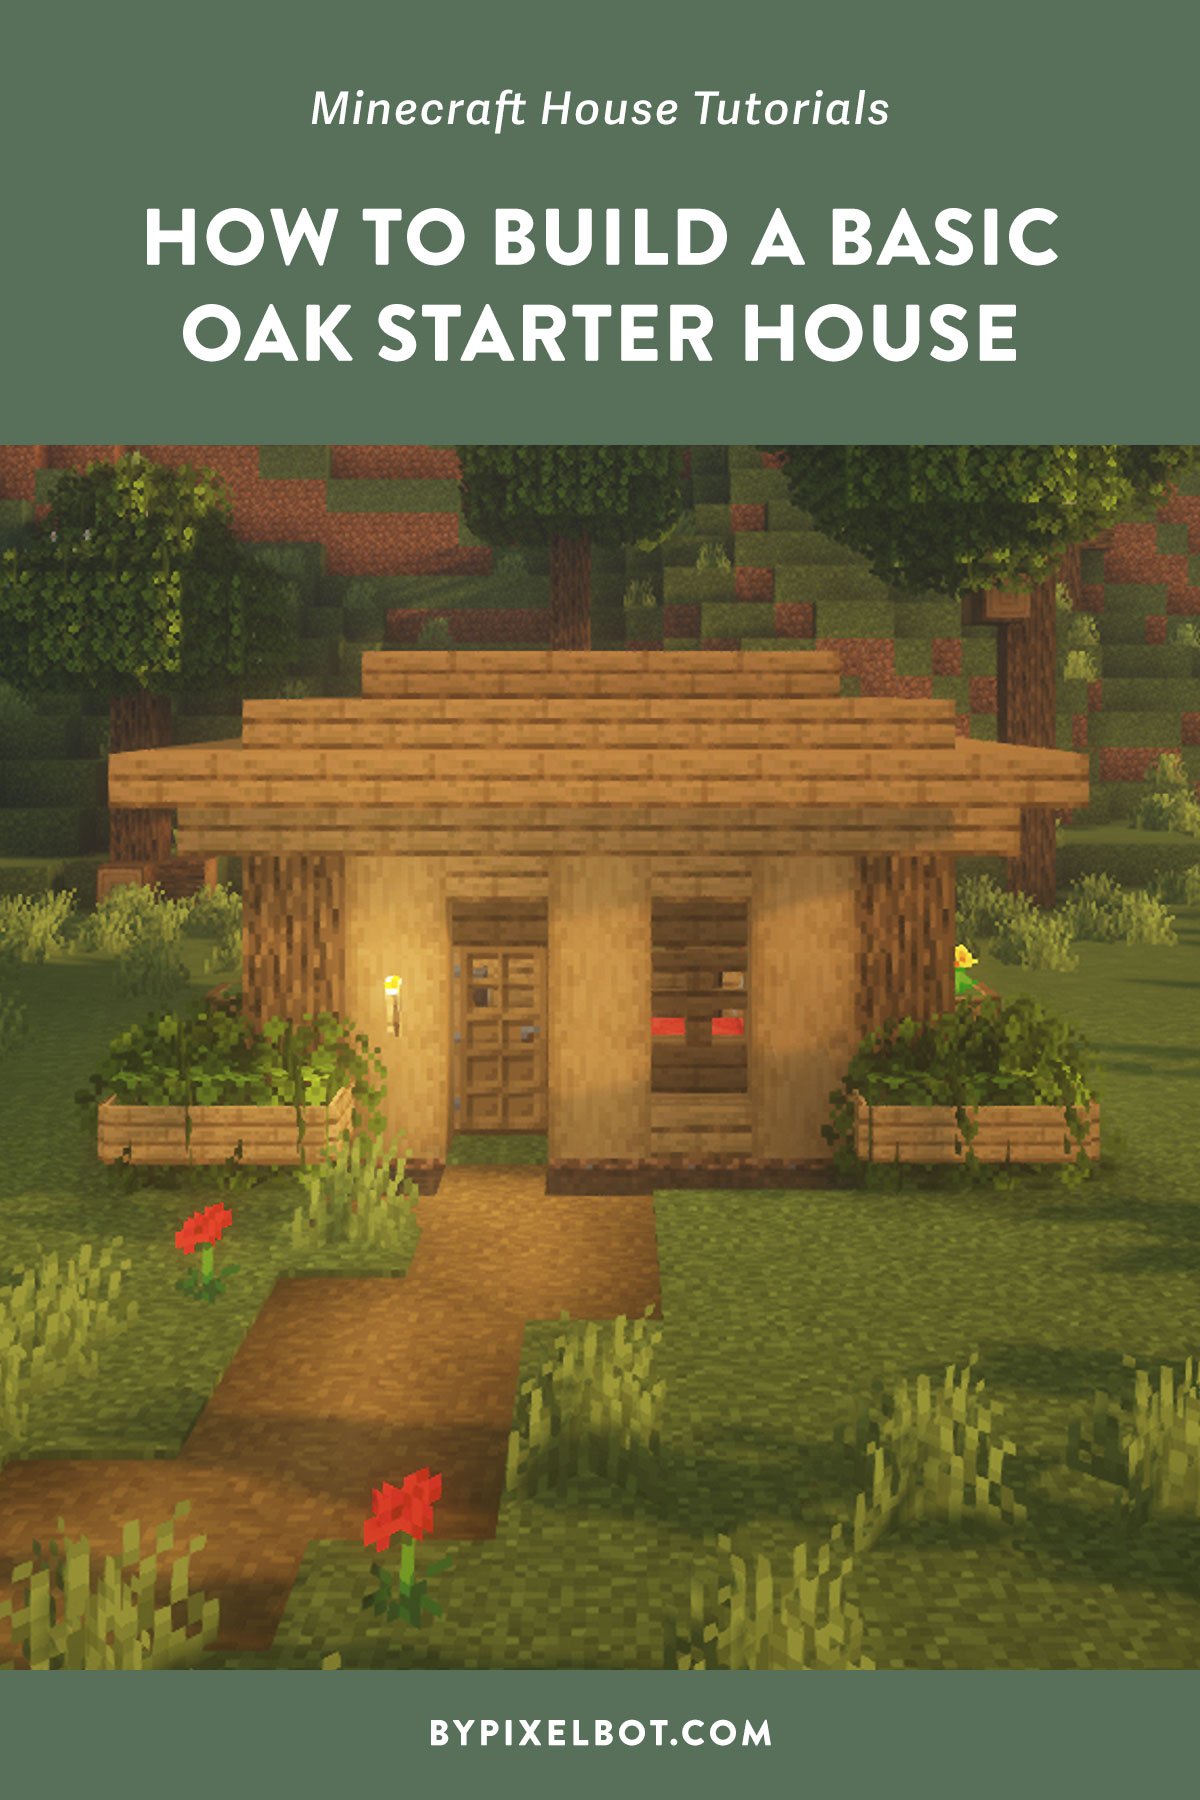
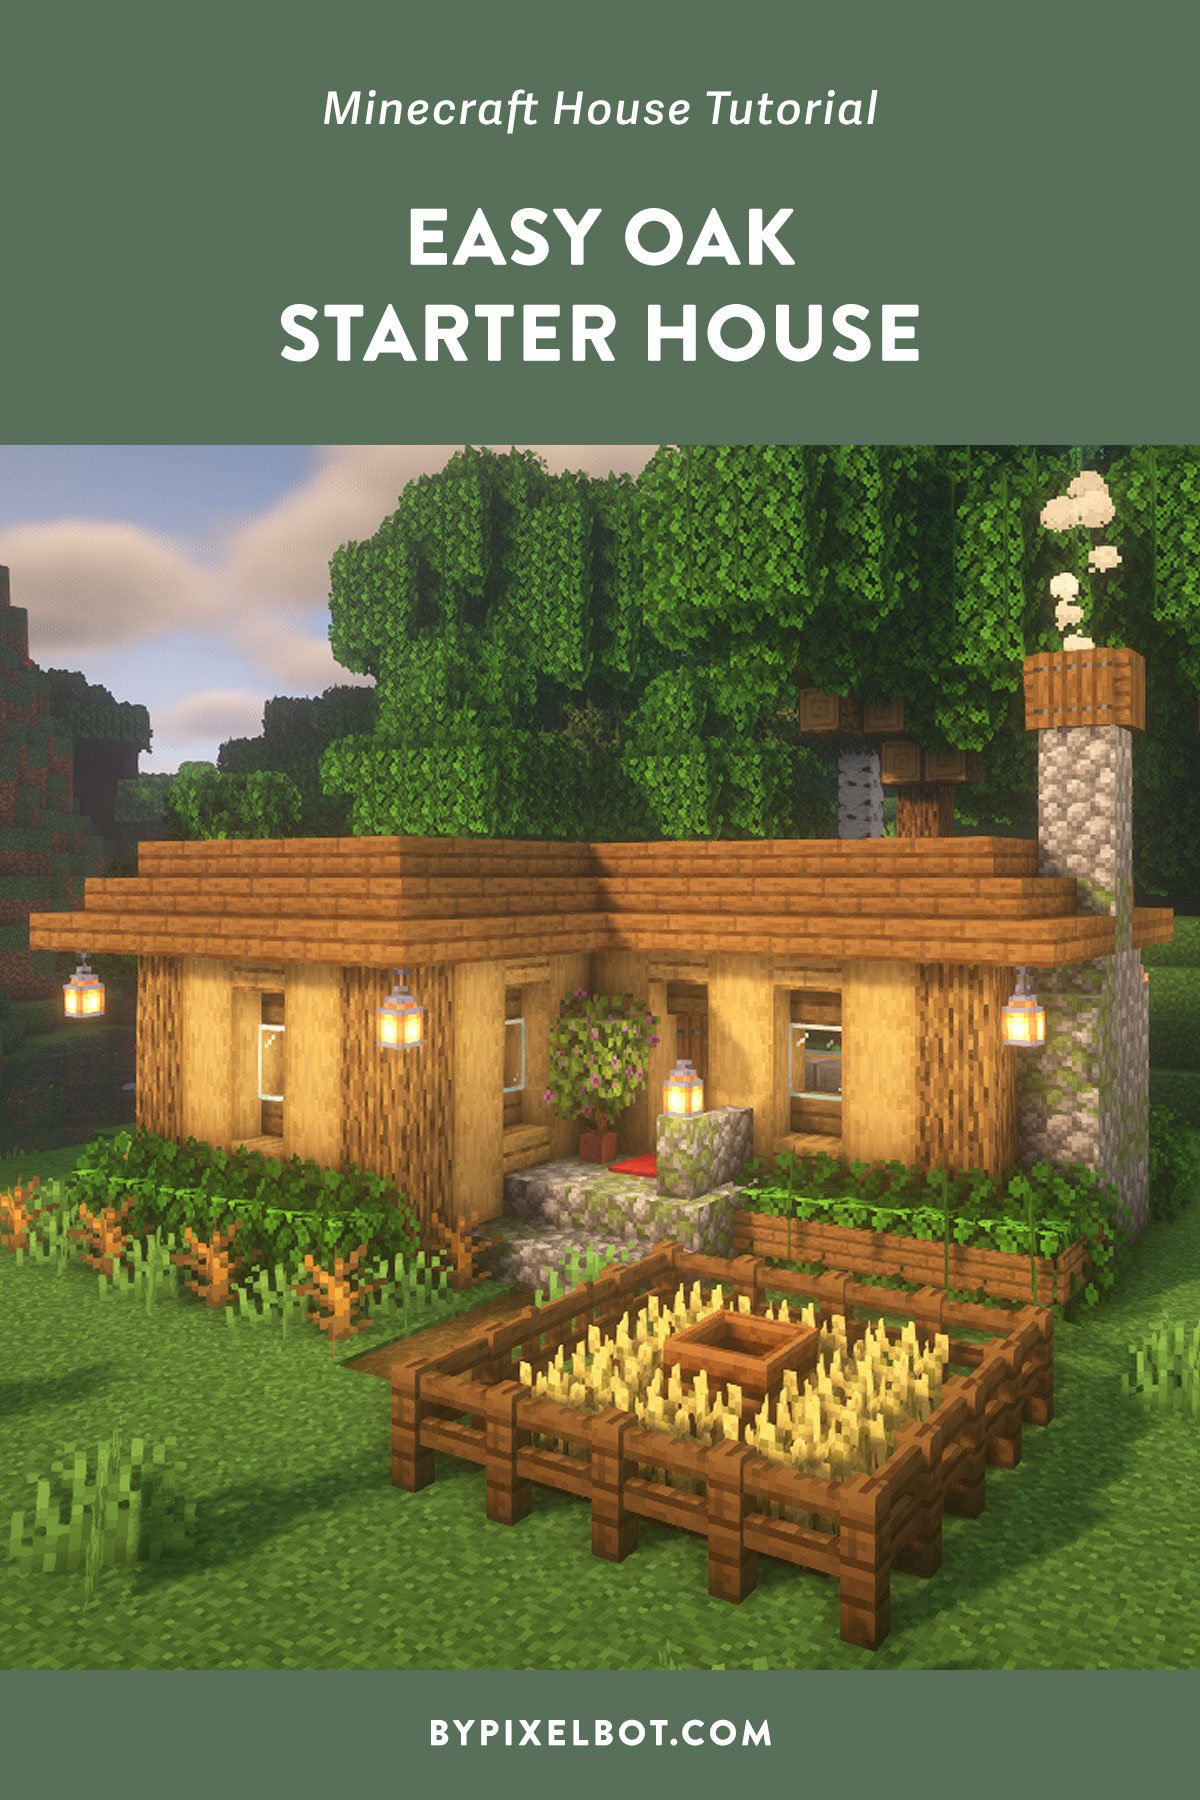
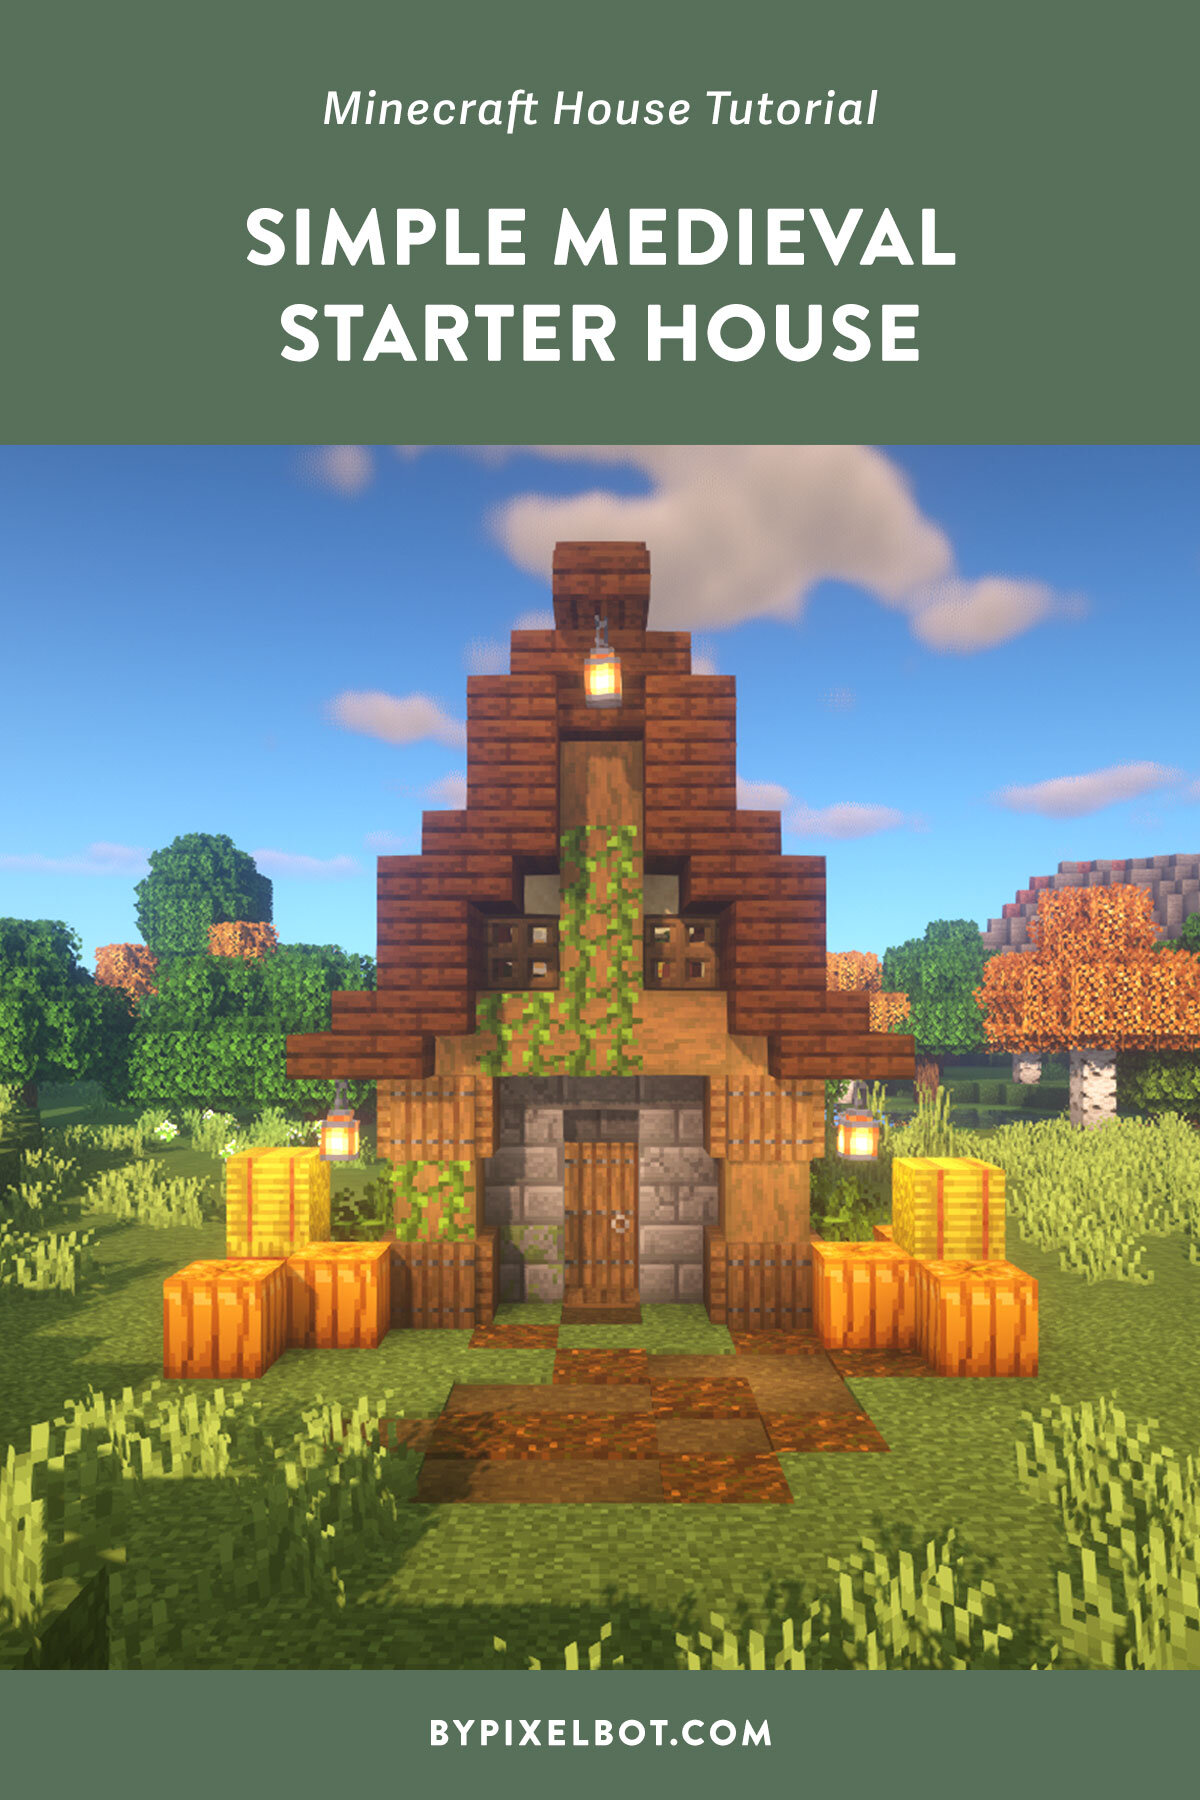
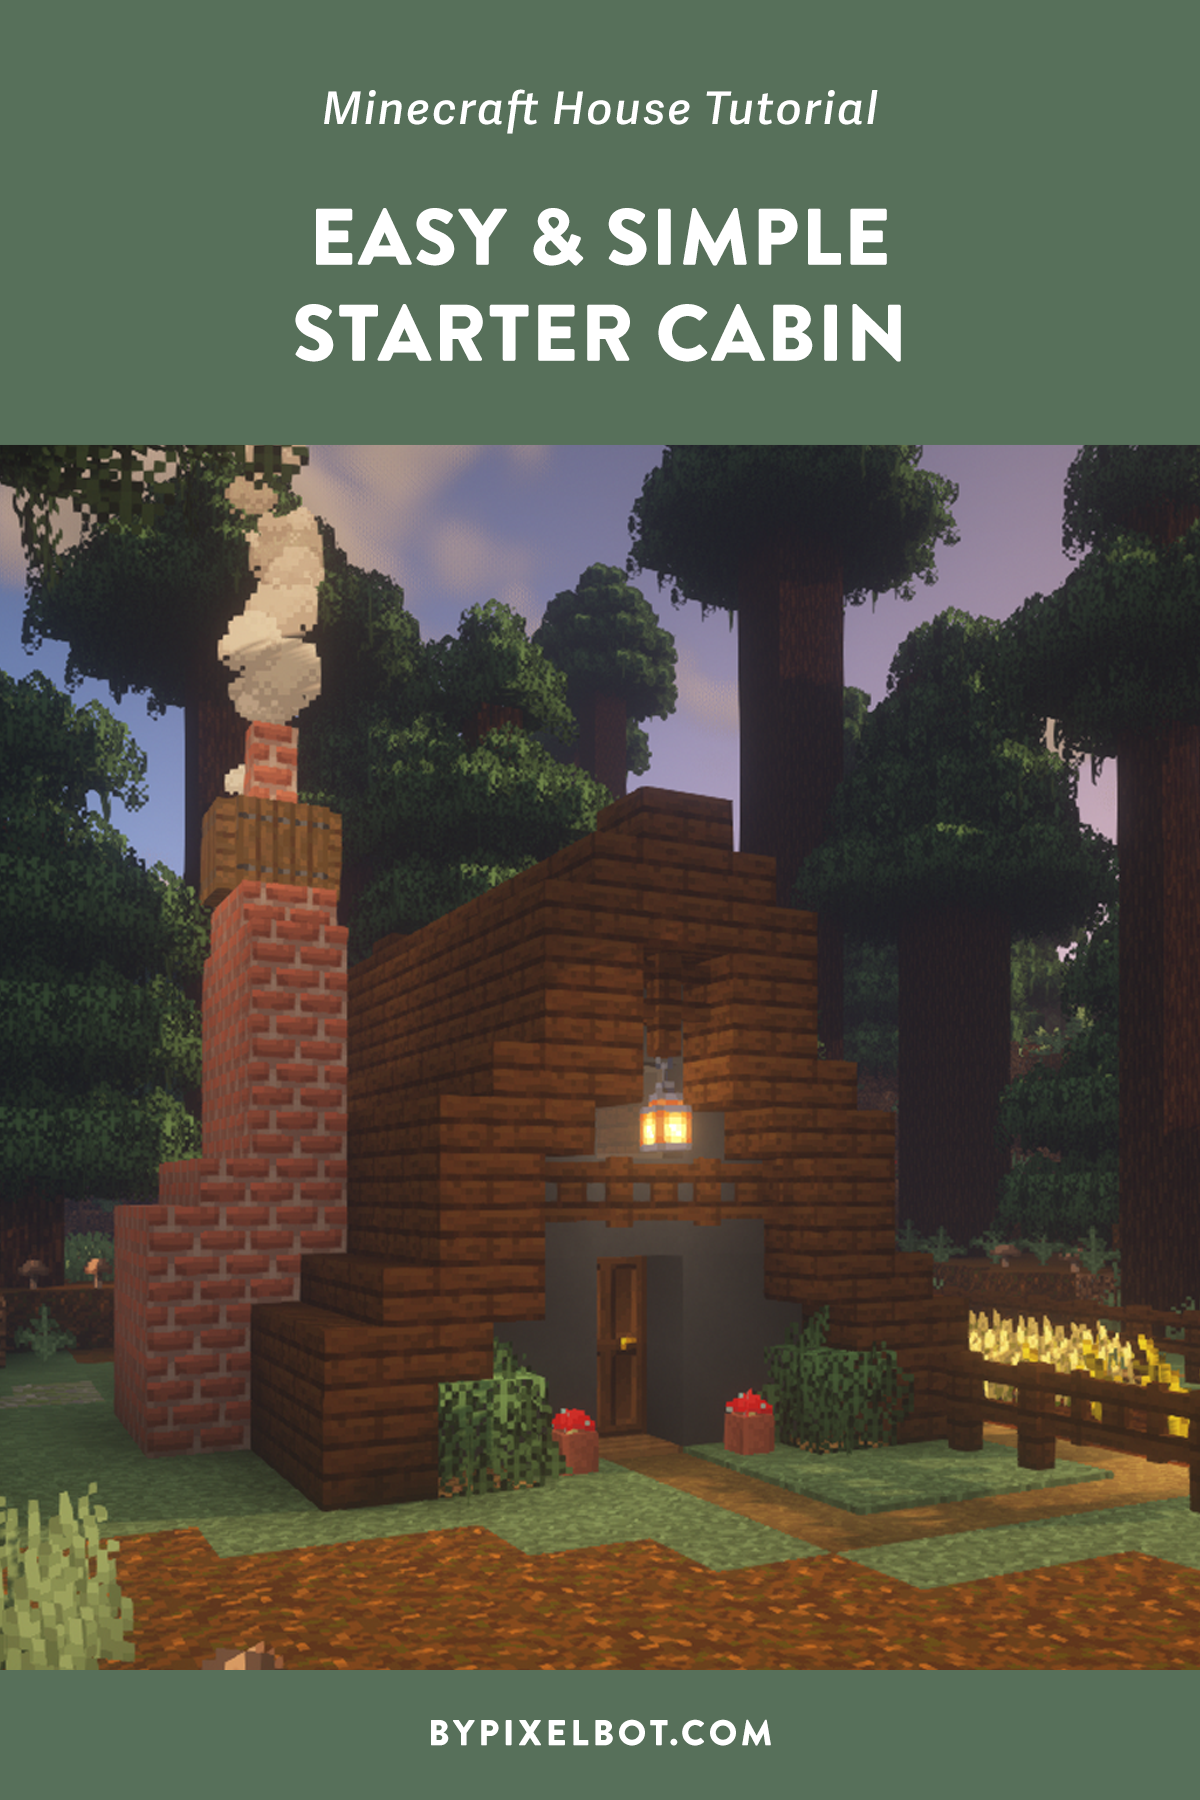
Learn how to build an easy and simple A-frame starter cabin that is perfectly built for the Taiga biome. This survival house comes equipped with a bed, smoker, furnace, sink, crafting table, fireplace, and pumpkin + wheat farm.

Before we get into the tutorial, please make sure you download our Material Checklist right above so that you can have it on hand to help keep track of the materials while you collect resources.
Minecraft: How to Build an Easy Starter Cabin (Step-by-Step) Tutorial
STEP 1. Layout Dimensions

The left layout will be the house and the right layout will be the farm.
STEP 2. Flooring

Lay down spruce planks inside the layout on the left.
STEP 4. Build the Walls


In the front and back of the house (from left to right), build 2 blocks up, then 4 blocks up, then 5 blocks up, then 4 blocks up, then 2 blocks up with gray concrete.

For both sides of the house, build 2 blocks up with gray concrete.

This is what you should end up with once the walls are fully built out.

If you want to stay organized and keep track of all of your materials, download my free material checklist for this build by clicking the image above.
STEP 5. Build the roof

In the photo above, you’re going to create the start of the roof line for this a-frame house with dark oak planks, dark oak stairs, and dark oak slabs by copying the pattern above.

This is what the start of your roof should look like so far.

To finish out the roof, follow the roof pattern and fill the remainder of the house with dark oak planks and dark oak stairs.

On top of the roof, place a dark oak plank on the very tip of the gray concrete as shown above. Fill the middle part of the roof with gray stained glass.

This is what your finished roof should look like by now.
STEP 6. Add the Doors & Windows

The front (north-facing) of the house includes a dark oak door. Remember to place 1 spruce plank where the door is. Punch 1 block one block above the door and place a gray stained glass pane.

The back (south-facing) of the house has a three-gray stained glass pane window and one 1 gray stained glass pane window.
STEP 7. Exterior & Landscaping Design

Dark oak fence
Lantern
Dark oak fence gate

Dark oak fence
Lantern
Dark oak fence gate
Spruce leaves

At the front house, dig two blocks down and place a glowstone as shown above.

Place an oak trapdoor.

Place spruce leaves on top of the oak trapdoor.
STEP 8. Pumpkin and Wheat Farm

Dig two blocks and place a glowstone and oak trapdoor as shown above. Dig 1 block in the middle and use your water bucket to pour water in it. Use your hoe to prep the farm . Then, plant pumpkin and wheat seeds.

Dark oak fence

Use your shovel to create a path to the pumpkin + wheat farm. Then, place a dark oak fence gate. Finish off with two flower pots and red mushrooms by the front door.
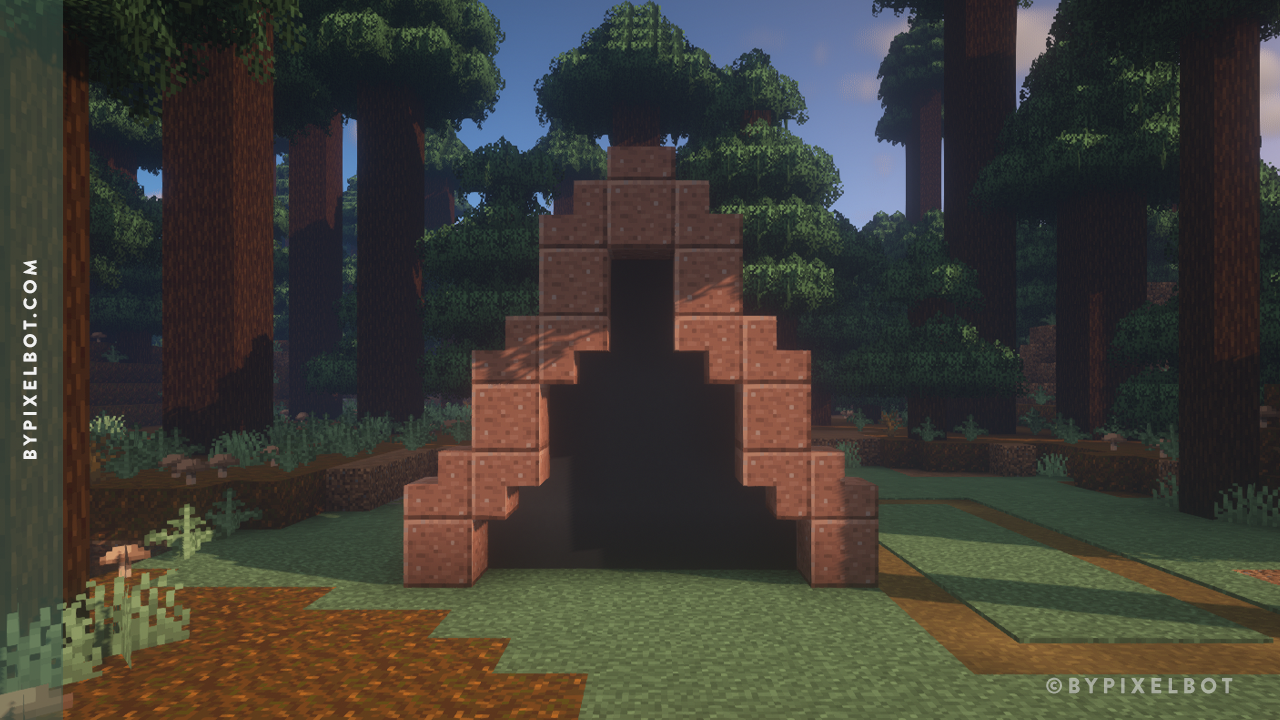
STEP 9. Build the Fireplace / Furnish Interior

When you walk inside the house, to your left, punch out a 3x3 area for the fireplace as shown above.

Replace the dirt area with spruce planks.
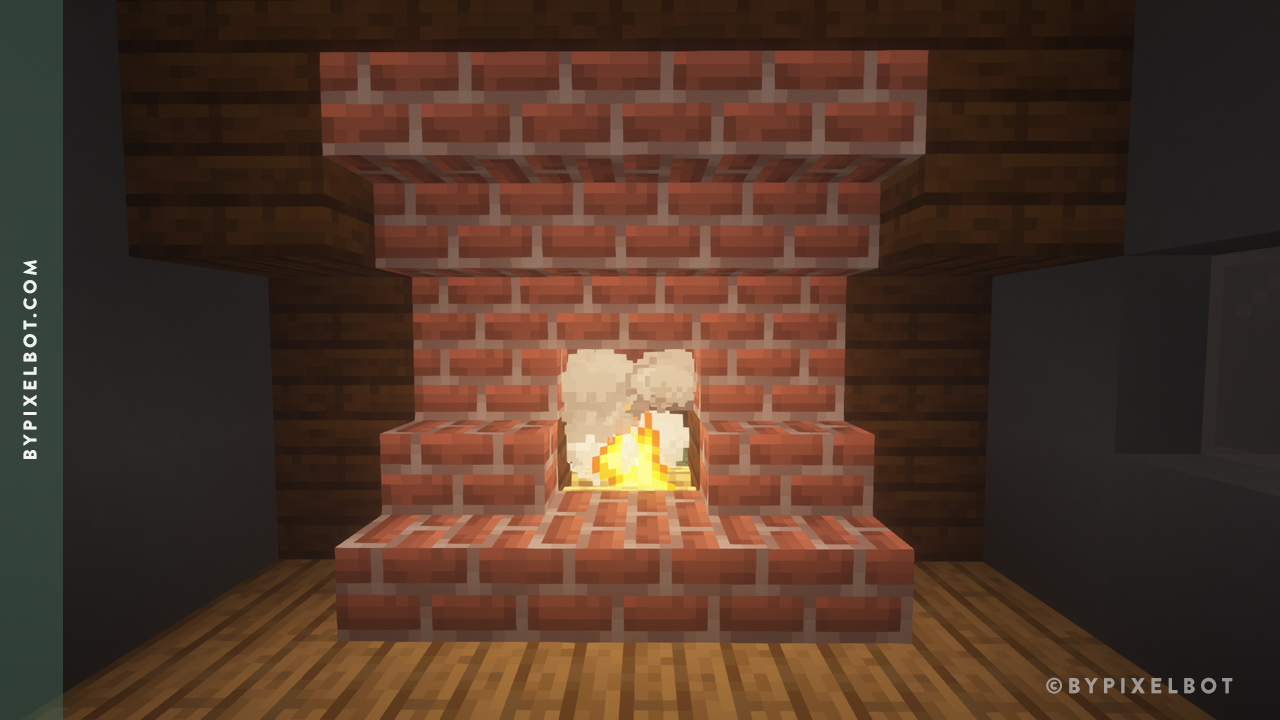
Campfire
Bricks
Brick stairs
Brick slab

Spruce trapdoor
Crafting table
Flower pot
Fern
Chest
Painting


Bricks

Spruce trapdoor
Brick stairs

Remove the gray concrete and place spruce planks where the dirt is.


Gray bed
Red carpet
Barrels
Smoker
Cauldron
Water bucket
Tripwire Hook
Furnace

Dark oak fence
Lantern

Spruce sign


Spruce leaves
Did you use this build in your survival world? Let me know! I’d love to hear from you.
TIP: Pin this image below by hovering over it to save it to your Pinterest account and refer back to it later.