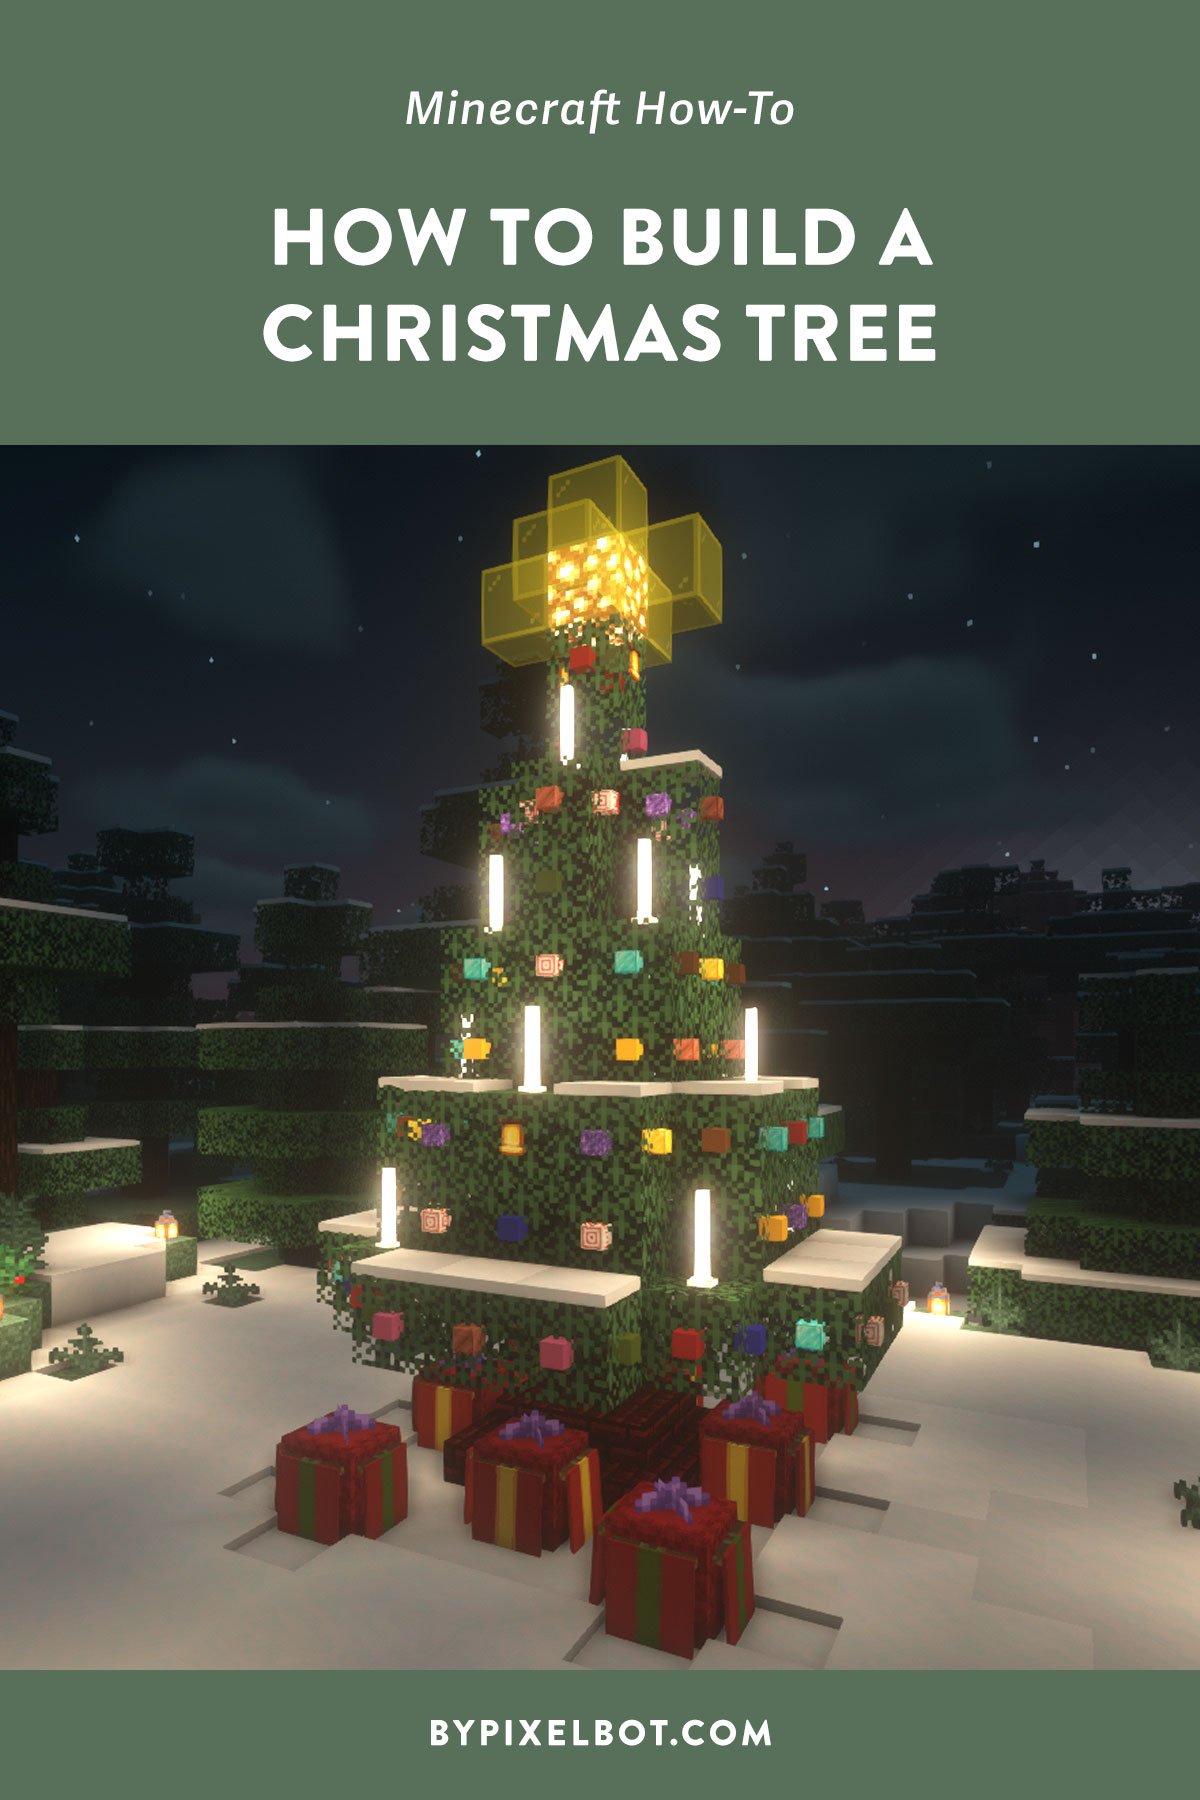
Minecraft Christmas Tree Build (Simple Tutorial)
Disclosure: This page contains affiliate links and I may earn a commission if you click on them and make a purchase. This comes at no additional cost to you and allows me to continue to run this website. Lastly, please do not copy, modify, and/or redistribute my content and claim as your own. For info on photo/video sharing, see the terms and conditions page. Thanks for your support!
With December upon us, it's that time of the year to start working on our Christmas tree! This easy Minecraft Christmas tree build is straightforward, simple, and provides a good tree template for a variety of decorations.
Minecraft Christmas Tree Build (Step-by-Step) Tutorial
Step 1. Build the Tree Stem

Build nine blocks up with spruce logs.
Step 2. Tree Skirt

Wrap the bottom of the tree stem with red nether brick stairs to create a tree skirt.
Step 3. Build the Christmas Tree Shape

On the third block from the bottom, copy the pattern above with spruce leaves.

On the fourth and fifth block, copy the pattern above with spruce leaves.

On the sixth and seventh block, copy the pattern above with spruce leaves.

On the eighth and ninth block, copy the pattern above with spruce leaves. Then lastly, place two blocks of spruce leaves above the top of the spruce log here.

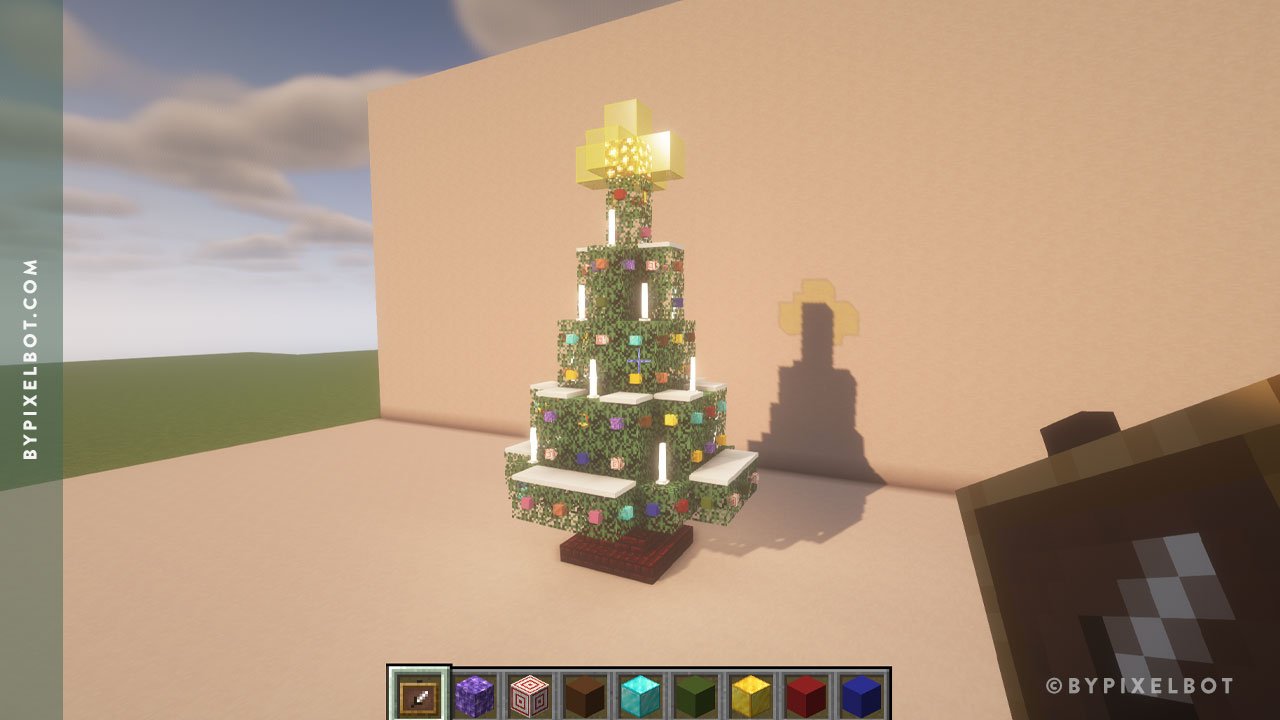
This is what your Christmas tree should look like by now.
Step 4. Decorate the Christmas Tree

Build the star by using a glowstone and yellow stained glass.

Place the end rod and snow evenly throughout the tree to add not only lights but a wintery look!
Here you will need to get an invisible item frame by using the following command:
/give @s item_frame{EntityTag:{Invisible:1}}
This will prompt the command to give you an invisible item frame, even though it looks like a normal frame in your hot bar.
Once you have the invisible item frame, place it on the tree everywhere, then choose whatever objects you want to place inside! This is the most time consuming, but creative and fun part of the process. :)
Step 5. Build the Presents
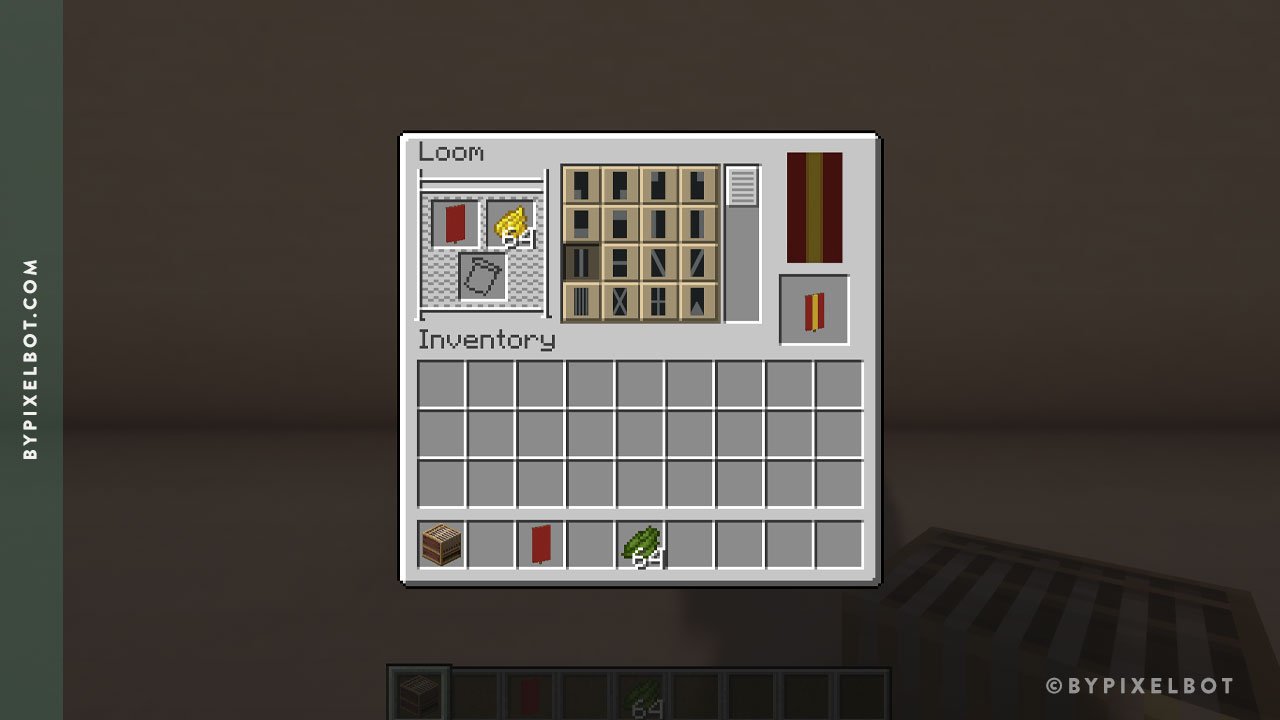
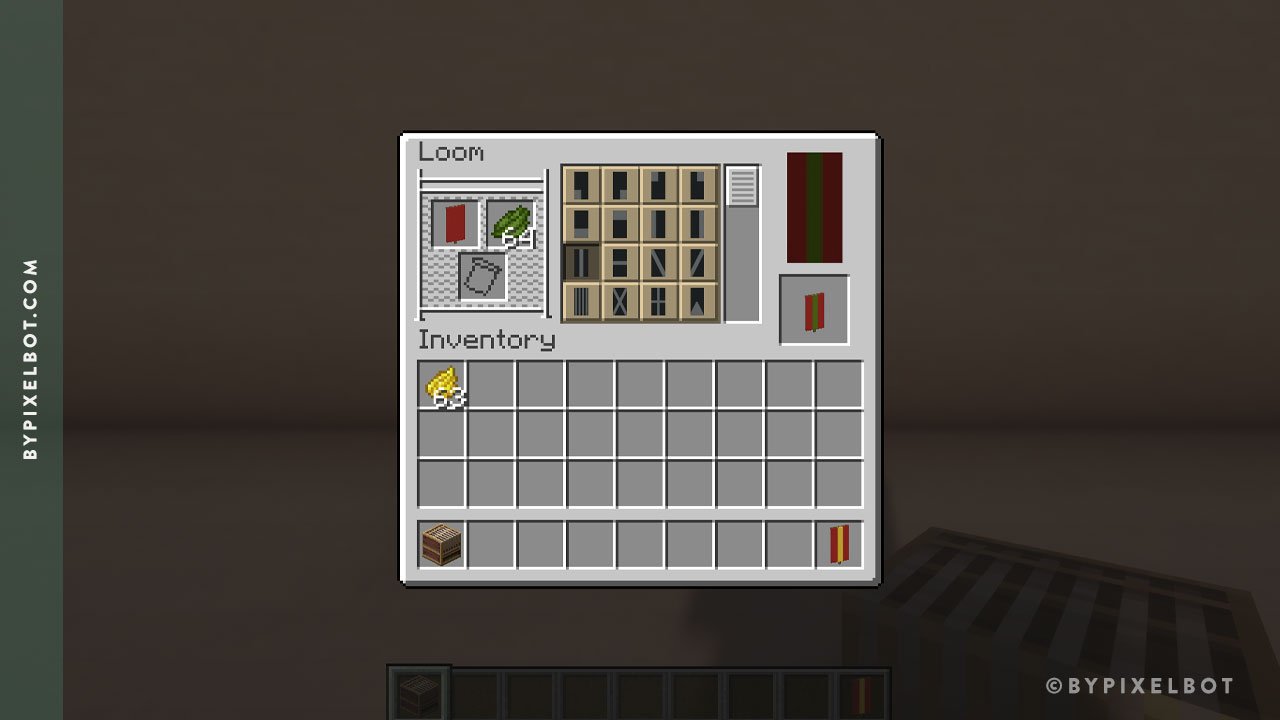
To build the presents, we need to design the banners with a loom, red banners, and green/yellow dye first. We’ll be doing a simple design with two colors. Follow the instructions above.

Place a red shulker box underneath the tree.
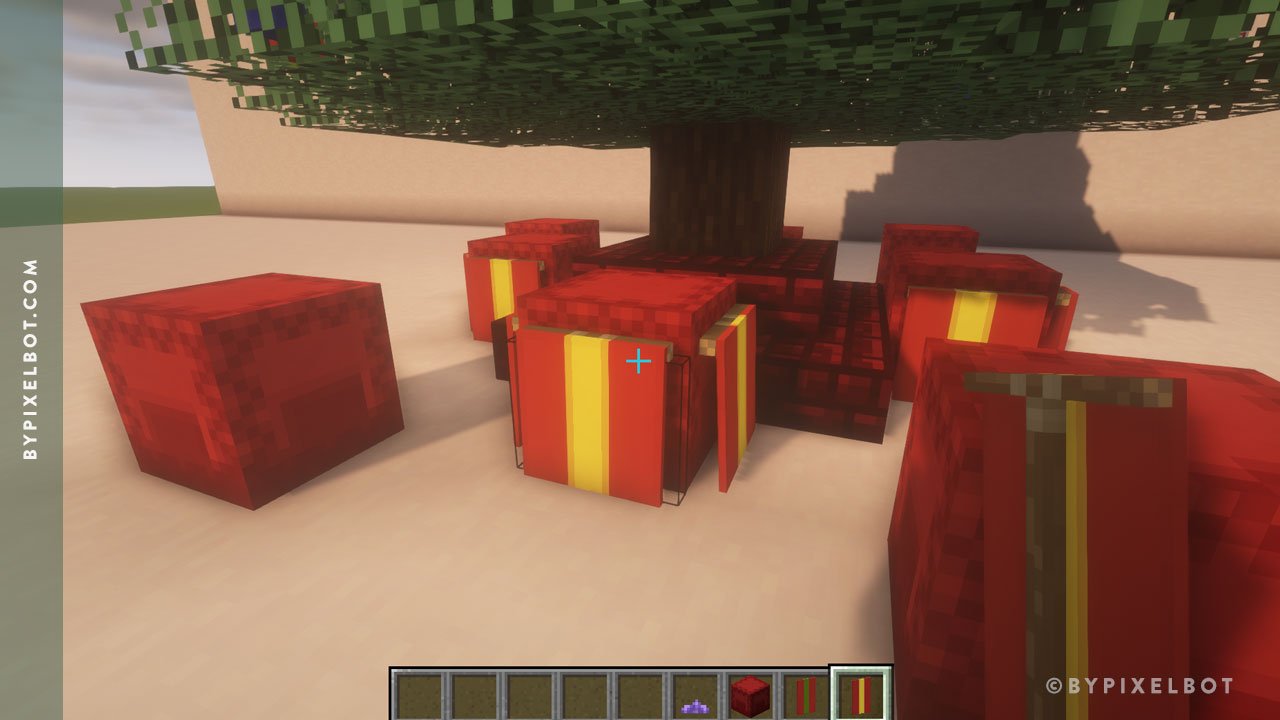
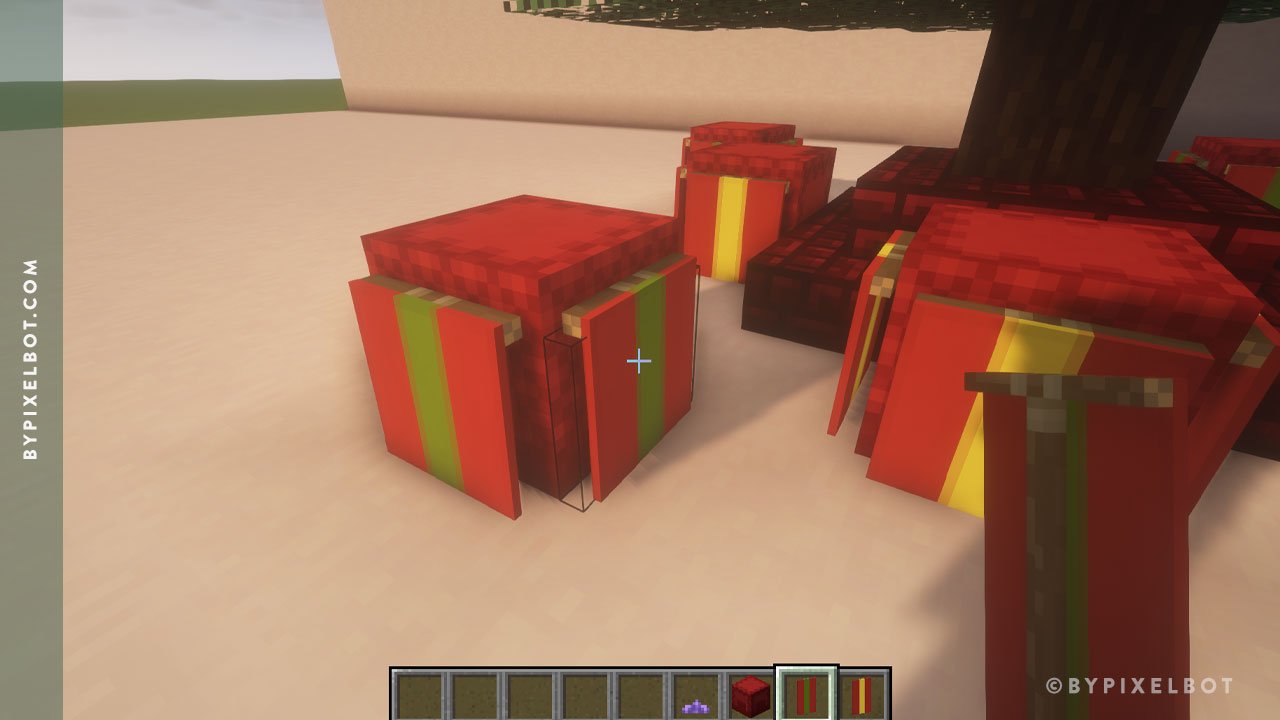
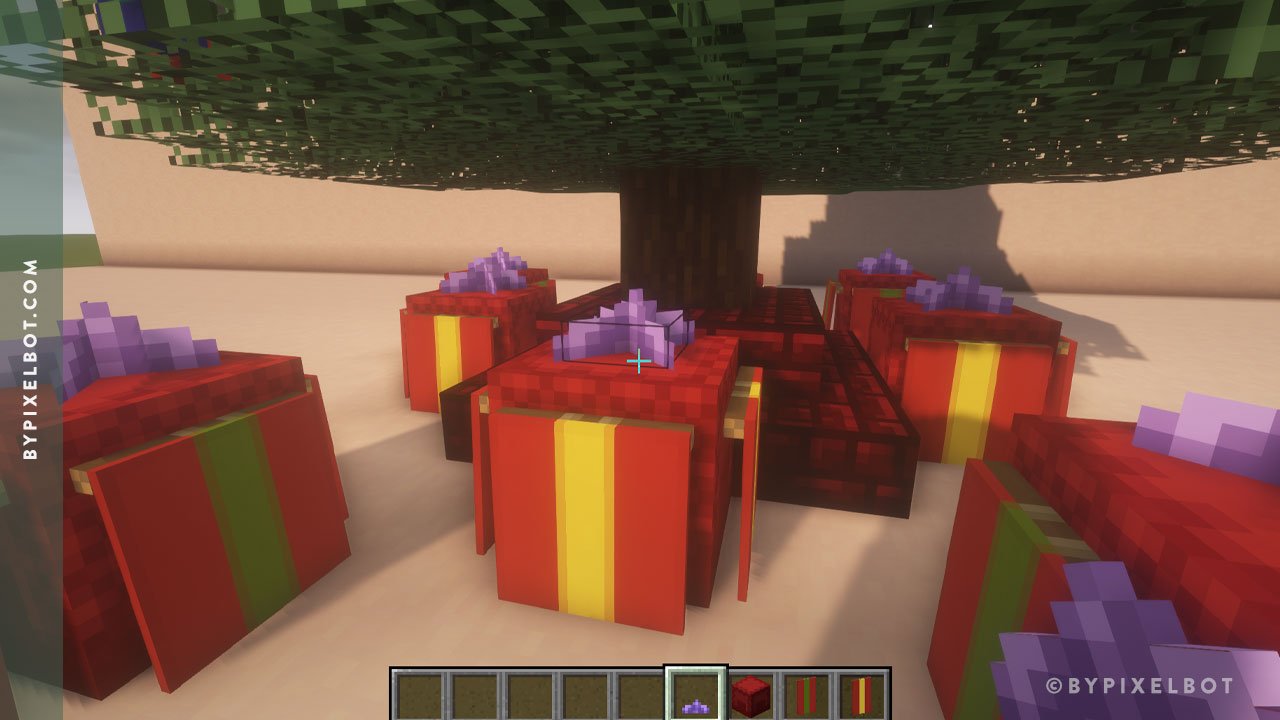
Placed the finished design banners on the boxes and the small amethyst bud (looks like a bow doesn’t it?) on top of the presents. And you’re done!
Did you find this tutorial helpful? Let me know! I’d love to hear from you.
TIP: Pin this image below by hovering over it to save it to your Pinterest account and refer back to it later.


